- Thread starter
- #21
Thanks, that's what I thought.Not gonna lie, it works.


Follow along with the video below to see how to install our site as a web app on your home screen.
Note: This feature may not be available in some browsers.
Join the #1 RC community where hobbyists connect, share, and get expert advice on RC cars, trucks, boats, drones, and more!


Thanks, that's what I thought.Not gonna lie, it works.
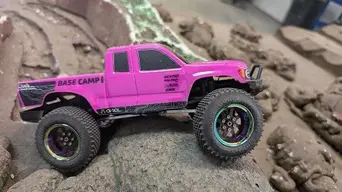
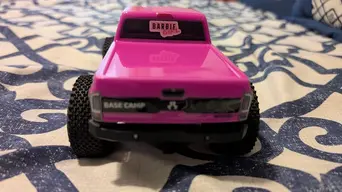
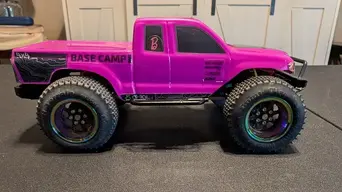
Thanks. It's my 2nd crawler. I have more money into my other one, but this thing might actually perform a littler better. It's just basic upgrades, nothing crazy.I don't know why, but I still want one of those Base Camps. Yours looks nice!
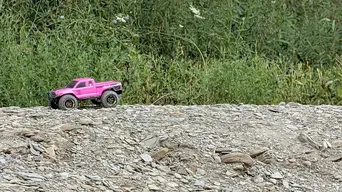
 next thing ya know she will be driving it. Lol.
Yeah, but it doesn't such enough. We have actually had to replace it twiceYour paint booth stand sucks.

Use it to it doesn't work right?Yeah, but it doesn't such enough. We have actually had to replace it twice
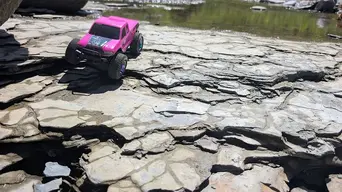
 can't wait to see the finished truck!
Looks way better than mine! I don't even have a paint booth.Your paint booth stand sucks.
Use it to it doesn't work right?
Looks way better than mine! I don't even have a paint booth.
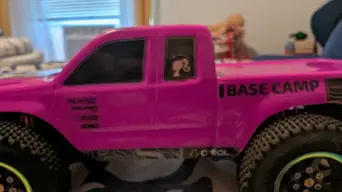
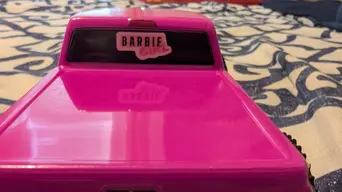
But I like pink! View attachment 273708