Smilinbri
"Honey, where's my RC credit card?"
Lifetime Supporter!
Supporter
Hospitality Award
Build Thread Contributor
I finally started my Tekno SCT410.3 kit build. 
The majority of my research was completed on the Tekno forum, and @bill_delong on there had the most knowledge to share. His build thread was precise, detailed, and had plenty of tips. Def helped me out a lot on my 1st kit build.
I decided to do something similar to his thread, in the hopes it helps some other newbies like me!!!
As expected, the Tekno kit is excellent quality and the build instructions are easy to follow. It's been a blast putting this together. The shock/pivot ball multi-tool def came in handy!!!
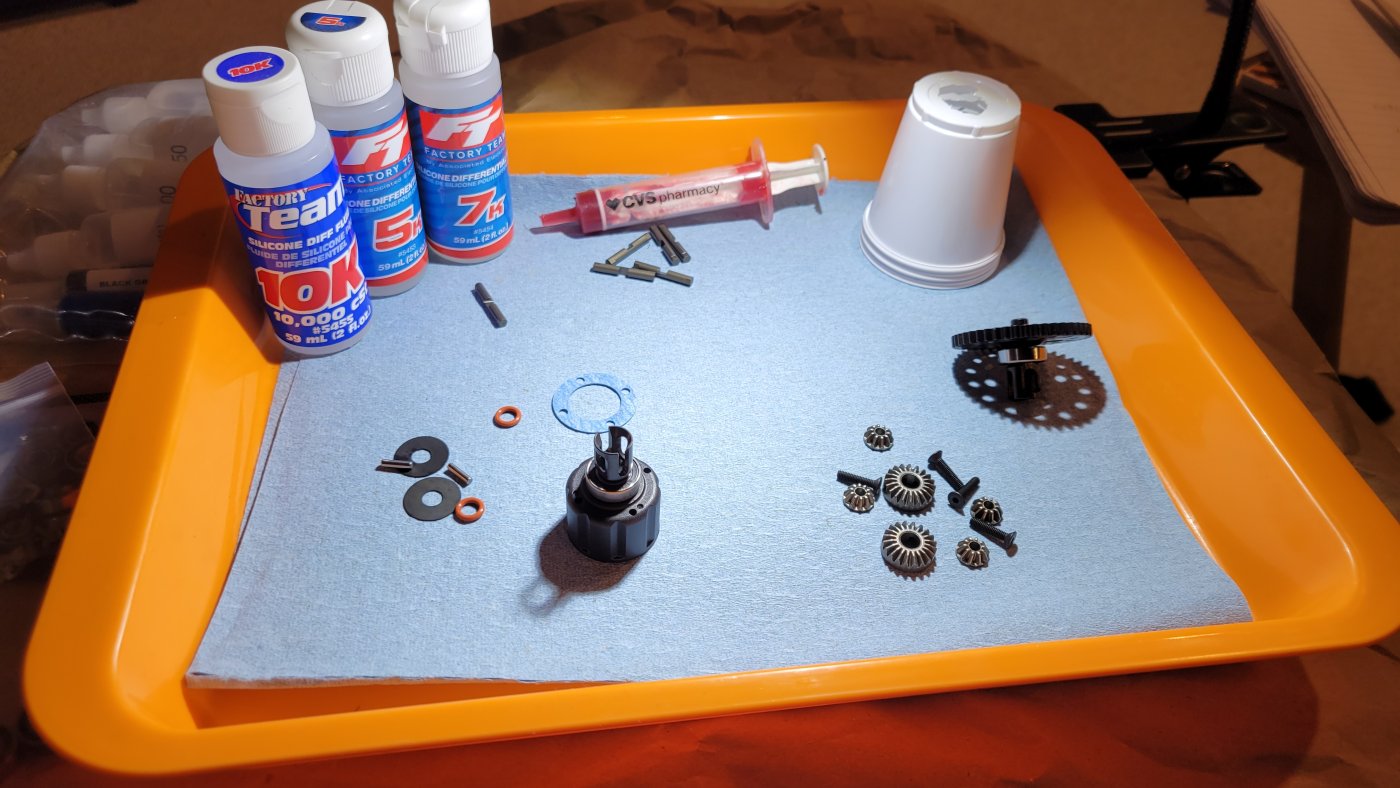
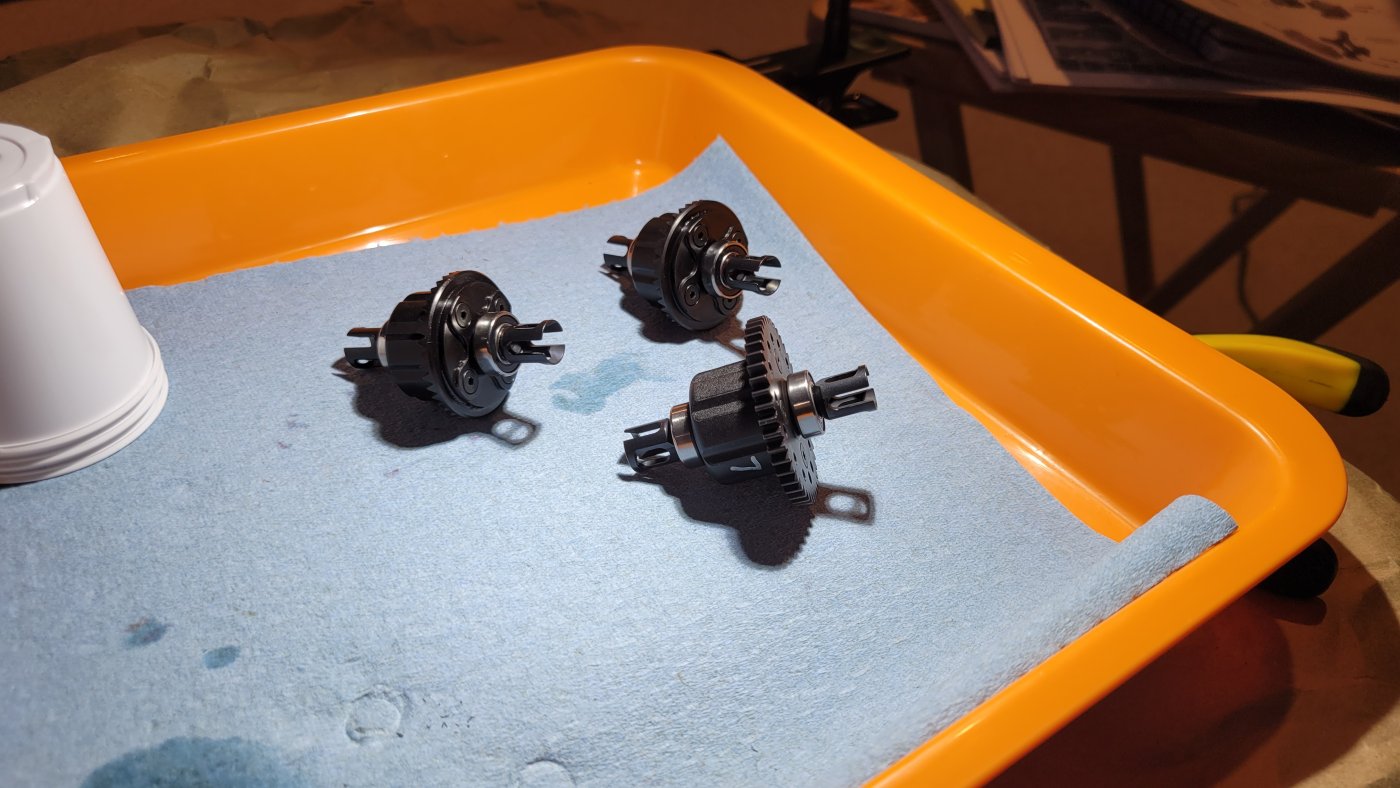
Bags A & B - All 3 diffs
This section was very simple. The diff parts were all perfectly created to Tekno's specs and everything went together easy. Once completed and filled with oil, they were smooth like butta! I was surprised that Tekno used composite diff cross pins though.
Upgrades completed:
10k/7k/5k Diff oil
Fast Eddy Bearings (throughout build)
Metal 44T spur gear-#TKR5115
Aluminum diff cross pins-#TKR5149A
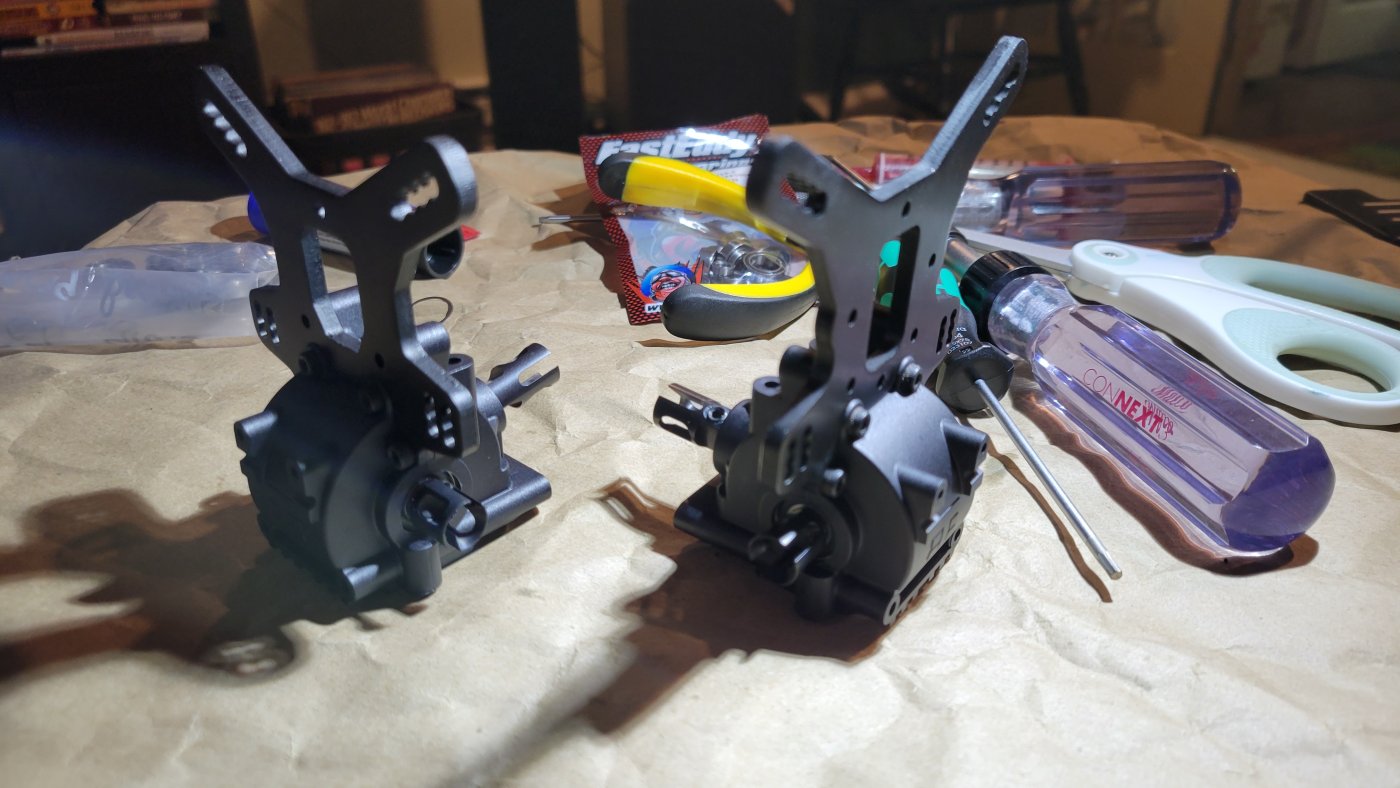
Bags C & D - Front and Rear Gearboxes
This part was straight forward and super easy.
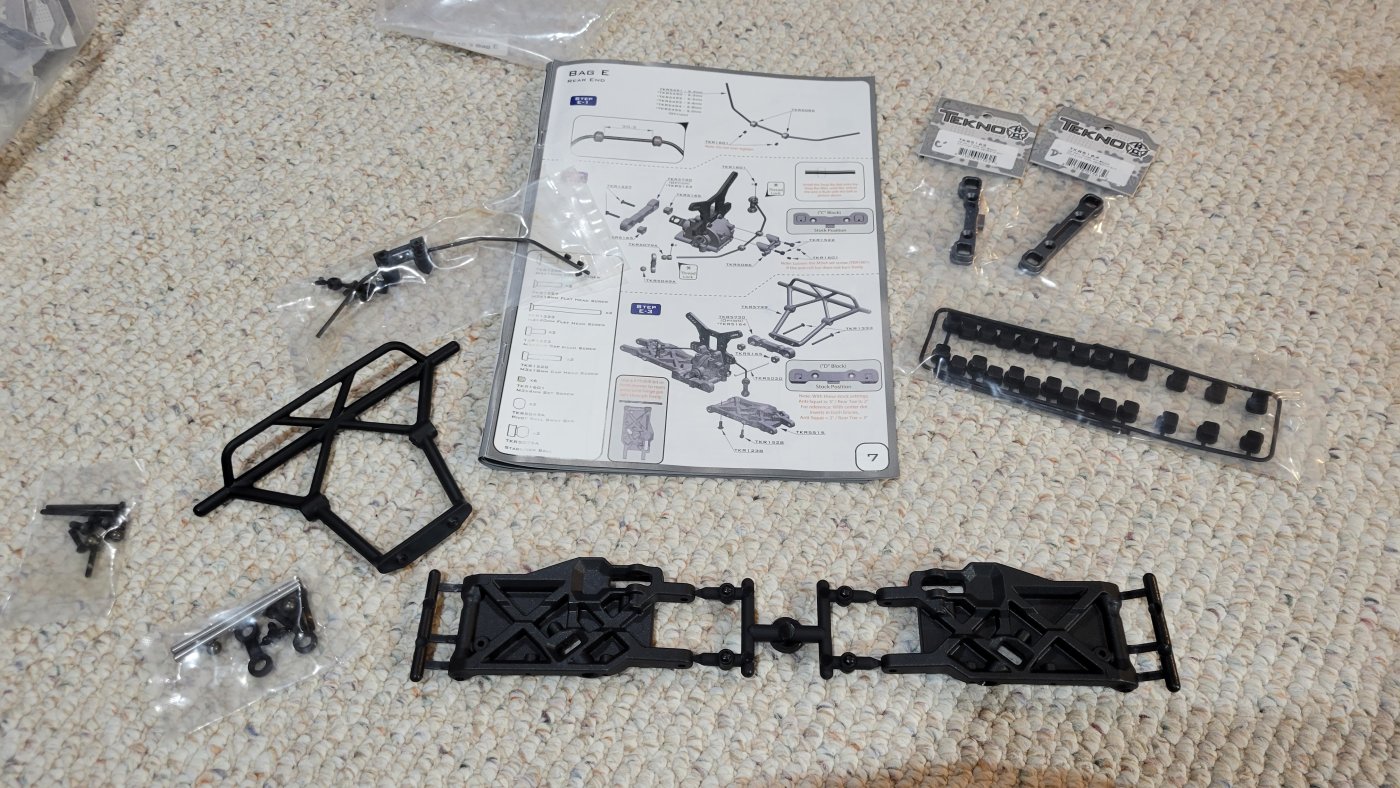
Bag E - Rear End
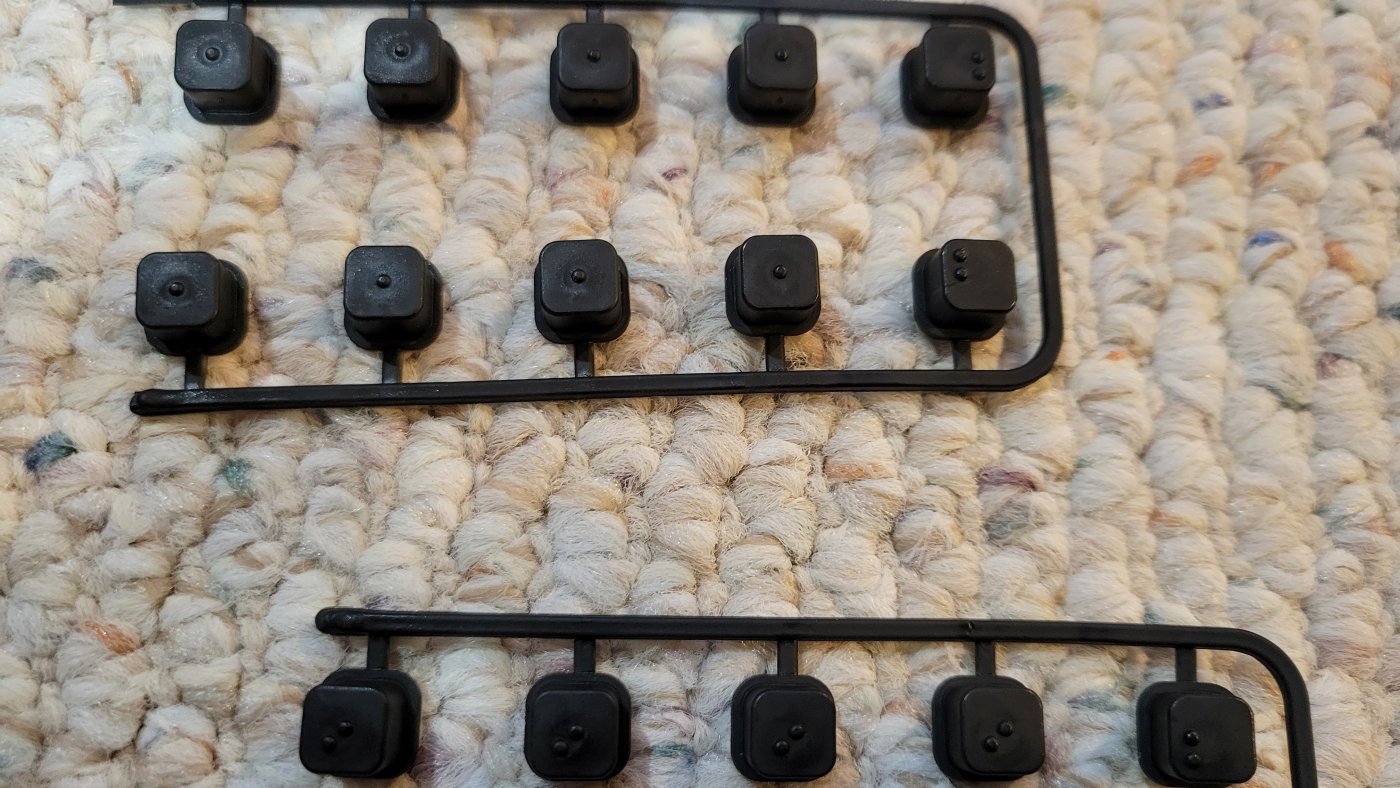
This part took me a while due to not understanding at first that the little pill pieces that go into the C & D (and A & B) blocks have a purpose. I was wondering why I had so many and what the little dots were for. They weren't braille.
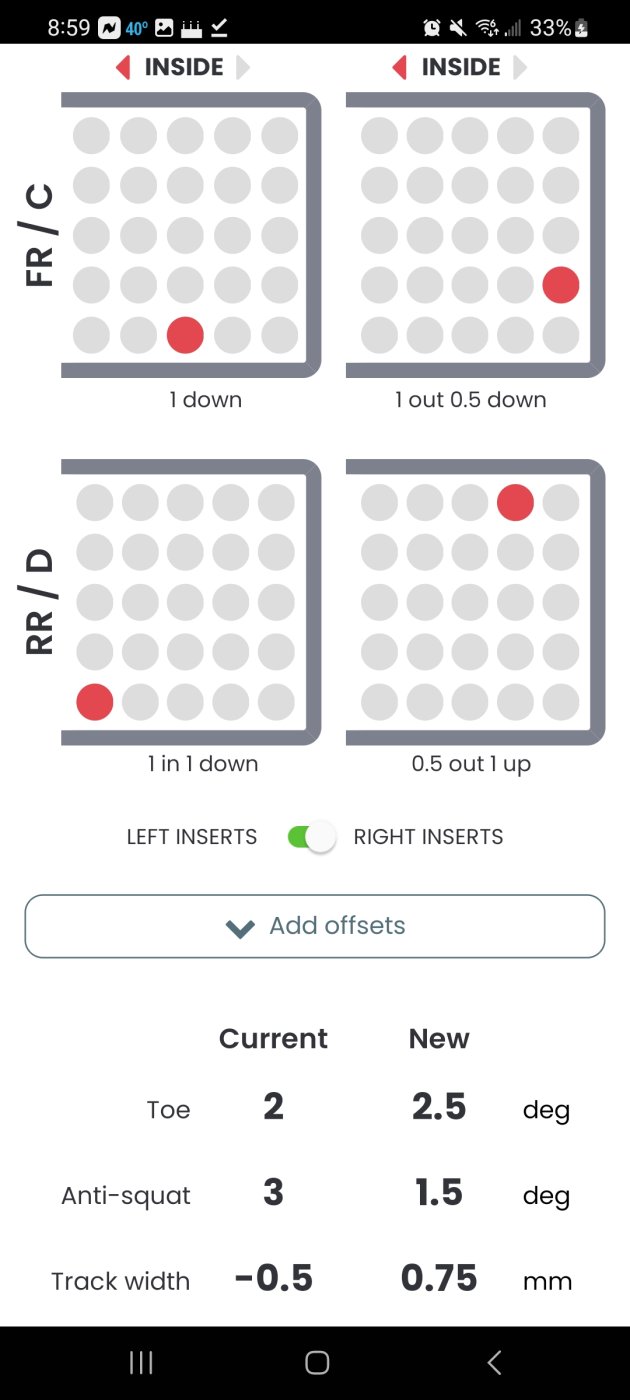
  Their purpose is to adjust the rear anti-squat and rear toe. Took me a lot of research to determine how I wanted it tuned for my dirt track since that's really the only place I'll be "racing" it. Thankfully, I found an app from So Dialed that allows you to select the different dots to see what the results are. This made it so much easier! I ended up going with .5° anti-squat and 2.5° rear toe. We'll see how that goes.
  (App pic below shows 1.5° anti-squat, however with an aluminum C Block, you subtract 1°)
I found the suspension arms did not need much reaming. Instead of a drill bit, I used a 4mm saw chain file.
Upgrades completed:
Aluminum C and D blocks-#TKR5163 & #TKR5164

Bag F - Rear Camber Links
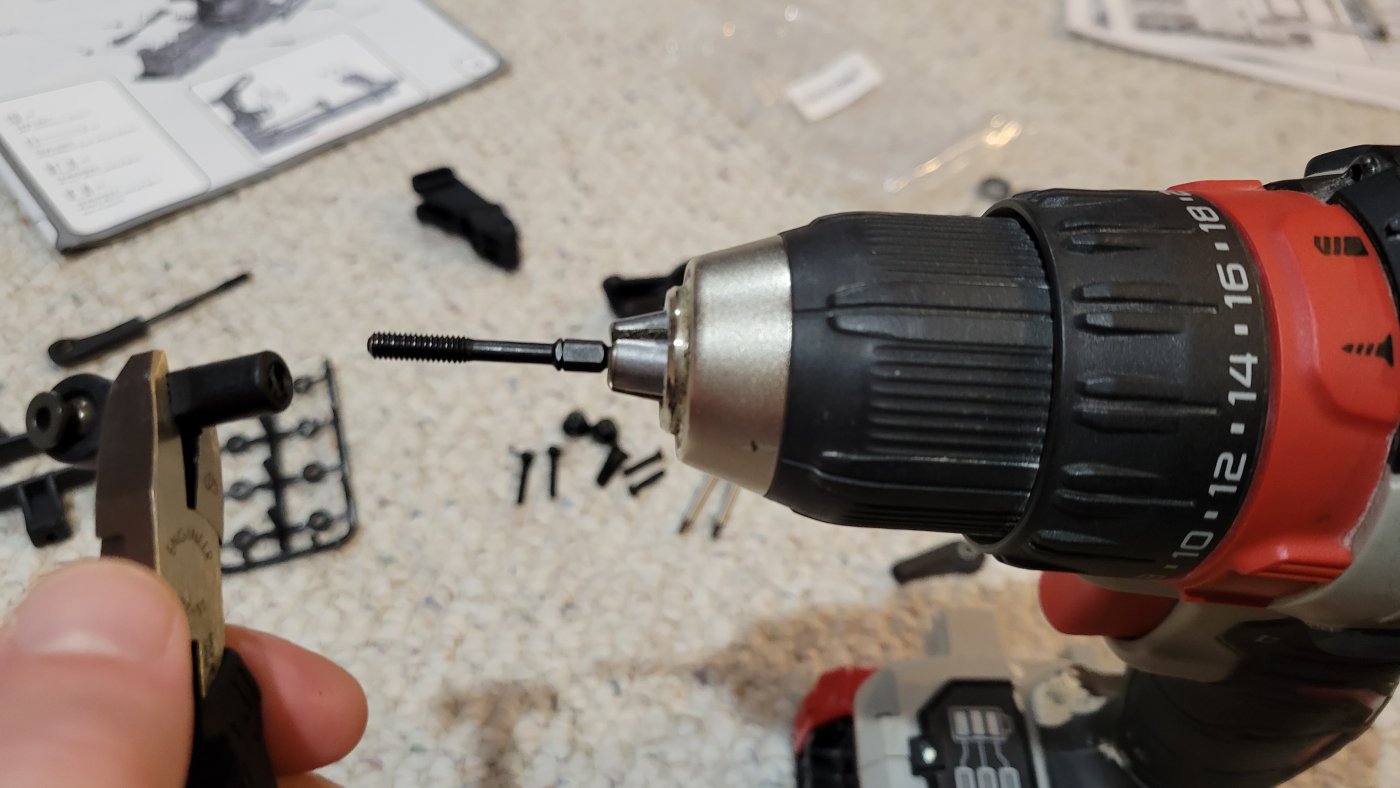
Had to pre-thread all the turnbuckles. Used a drill. I found this whole part was a PITA, but it got done. Using the drill helped, just had to make sure they were on correctly. Had to redo a couple, go figure.
Upgrades completed:
Aluminum clamping wheel hex nuts - #TKR5571A
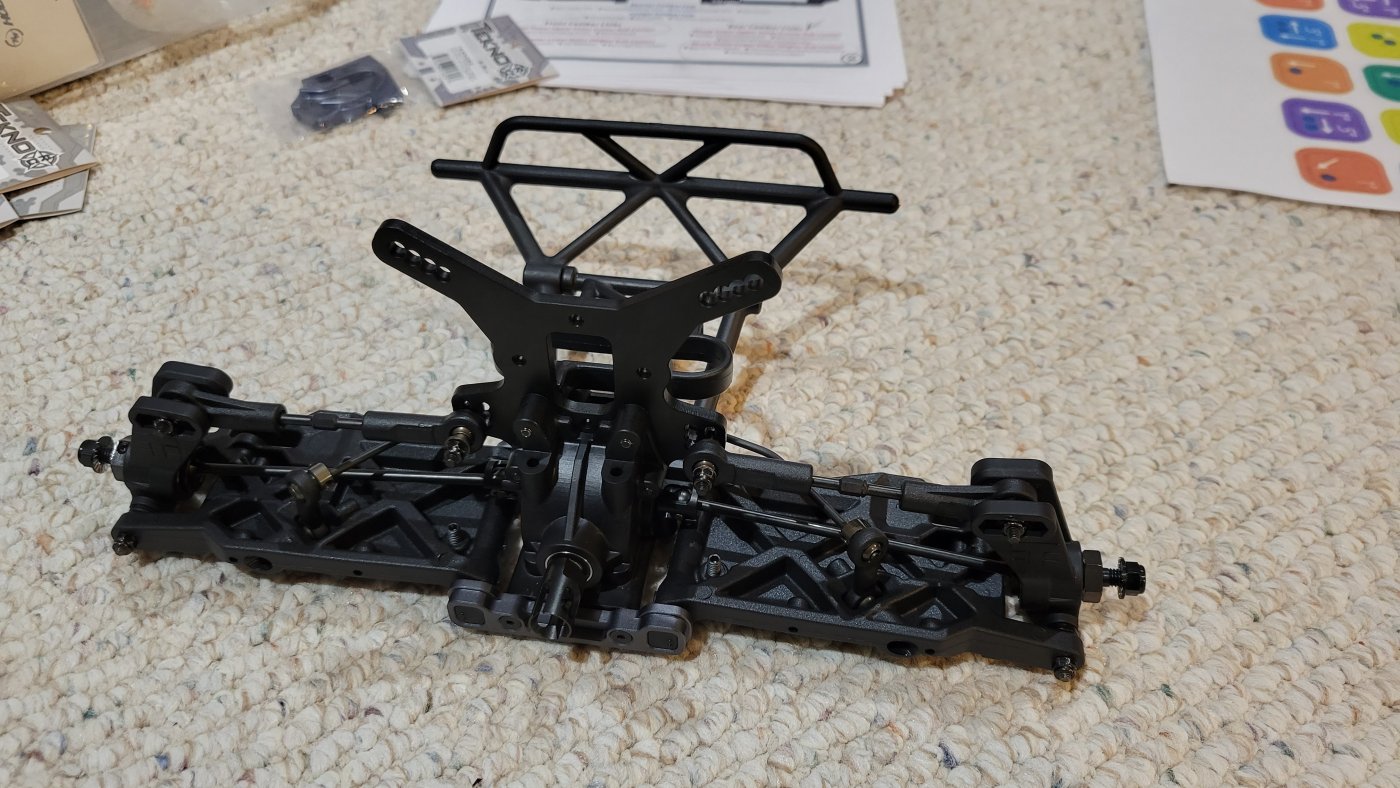
Bags G & H - Front End & Front Camber Links
Same process as Bags E & F. Went with -1° sweep & 12° kickup.
Upgrades completed:
Aluminum A & B blocks - #TKR5161 & #TKR5162
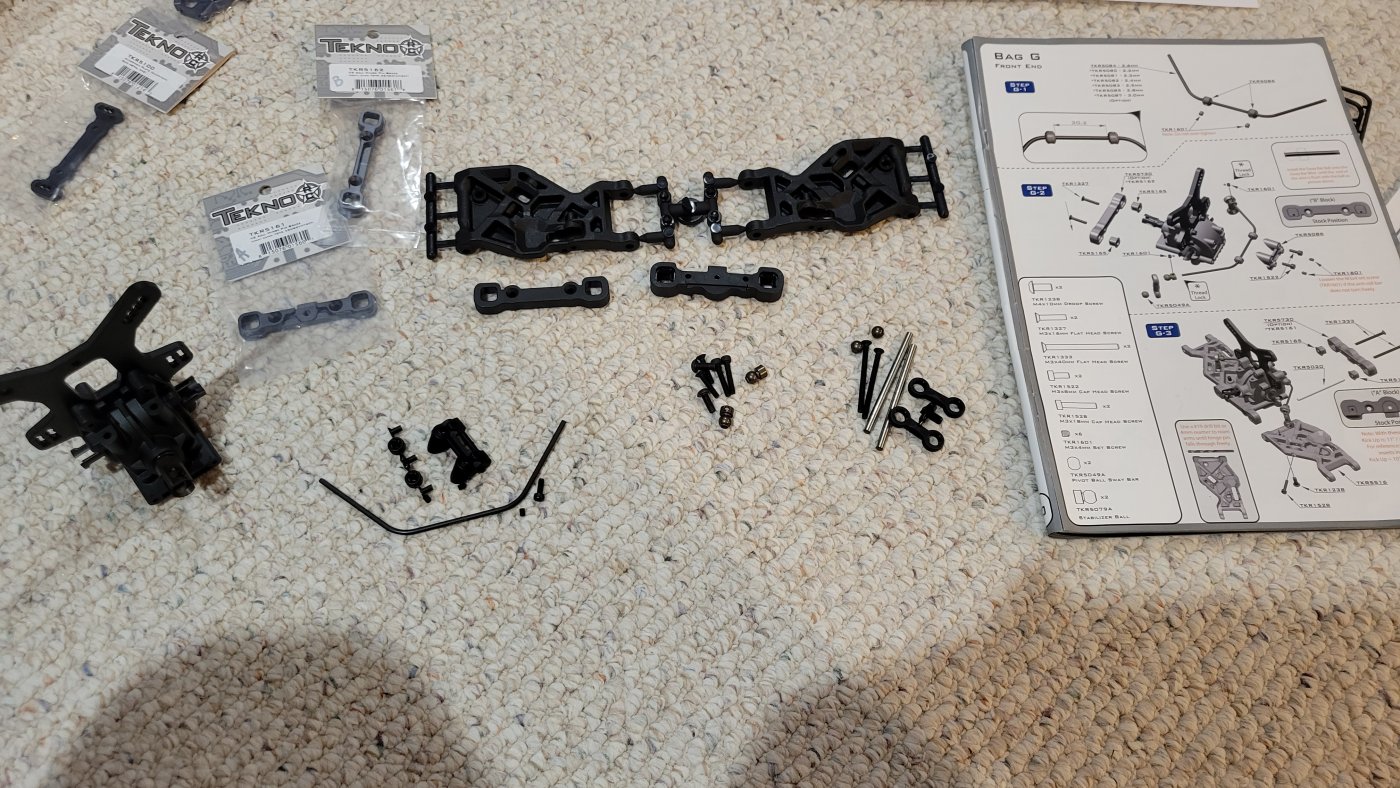
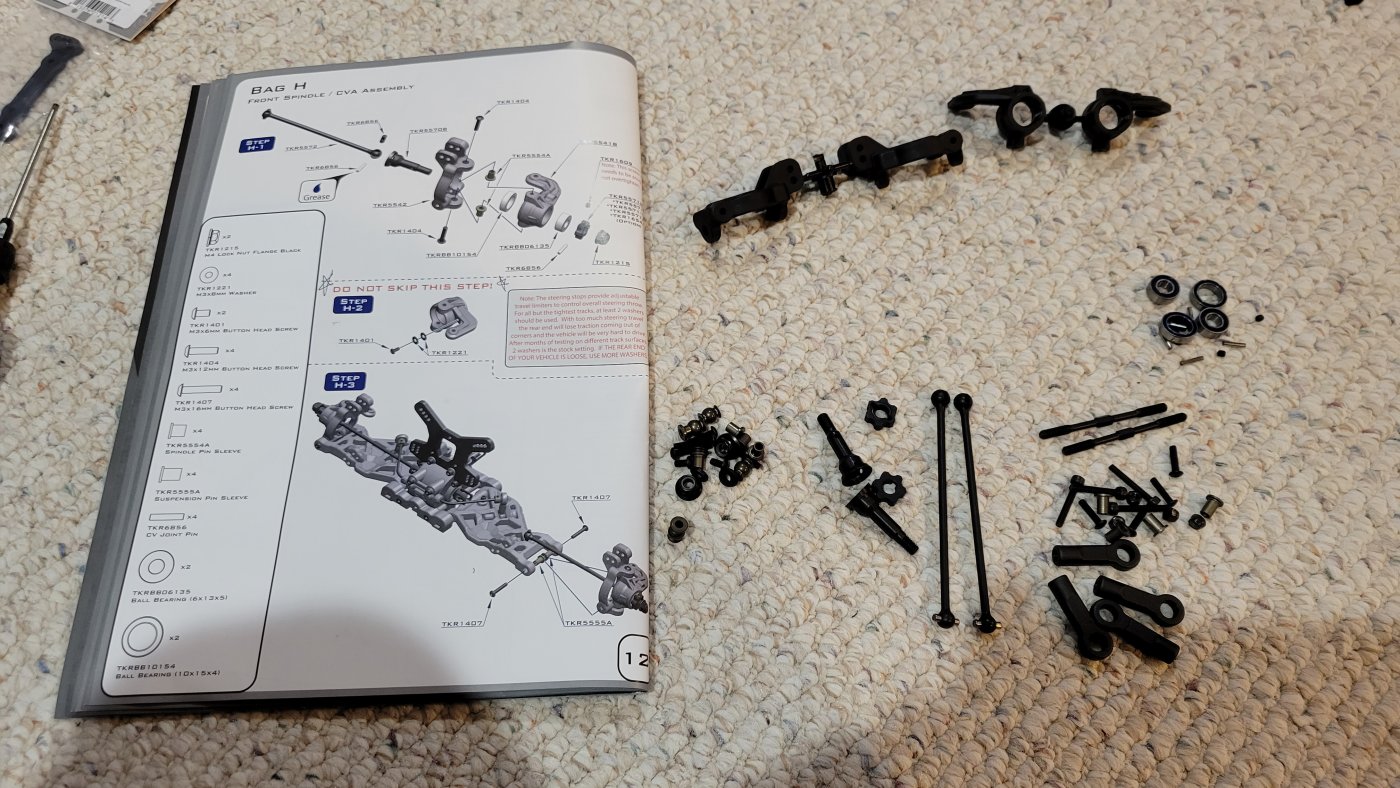

Bag I - Steering Assembly
Not bad, except for the stoopid servo saver spring. That was a real pain. Tried multi-tool, plyers, wrench, vice clamp.......finally just used all my might with my palm.
  Lined up the screw cap and pushed on it until it caught. I was able to finally get it to catch and start screwing on. Thankfully, it was straight on, and I didn’t cross thread it. Placed the Ackerman plate on the far rear hole.
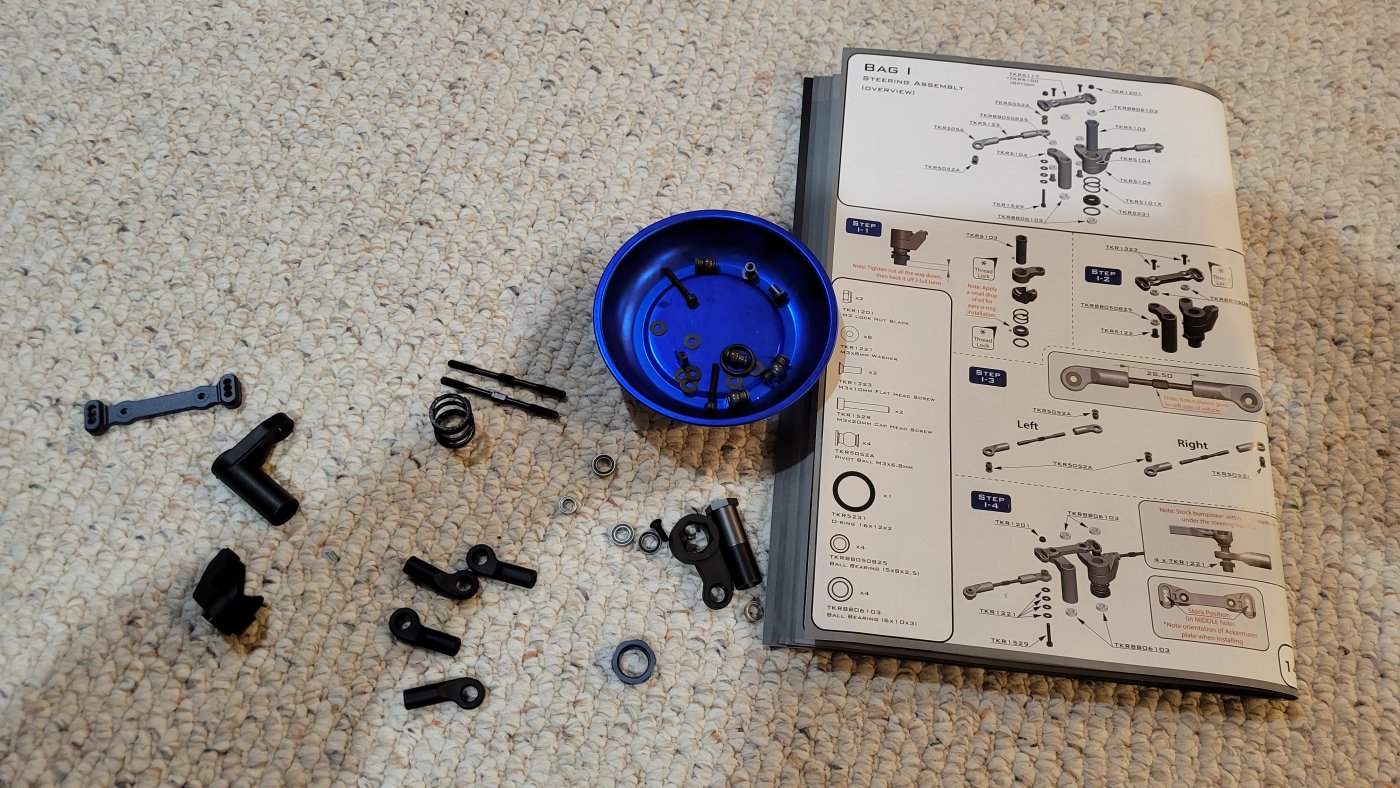
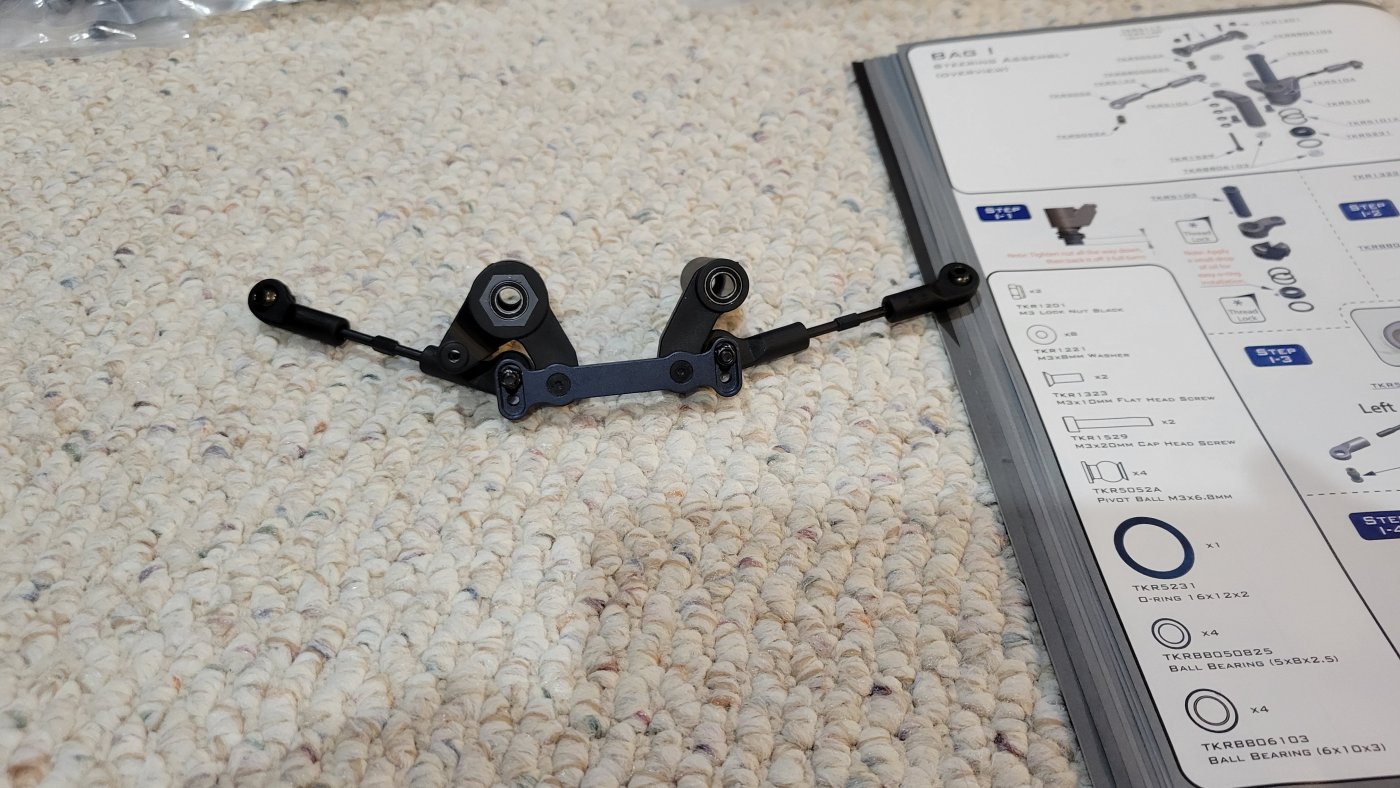
Upgrades completed:
Aluminum Ackerman plate - #TKR5100
That's it for now. Going to continue working on it today and will update my progress later. Peace Out for now!!!

The majority of my research was completed on the Tekno forum, and @bill_delong on there had the most knowledge to share. His build thread was precise, detailed, and had plenty of tips. Def helped me out a lot on my 1st kit build.
I decided to do something similar to his thread, in the hopes it helps some other newbies like me!!!
As expected, the Tekno kit is excellent quality and the build instructions are easy to follow. It's been a blast putting this together.
Bags A & B - All 3 diffs
This section was very simple. The diff parts were all perfectly created to Tekno's specs and everything went together easy. Once completed and filled with oil, they were smooth like butta!
Upgrades completed:
10k/7k/5k Diff oil
Fast Eddy Bearings (throughout build)
Metal 44T spur gear-#TKR5115
Aluminum diff cross pins-#TKR5149A
Bags C & D - Front and Rear Gearboxes
This part was straight forward and super easy.
Bag E - Rear End
This part took me a while due to not understanding at first that the little pill pieces that go into the C & D (and A & B) blocks have a purpose.
I found the suspension arms did not need much reaming. Instead of a drill bit, I used a 4mm saw chain file.
Upgrades completed:
Aluminum C and D blocks-#TKR5163 & #TKR5164
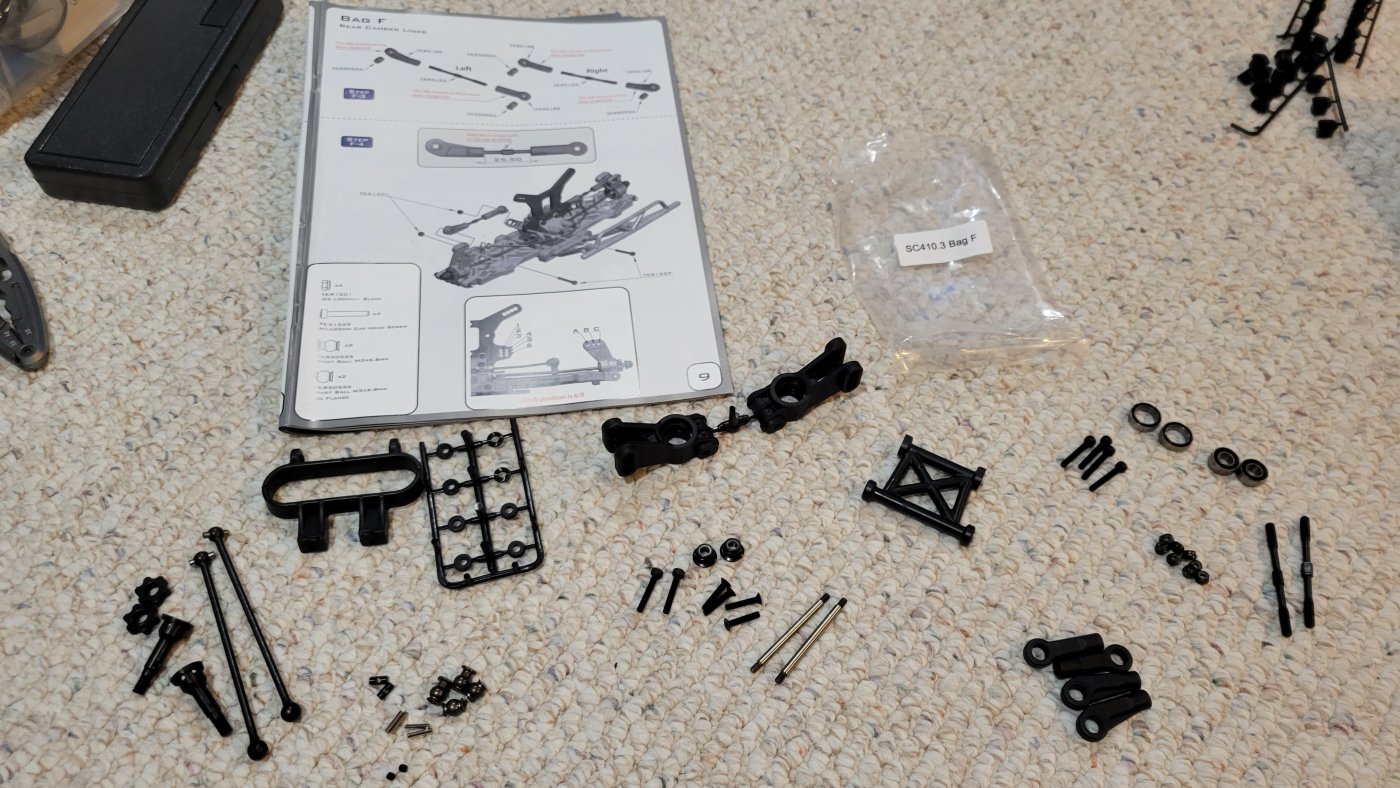
Bag F - Rear Camber Links
Had to pre-thread all the turnbuckles. Used a drill. I found this whole part was a PITA, but it got done. Using the drill helped, just had to make sure they were on correctly. Had to redo a couple, go figure.
Upgrades completed:
Aluminum clamping wheel hex nuts - #TKR5571A
Bags G & H - Front End & Front Camber Links
Same process as Bags E & F. Went with -1° sweep & 12° kickup.
Upgrades completed:
Aluminum A & B blocks - #TKR5161 & #TKR5162
Bag I - Steering Assembly
Not bad, except for the stoopid servo saver spring. That was a real pain.
Upgrades completed:
Aluminum Ackerman plate - #TKR5100
That's it for now. Going to continue working on it today and will update my progress later. Peace Out for now!!!


