- Messages
- 1,548
- Reaction score
- 2,836
- Points
- 520
- Location
- Iowa
- RC Driving Style
- Racing
- Crawling
- Scale Builder
- Flying
- Thread starter
- #81
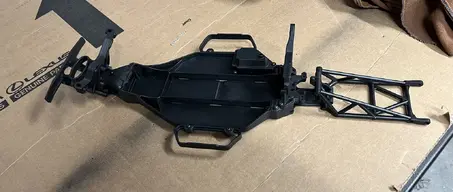
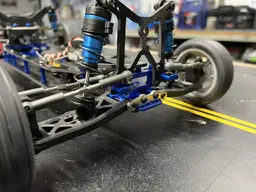
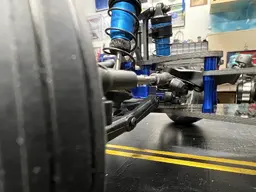
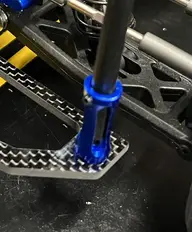
Looking at the set up this morning. The ten inch wheelie bar bolted to plastic motor cover allows a ton of side flex.
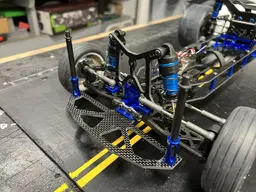
I am questioning buying the DR10 roller kit.
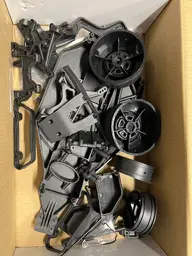
I like the platform and got the Drag Race Concepts chassis for the kit. But for those thinking about the kit. I have replaced almost the whole thing. And knowing me I’ll probably end up building another whole rig out of it later. But the only thing I’m using is the control arms, shocks and link rods. I don’t even use the hardware. I save the kit hardware for repairs later. Because it’s all good standard hardware in covenant bags.
Now I need a metal motor cover and upper mounts. This will definitely keep the wheelie bar from swinging side to side.
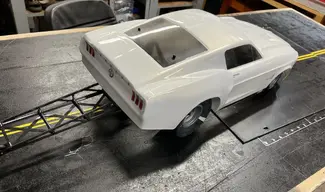
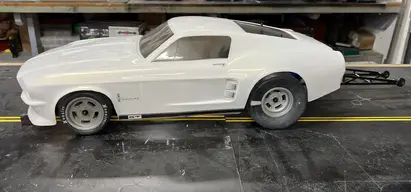
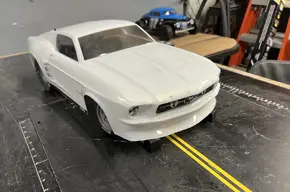
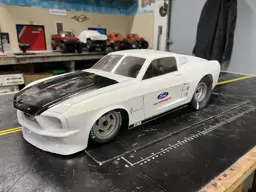
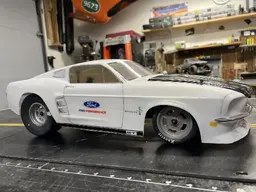
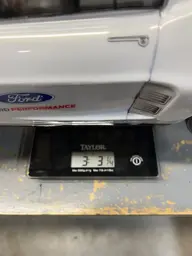
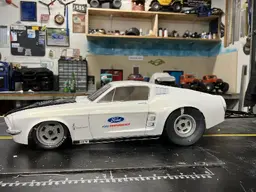
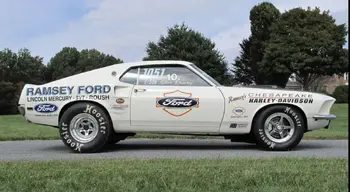
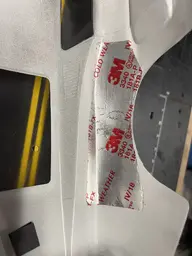
Going to work on the body trimming the edge. And working on paint color options this weekend.
I am questioning buying the DR10 roller kit.
I like the platform and got the Drag Race Concepts chassis for the kit. But for those thinking about the kit. I have replaced almost the whole thing. And knowing me I’ll probably end up building another whole rig out of it later. But the only thing I’m using is the control arms, shocks and link rods. I don’t even use the hardware. I save the kit hardware for repairs later. Because it’s all good standard hardware in covenant bags.
Now I need a metal motor cover and upper mounts. This will definitely keep the wheelie bar from swinging side to side.
Going to work on the body trimming the edge. And working on paint color options this weekend.