• Welcome to RCTalk! 🚀

    Join the #1 RC community where hobbyists connect, share, and get expert advice on RC cars, trucks, boats, drones, and more!

    • Friendly & passionate RC enthusiasts
    • RC tips & troubleshooting
    • Buy, sell & trade RC gear
    • Share builds & upgrades

New Project...

This site may earn a commission from merchant affiliate
links, including eBay, Amazon, and others.

HPIguy

Durability Tester
Community Leader
Supporter
Excellence Award
Build Thread Contributor
Messages
9,887
Reaction score
6,048
Points
2,315
Location
Great Smoky Mountains
RC Driving Style
  1. Bashing
  2. Crawling
  3. Scale Builder
  4. Flying
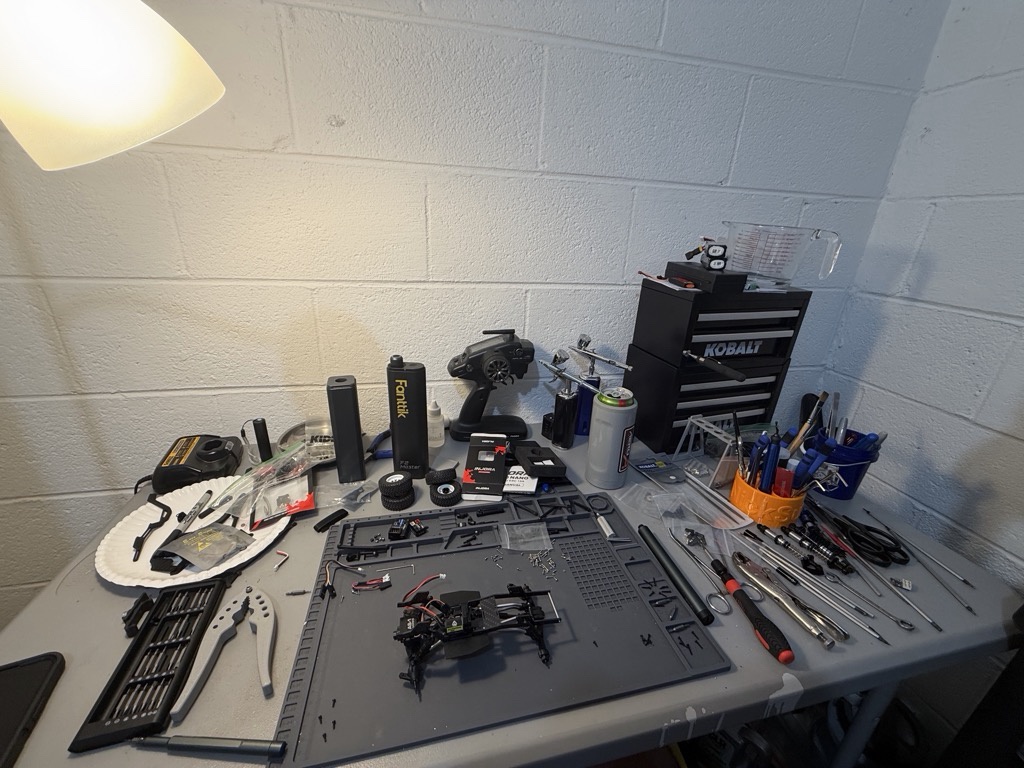
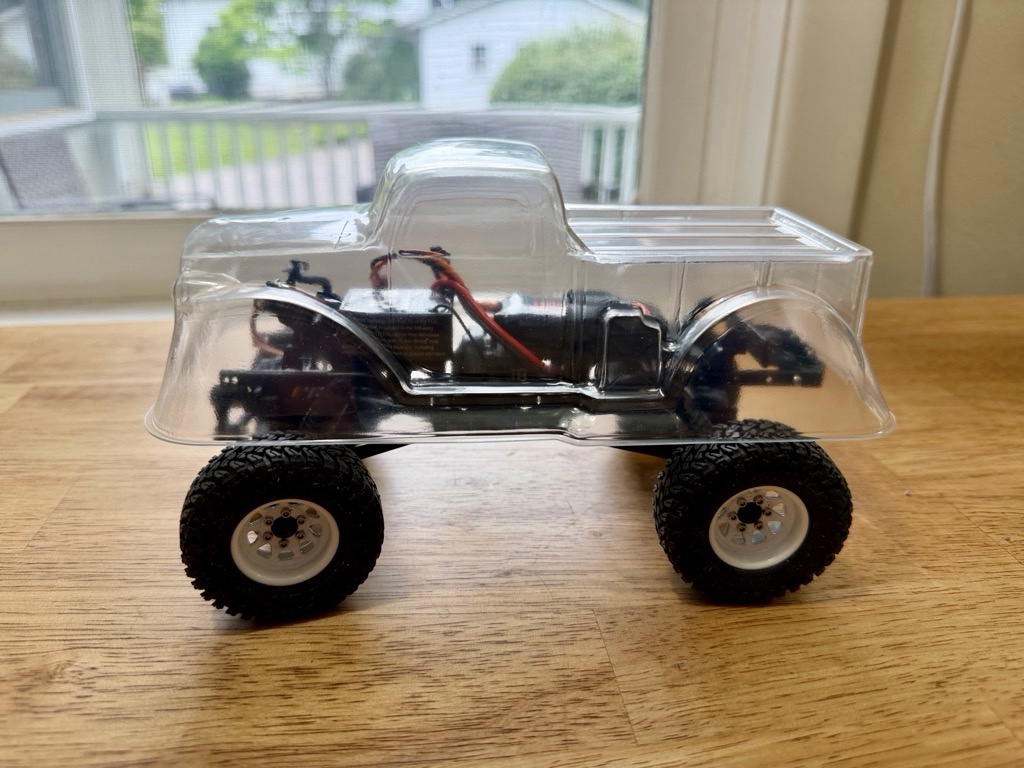
What do you do when you have two already unfinished projects on the bench? You start another of course. Snagged this SCX24 off Fakebook MP. Really clean, Injora steelies, tires, and front wheel weight. And came with the now discontinued Betty body that I always liked. Got paint on order for it.

41hkvZH.jpeg


HxV1Tpv.jpeg


zfvJ6j9.jpeg
 
We'll see how this goes. Worst case scenario, it becomes a tow rig for the drift car. LOL


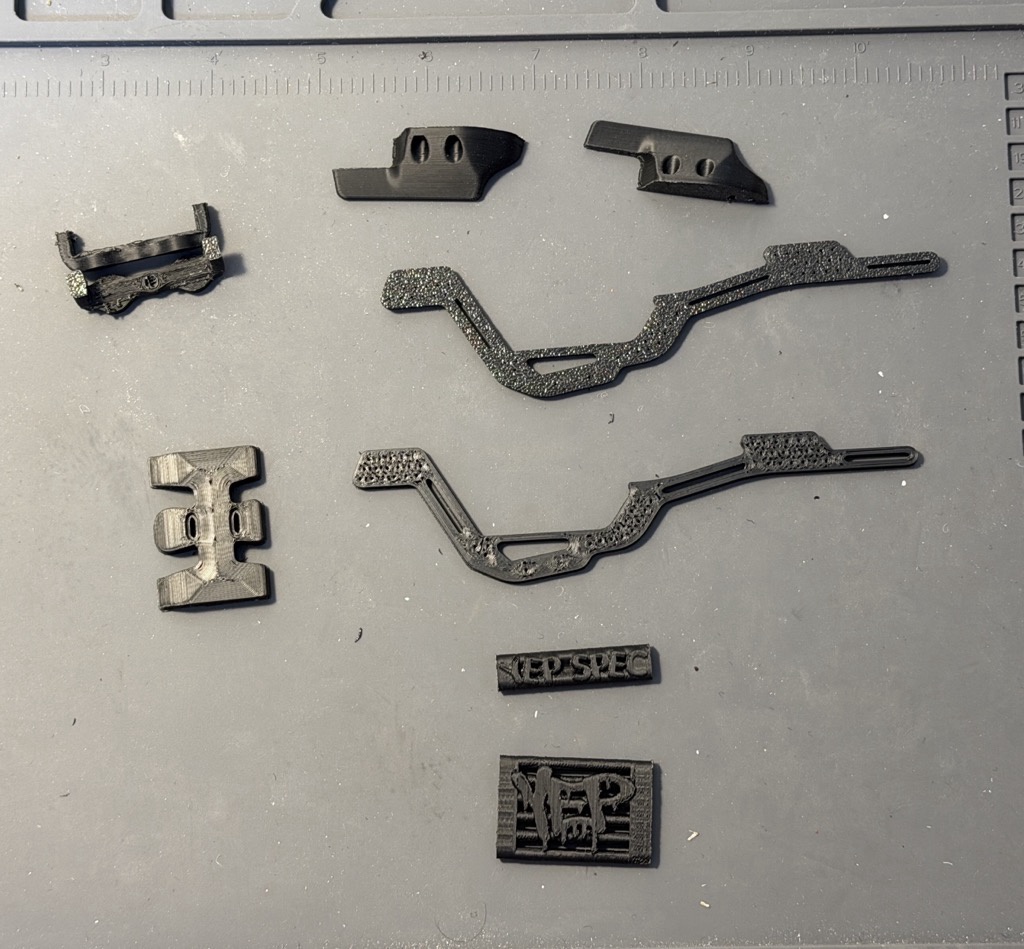
Printed out the Yep Spec chassis out of ABS, links and paint should be here today.


WbEeJIi.jpeg
 
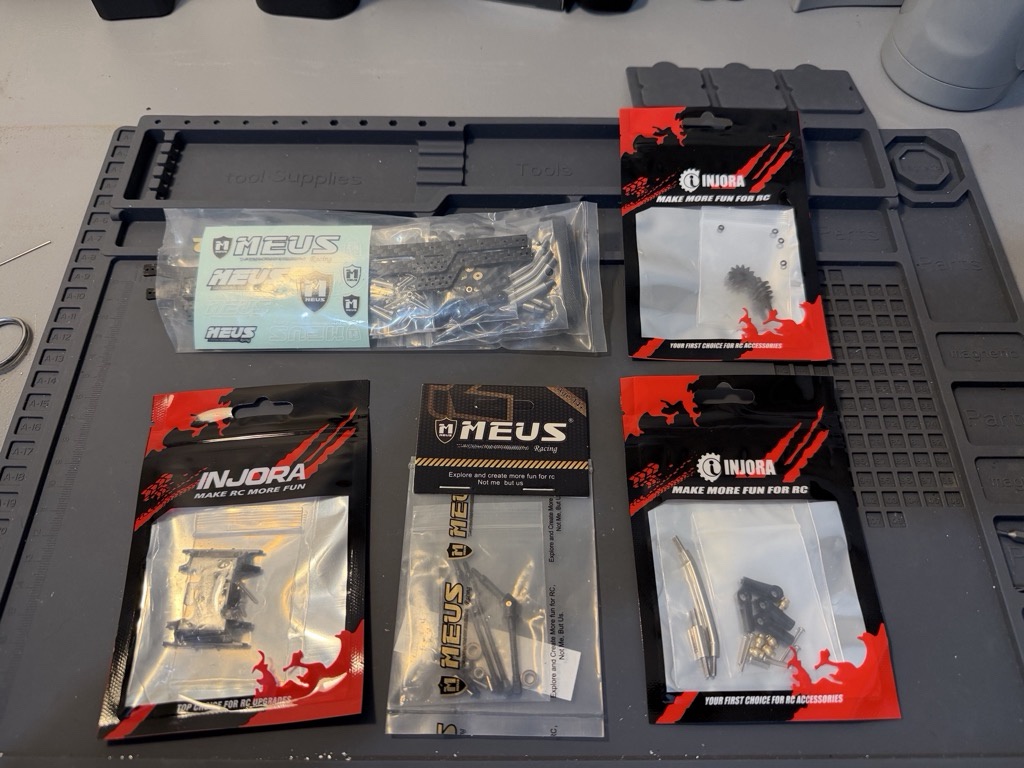
Well, everything finally showed up. Scored a Meus carbon LCG chassis setup on Prime day for $24 (3D printed ones just weren't stout enough for my liking), which came with links, driveshafts, and body mounts. Also doing Injora steering links, Injora overdrive in the front axle, Injora brass skid which allows me to flip the trans for motor forward for weight distribution, and Meus CVD drives up front.

BP18IAK.jpeg


Made some good progress last night, started here…

Q3WLJ0o.jpeg


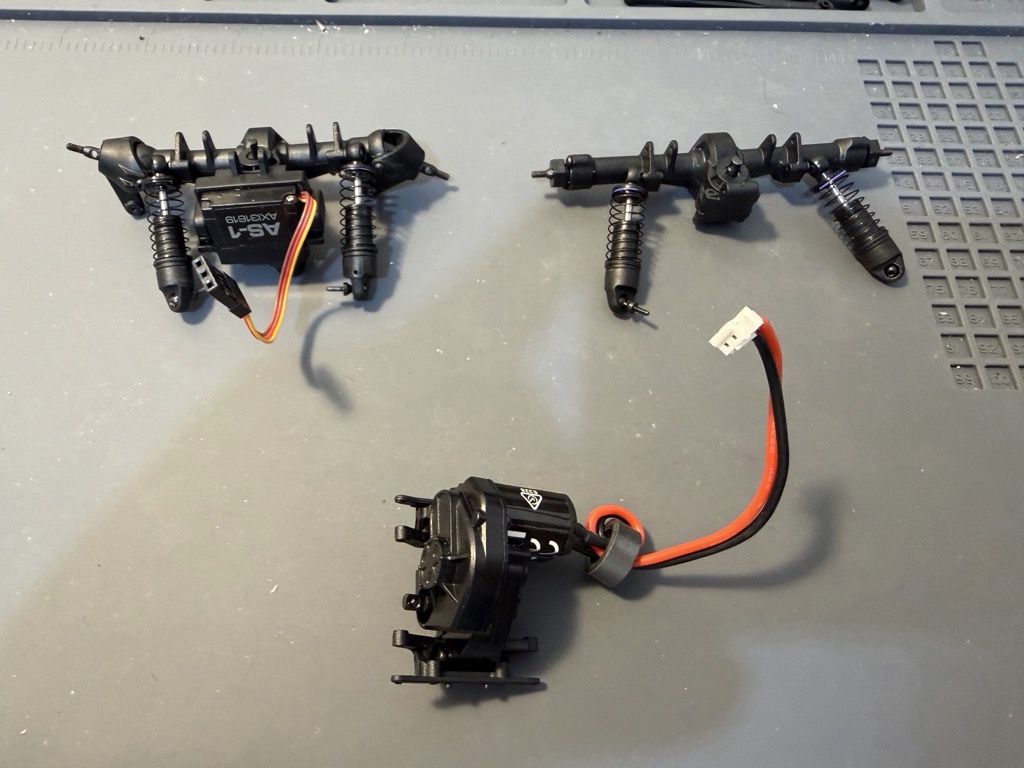
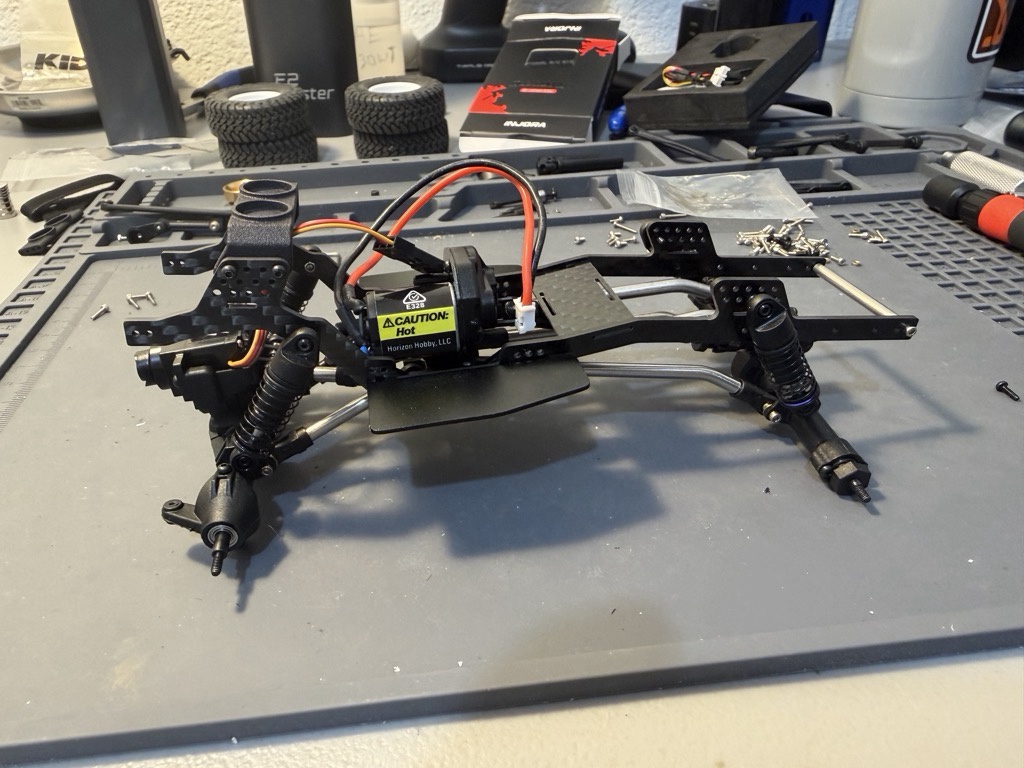
Tore that down to just this

QfKfQ2p.jpeg


This stuff is tiny LOL

w5XhZpZ.jpeg


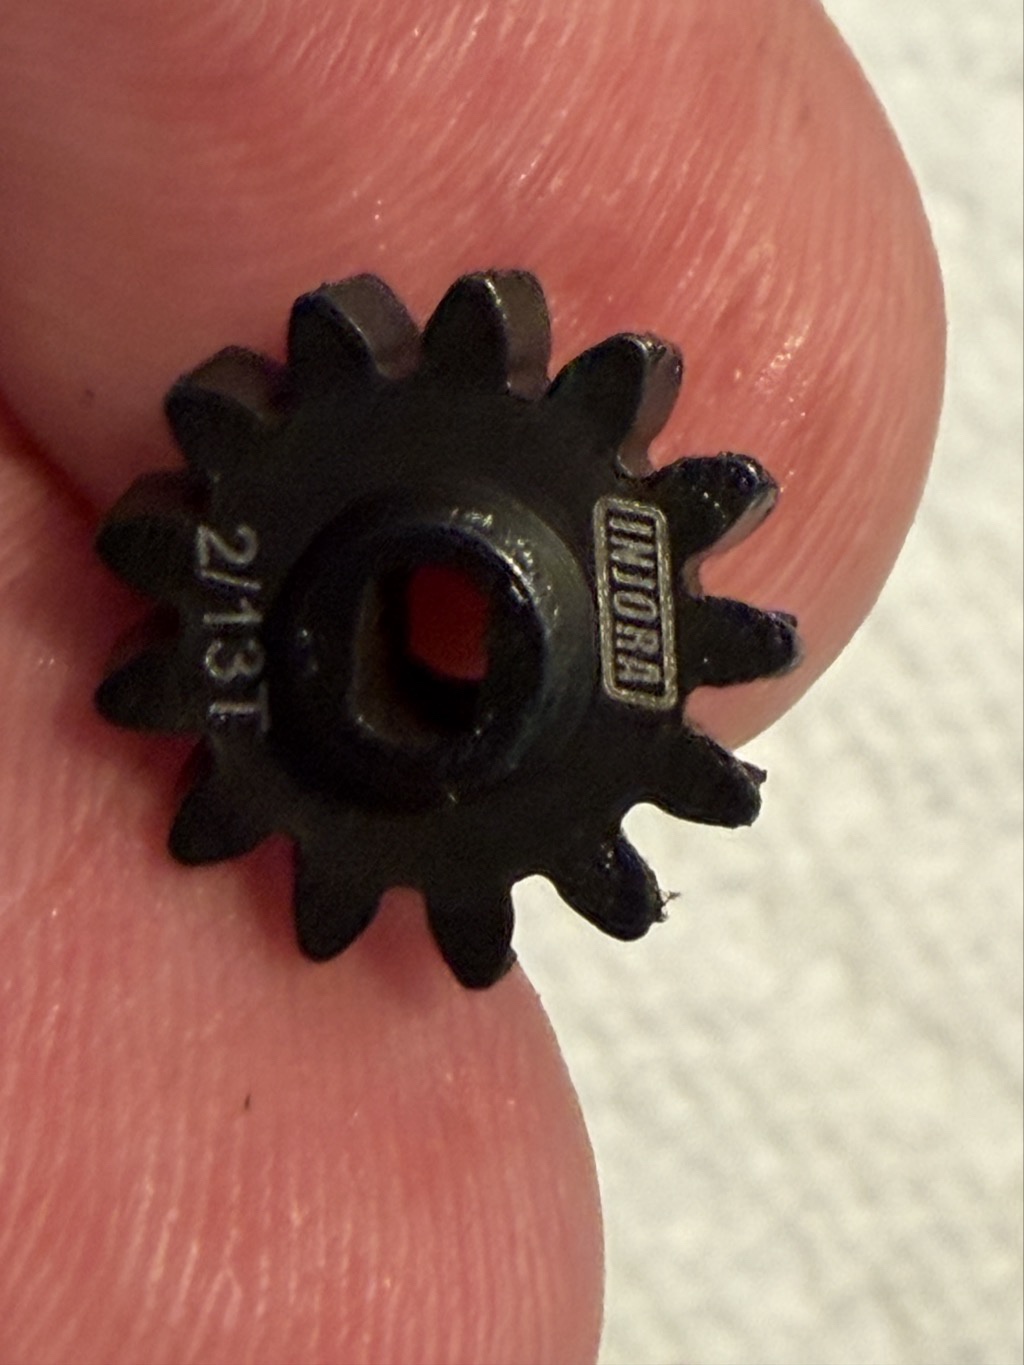
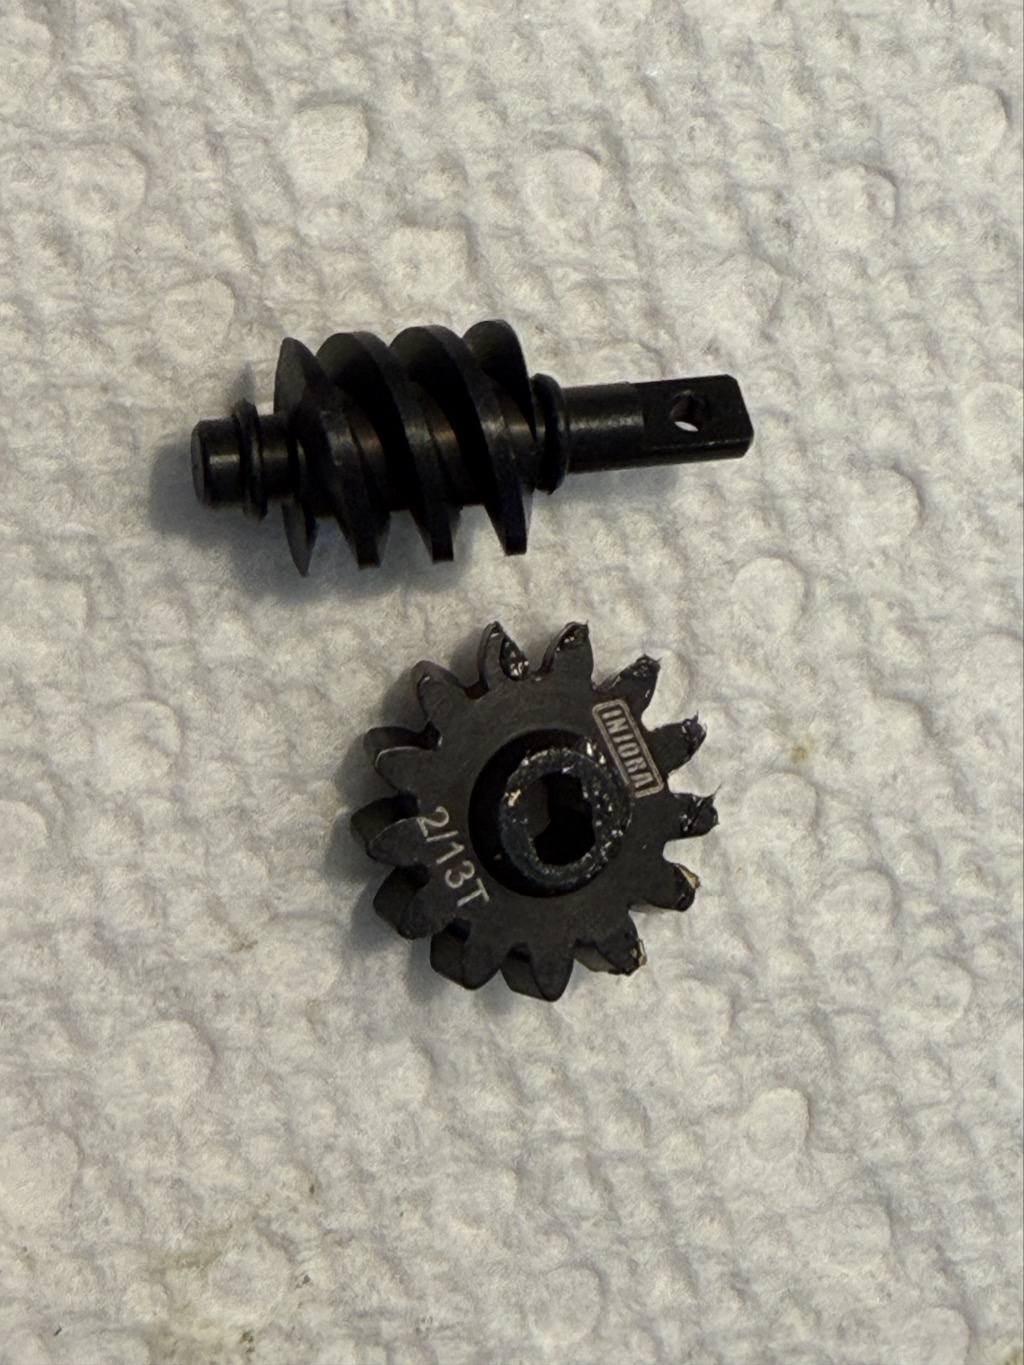
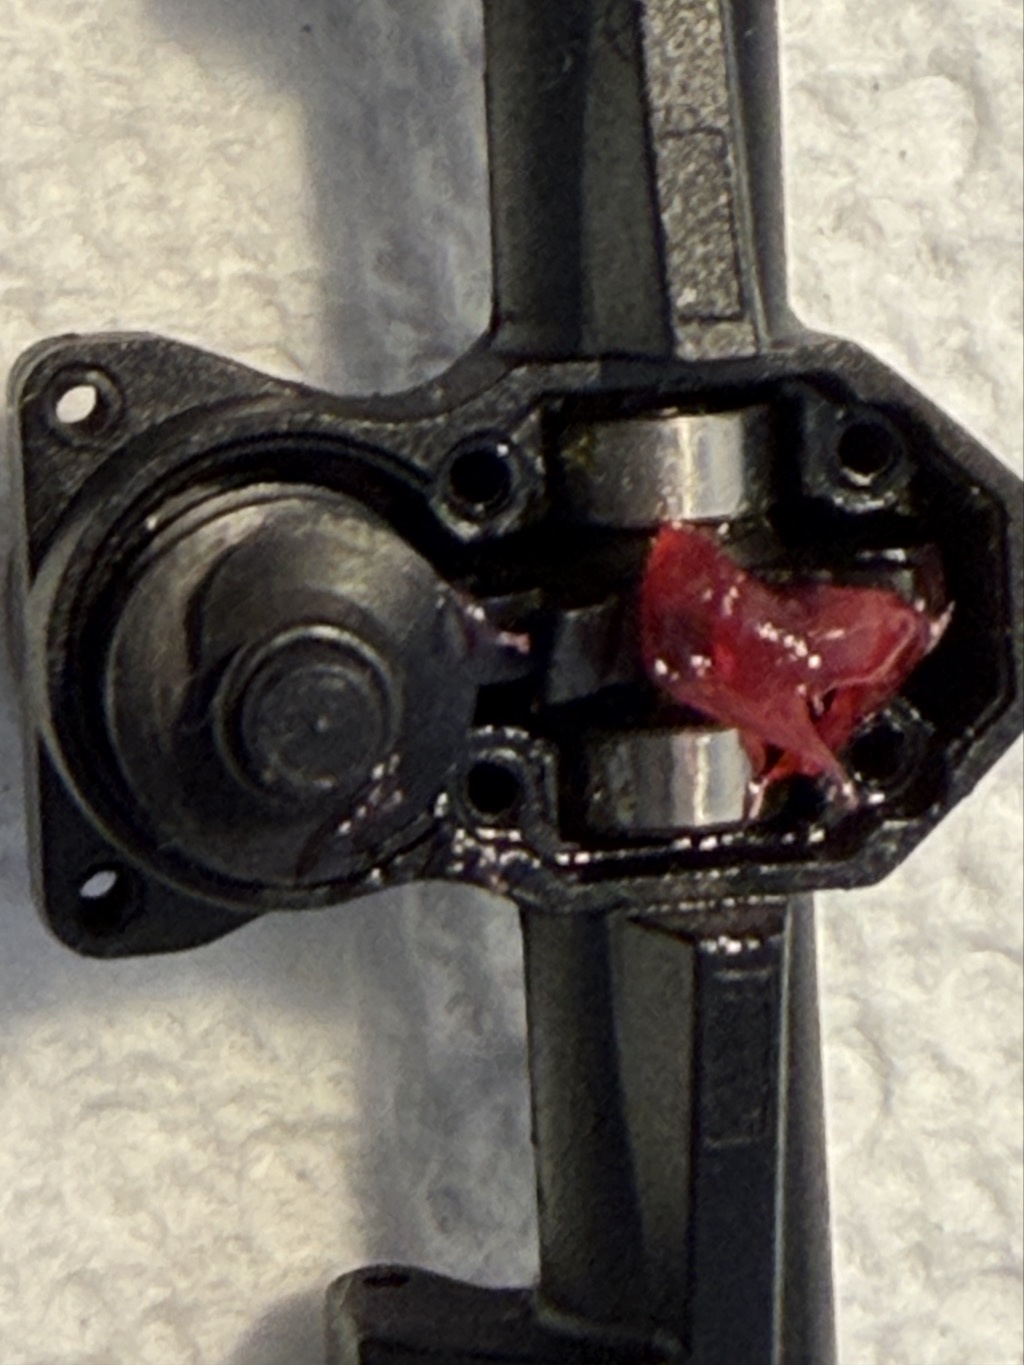
Overdrive installed with some Red ’n Tacky

cbnh8zo.jpeg


PkmW827.jpeg


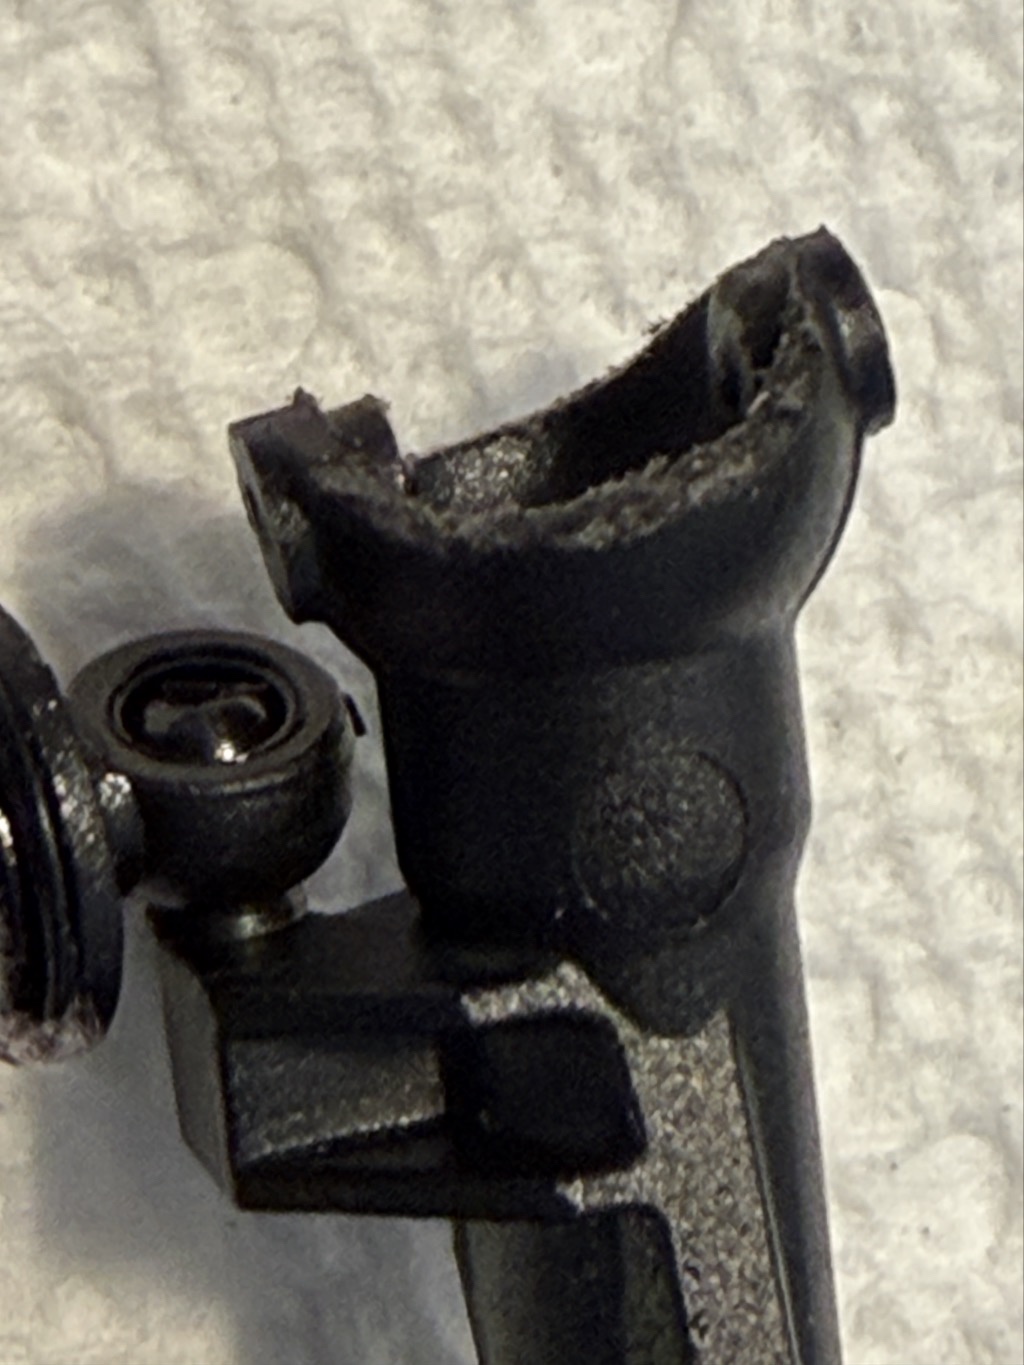
Trimmed the housings for more steering (cleaned the cut up after this too)

Vxj0Nyv.jpeg


I called it quits at this point last night. Just gotta do my electronics, and paint the body and it’s ready to roll.

hLgWUIc.jpeg


I swear this was clean when I started.

lOunL34.jpeg
 
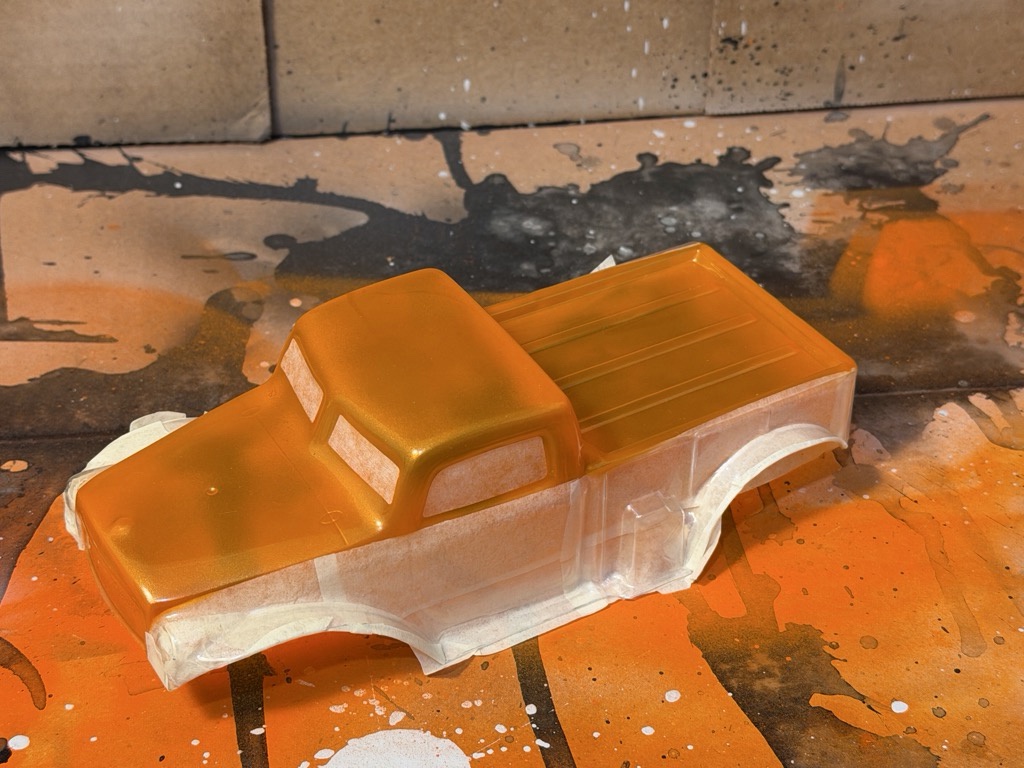
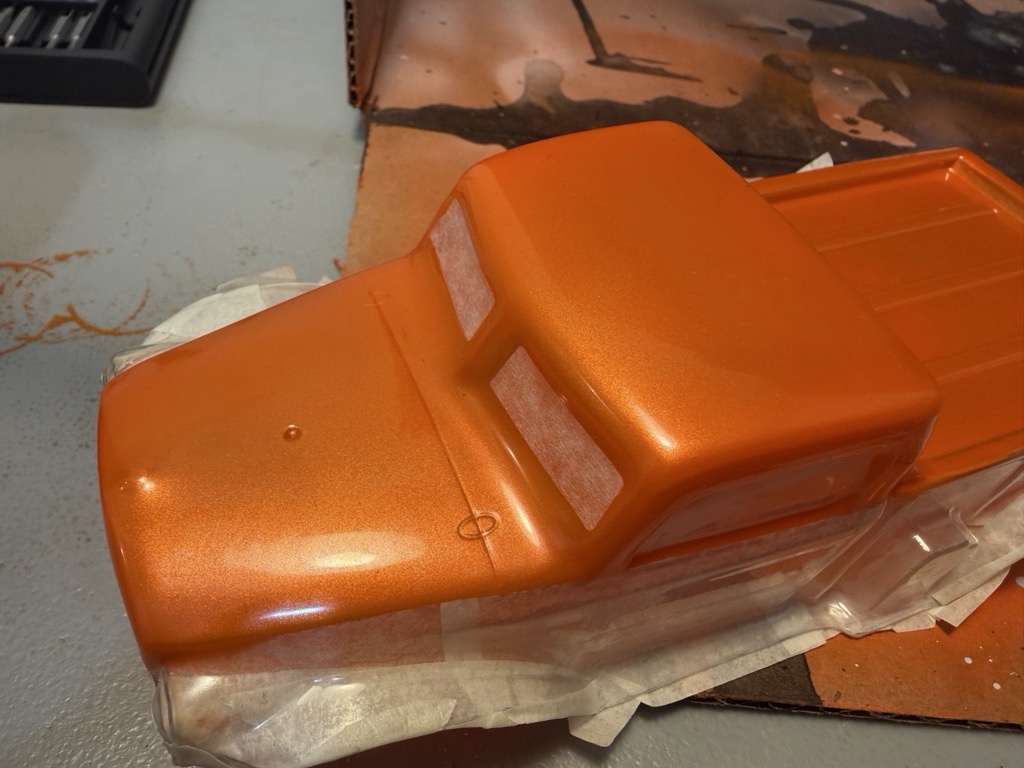
I got started on paint last night while I await more parts. I didn’t realize this was a metallic orange when I ordered it, but I kinda dig it, happy accident. Also happy to report that I finally think I’ve figured out how to get my airbrush to spray decently.

ZFcvtF5.jpeg


tL8sqHt.jpeg


gKUKagJ.jpeg
 
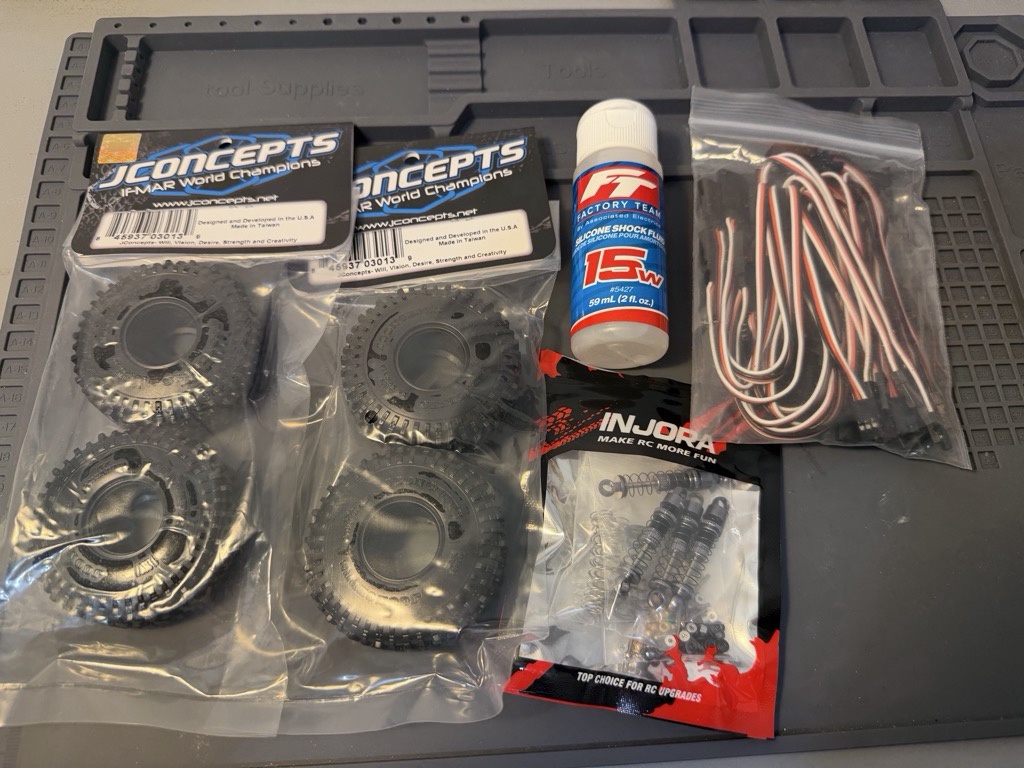
So, some more stuff came in, and I fianlly got some tinkering time, so more progress is being made. Injora 39mm shocks, J Concepts Tusks (more on that later), servo extensions, and 15wt shock oil.

dxodUYg.jpeg


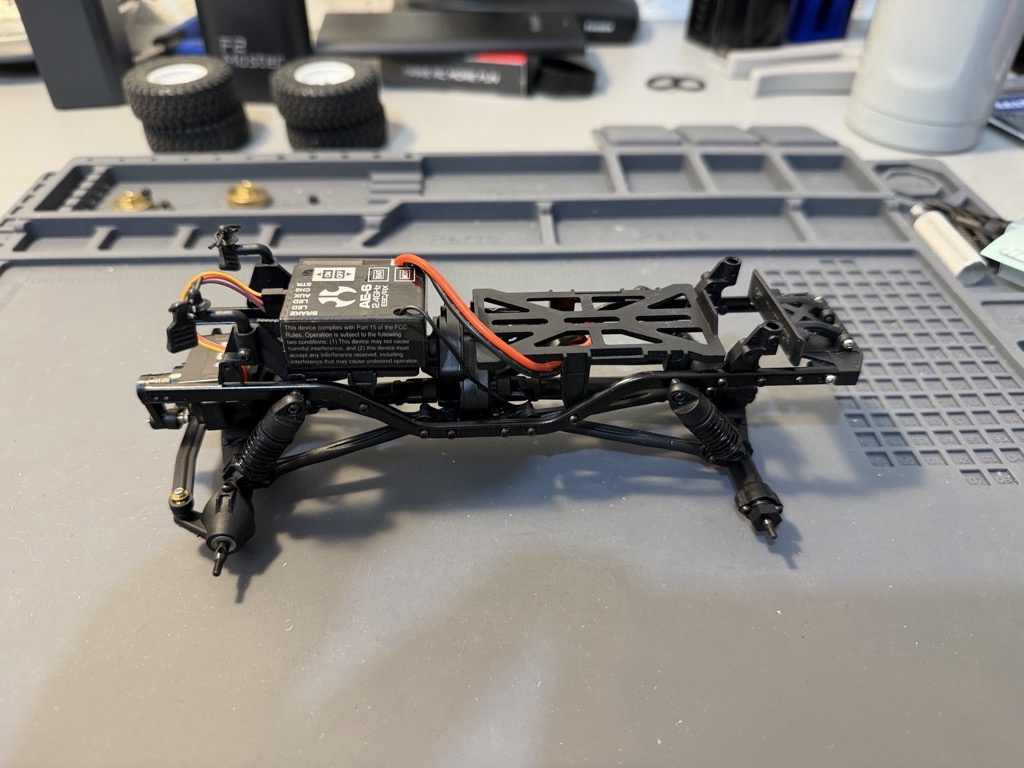
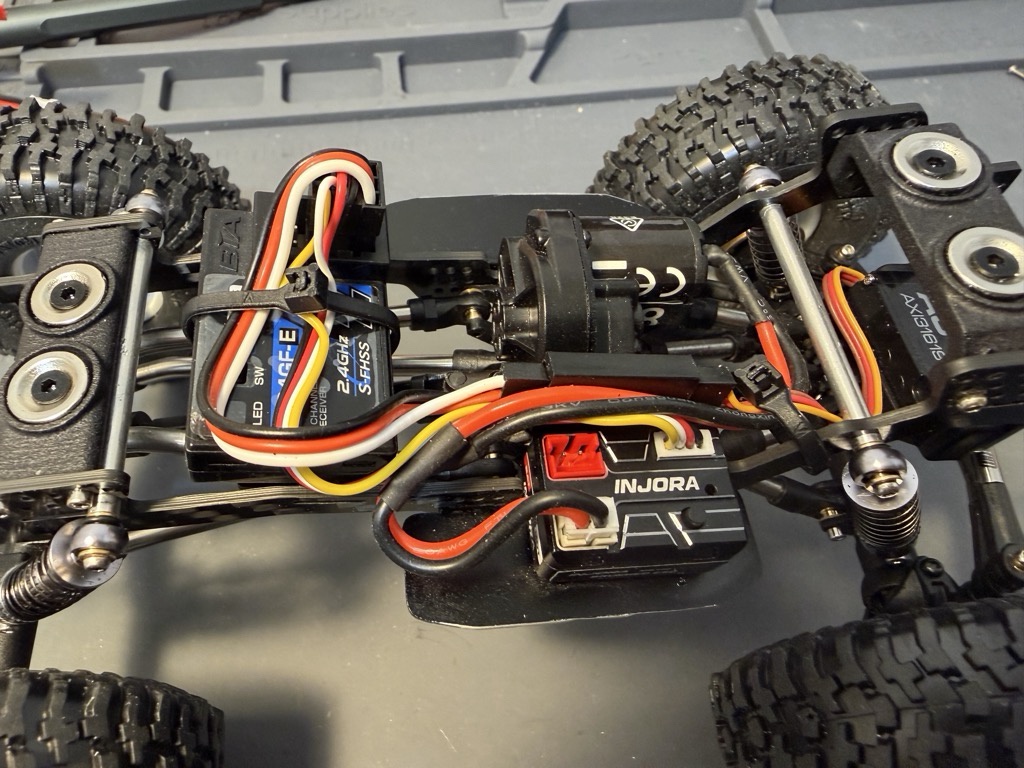
The frame had a small pocket that with a very light amount of filing, fits the new ESC just right and tucks it in tight for mass centralization. And of course cleaned up and secured my wiring.

7wm5ud3.jpeg


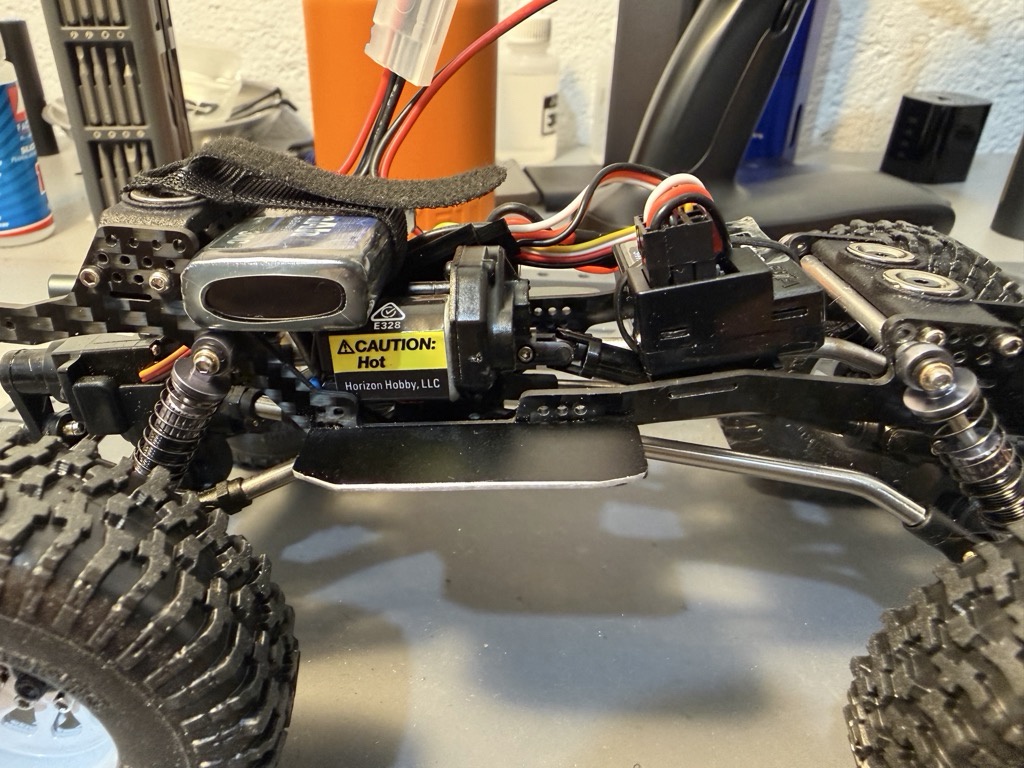
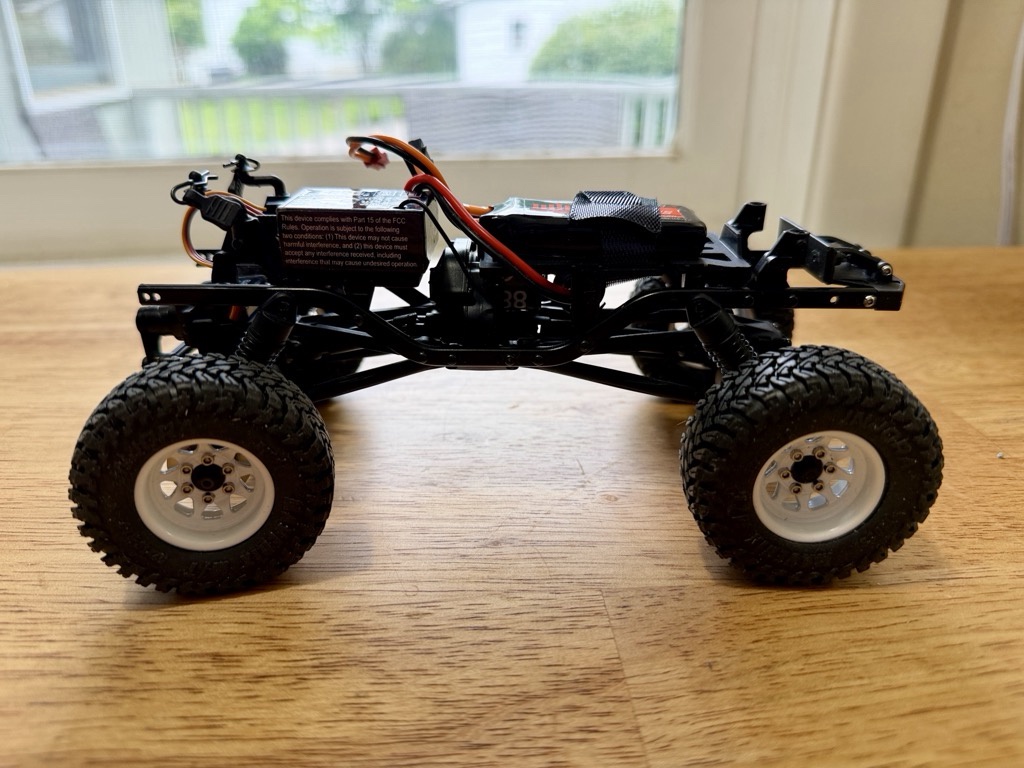
Everything tucked in just how I wanted it to with a major forward weight balance. Also trimmed my sliders to clear the body.

i9m4H6x.jpeg


Now, about those tires. Apparently I should read a little further before snap ordering stuff. Looks like one of those Iceland tundra rigs. LOL New tires on the way. Also, 1.0” beadlocks suck to work on. I did figure out that spraying the tire with some isopropyl alcohol helps greatly to get things to slide together. Still, getting that first bolt to bite into the hub is a PITA. And all being done under a magnifying hood no less cause this stuff is tiny.

U76FaDX.jpeg
.
 
Lookin' good. That particular rim is one of the hardest to line up, most of my others aren't too bad.
You're not kidding. Bolt holes will line up, but NOT the wheel holes. LOL
 
That orange looks killer!

I echo @Doom! I find wheels that use the hub more difficult than wheels that use a beadlock ring.

I've tried various things from marking the inside of the wheels, circling the hole I am aiming for (hehe) to have the correct wheel orientation, literally anything I can think of and they're still a test of a person's patience.
 
So, some more stuff came in, and I fianlly got some tinkering time, so more progress is being made. Injora 39mm shocks, J Concepts Tusks (more on that later), servo extensions, and 15wt shock oil.

dxodUYg.jpeg


The frame had a small pocket that with a very light amount of filing, fits the new ESC just right and tucks it in tight for mass centralization. And of course cleaned up and secured my wiring.

7wm5ud3.jpeg


Everything tucked in just how I wanted it to with a major forward weight balance. Also trimmed my sliders to clear the body.

i9m4H6x.jpeg


Now, about those tires. Apparently I should read a little further before snap ordering stuff. Looks like one of those Iceland tundra rigs. LOL New tires on the way. Also, 1.0” beadlocks suck to work on. I did figure out that spraying the tire with some isopropyl alcohol helps greatly to get things to slide together. Still, getting that first bolt to bite into the hub is a PITA. And all being done under a magnifying hood no less cause this stuff is tiny.

U76FaDX.jpeg
.
Why can't they make those Servo control cables long enough to reach the Rx?!!! I have a kit/tool to make my own Jumpers, but we shouldn't have to!

Yes, I feel better now.... :D
 
Why can't they make those Servo control cables long enough to reach the Rx?!!! I have a kit/tool to make my own Jumpers, but we shouldn't have to!

Yes, I feel better now.... :D
It reached the stock electronics fine. They were where my battery is now. But I flipped the trans around for motor forward for weight bias, and added the Injora ESC and my Futaba RX so I could run my 4PLS. Big difference in low speed control/jumpiness/smoothness. And no ESC whine either.

But yes, I've had the same issue building kits before as well. Same reason I bitch about an 18" USB C charging cable also. Would it keel them to give you one long enough to reach the outlet from a table? LOL
 
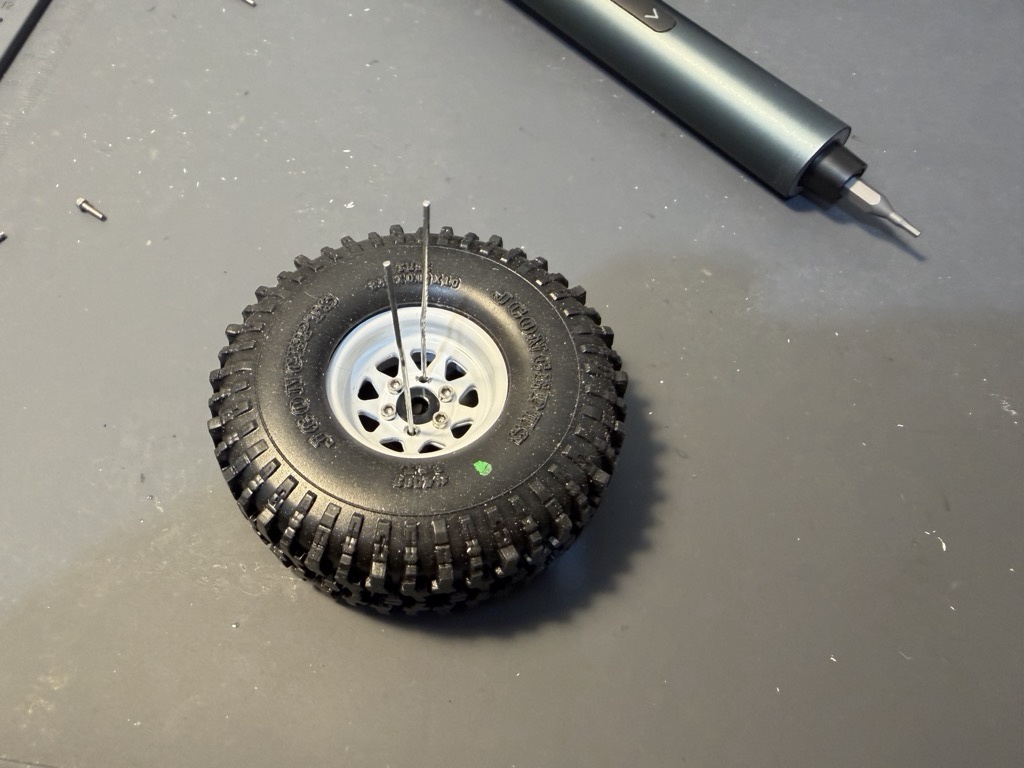
So, the correct size J Concepts Tusks came in. Same rough size as the Maverix I had. Also found a trick for lining up the wagon wheels as well. I detest these wheels, and I now know why they’re called wagon wheels. Becasue the only place they belong is on a freaking wagon. And even with all this, the new Tusks will not work with these wheels. No matter what, the bead will slip out.

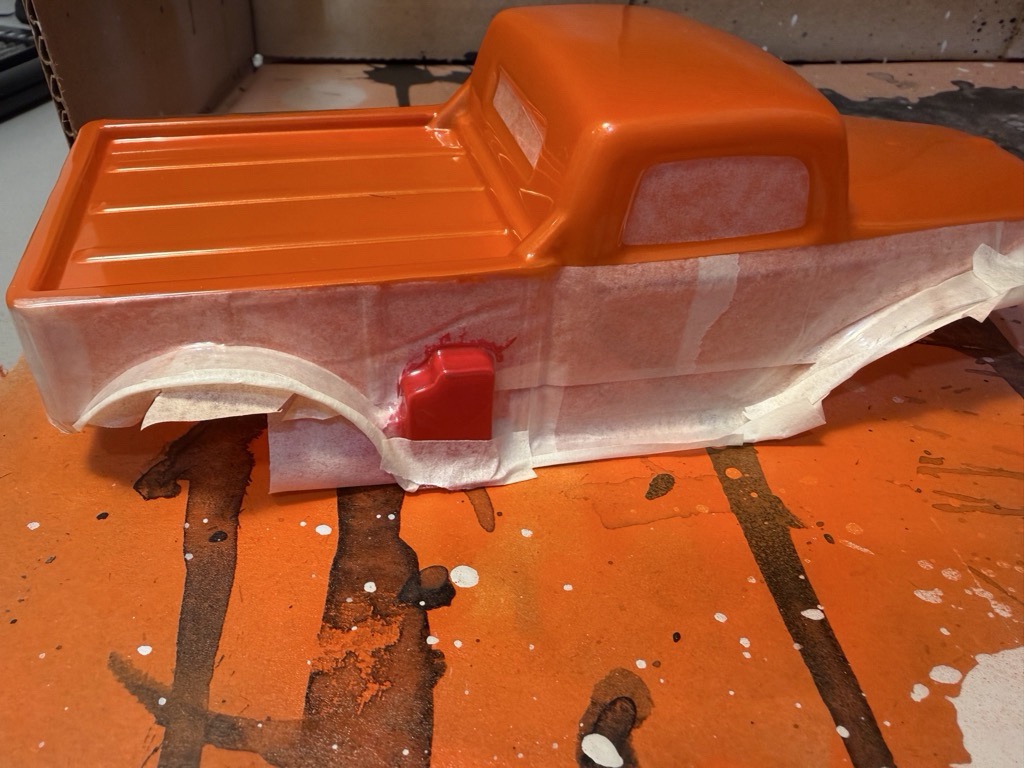
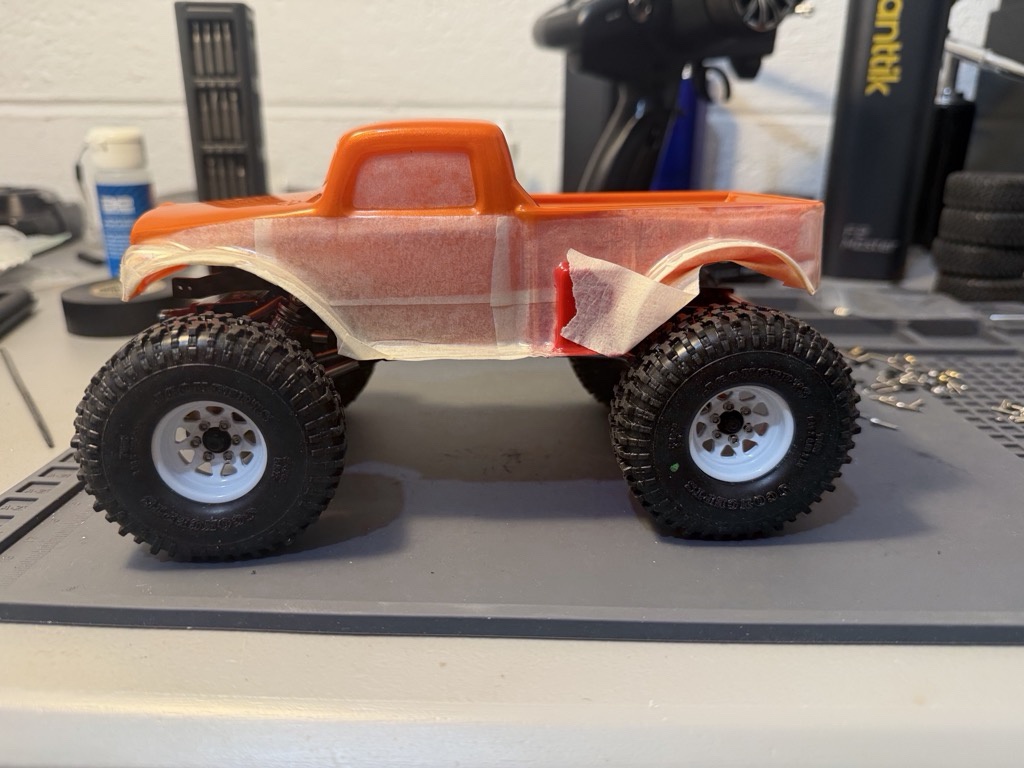
I also finished up paint, and obviously had a lot of paint bleed issues with the masking tape I used. Oh well, I’ll know for next time. Also, hand cut masking a body this size would make a preacher cuss. Next time I’ll try liquid mask, mark from the outisde, then cut and spray. Still learning the airbrush too, so some of it’s on me.

I have some more parts on order too, I’ll update when they get here.

That’s a 5.56 casing for scale next to the wheel face, hub, and bolt. (cross posting to non RC forums also)

SslaFGL.jpeg


7ws4jfW.jpeg


isjPLc0.jpeg


jGTs5AP.jpeg
.


This body will get cut up quite a bit for articulation clearance and be a beater, no worries.

1MzaFPE.jpeg
 
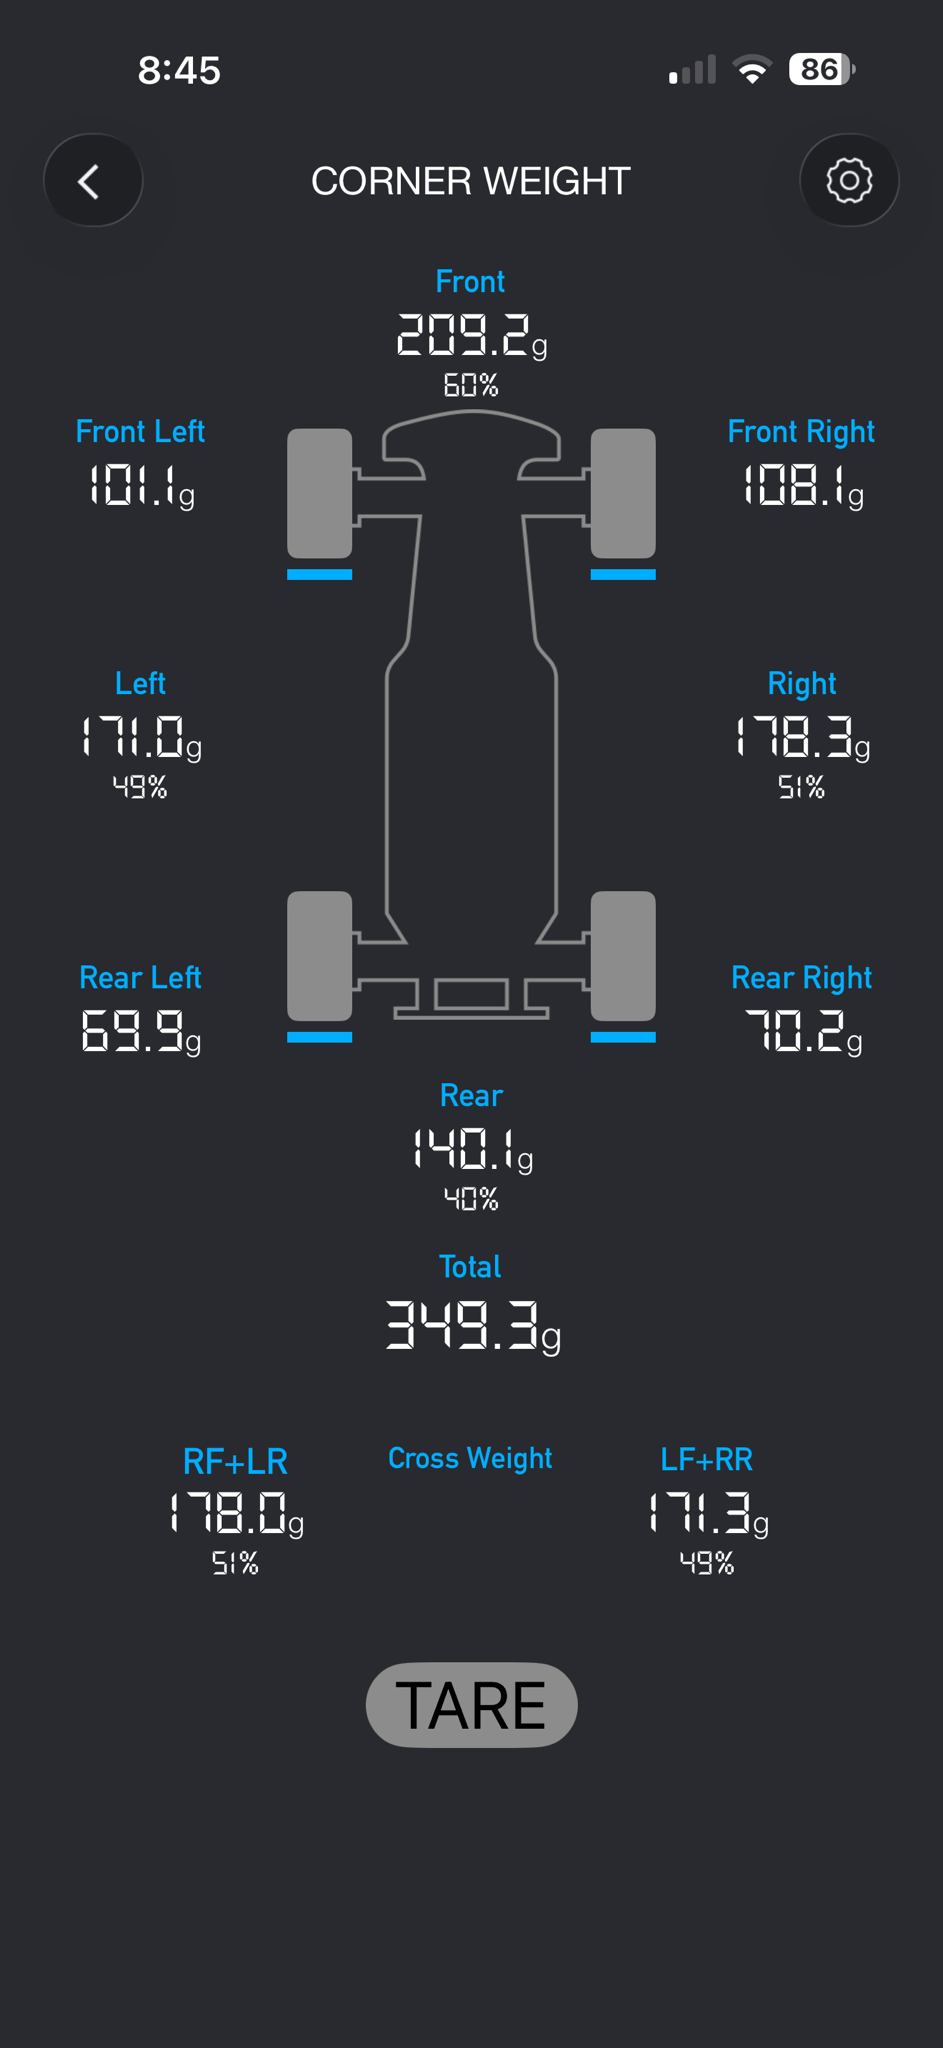
So I did some more tinkering last night. I did some more trimming on the body, and I put the stickers on the body. I made a front spring change for more droop. Adjusted bolt tension on my front links to free them up a little more for better articulation. Then put it on the scales to check bias and balance.

I also made some radio tweaks trying to get better low speed smoothness out of the motor/esc. And I gotta say I’m still not super happy with it, so a new motor is likely next.


Seems like my plan worked, weight bias looks good.

cj5lNQ1.png


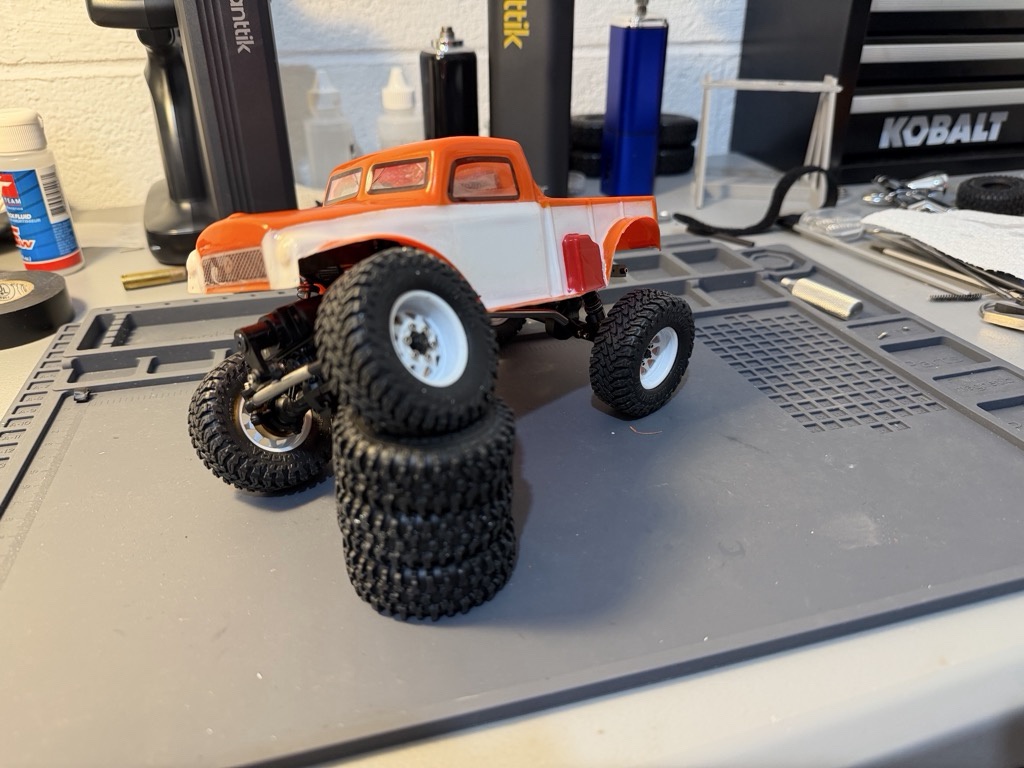
Mandatory poser shot

zAn5KHz.jpeg


And of course piled some stuff up and did some work bench crawling.

j7PUiMk.jpeg
 
Back
Top