All right people, as I mentioned in my "Hi Everyone" thread, I was recently furloughed from my job due to the Covid19 crap. To fill some of my time I decided I would do this rc project that I started to do a few years ago.
The back story: Here on RCT in the past we have had fund raiser/prize give-aways. In the last one I won a RTR Traxxas 2wd Slash - Pink Edition (my color choice!). I said then I had a project in mind for it and even purchased most of the parts to do it. But then dropped it after my son started wanting to do a real car project he could drive. So I switched gears and focused on that, even sold some complete rcs and parts to fund the car build. Actually, thinking about it now, I think I was already knee deep in the car project before the Slash came into my possession, but any ways, it got set aside and forgot about. Until now. So let's do a short but I think sweet project!
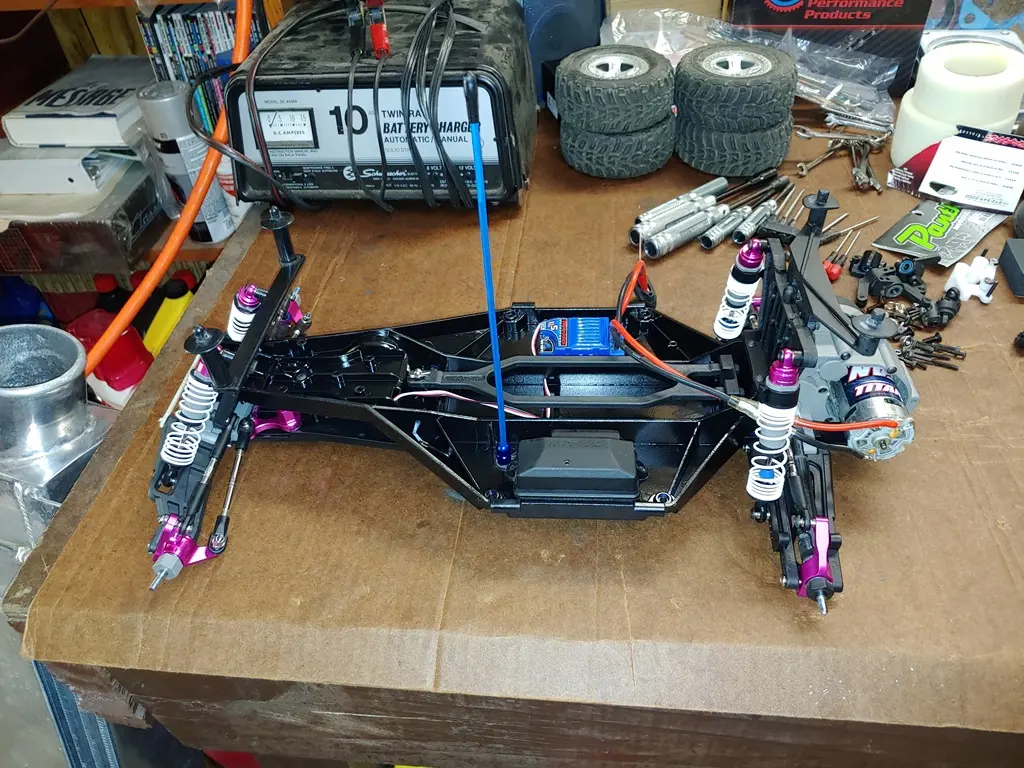
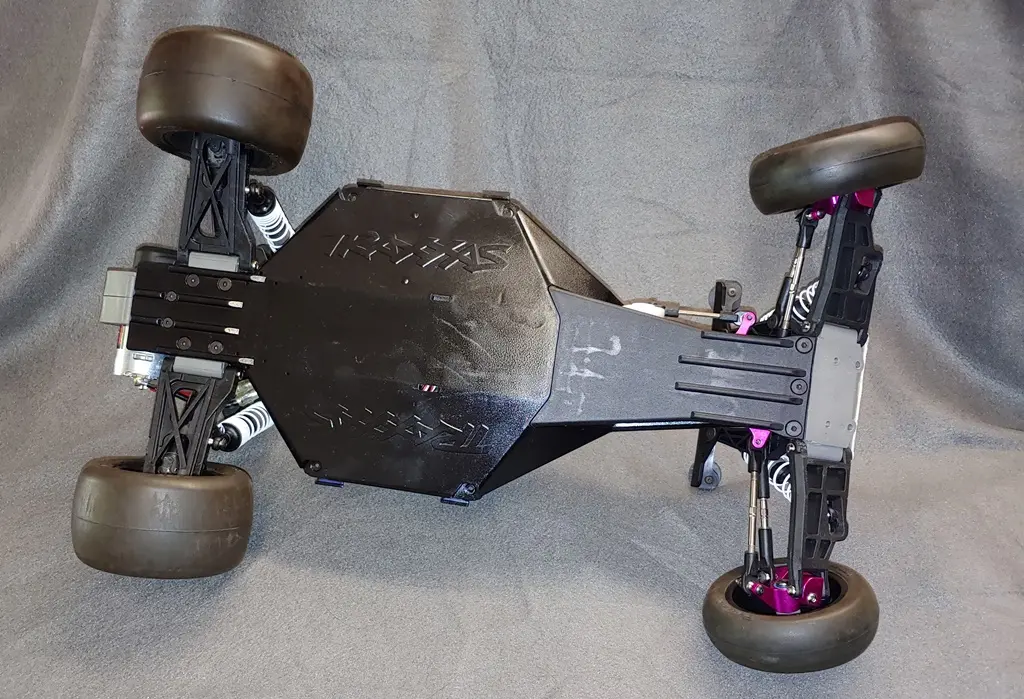
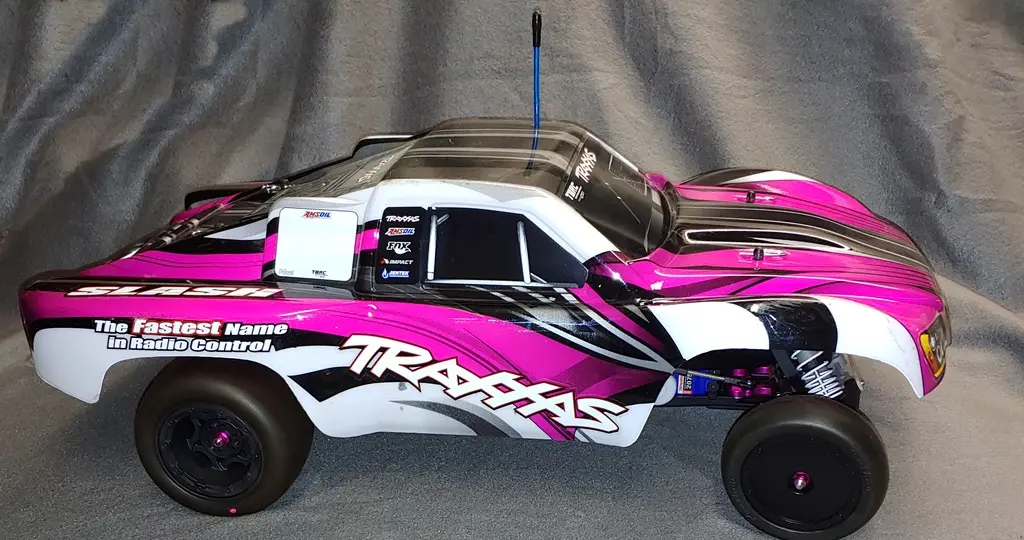
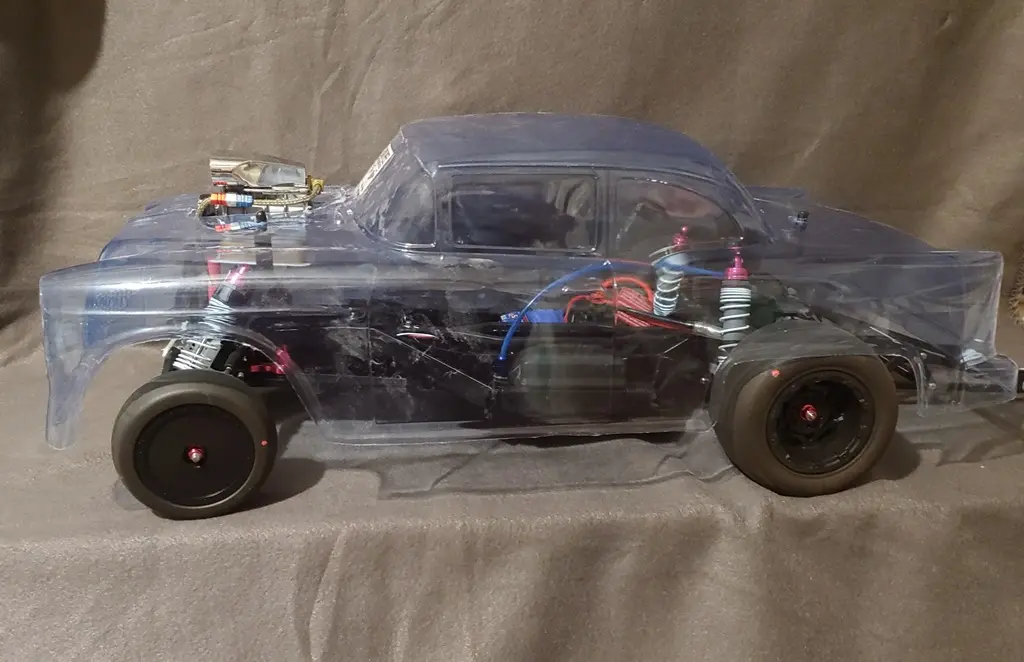
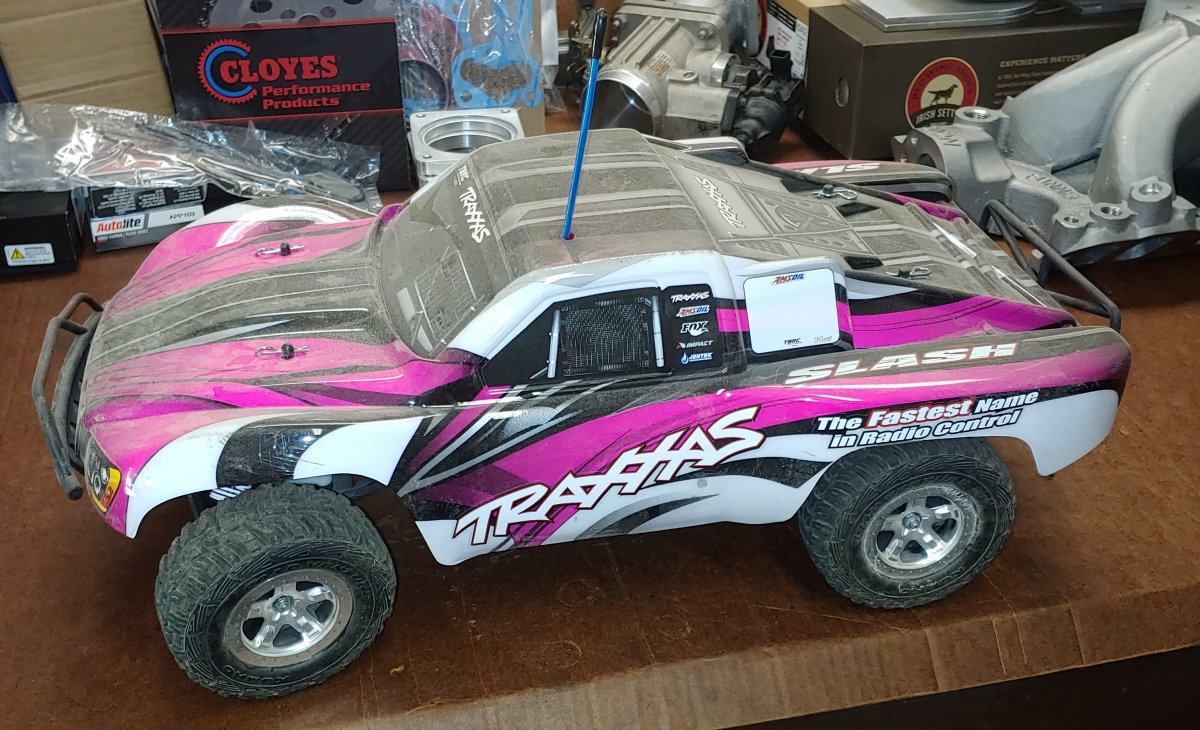
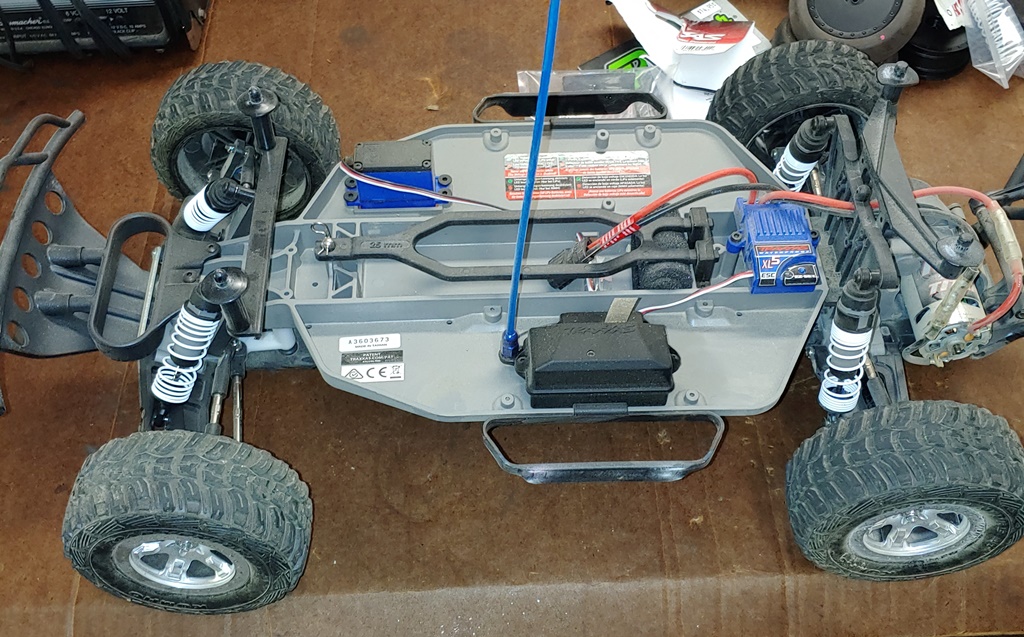
So to start this off,let's do some rc math. What do you get when you start with one lightly used Pink edition Traxxas slash like this.....
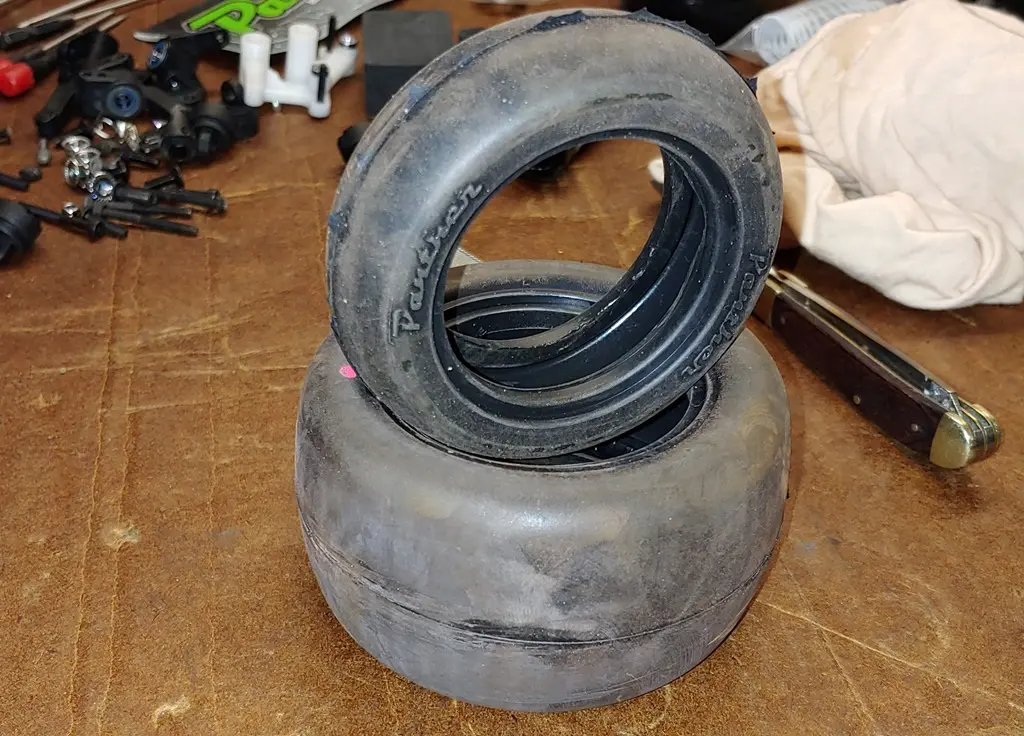
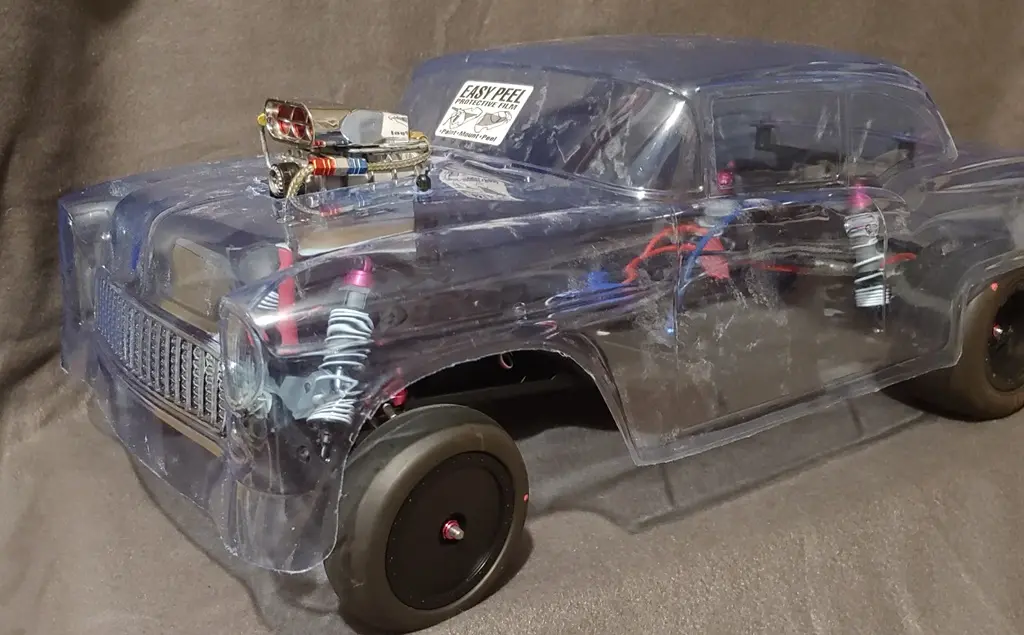
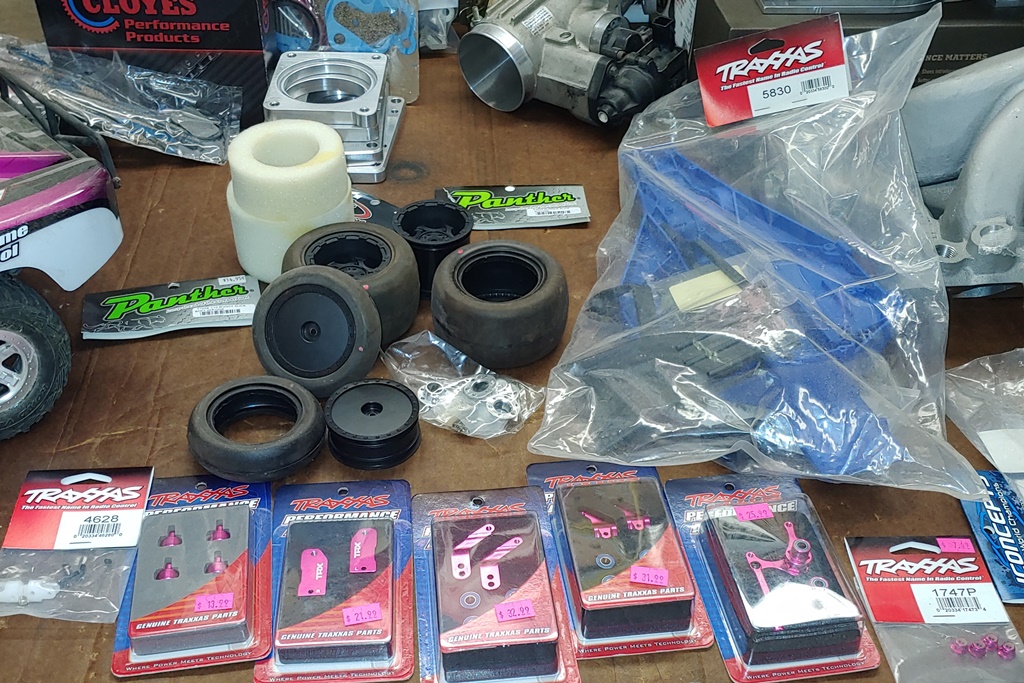
And then add a bunch of parts like this....
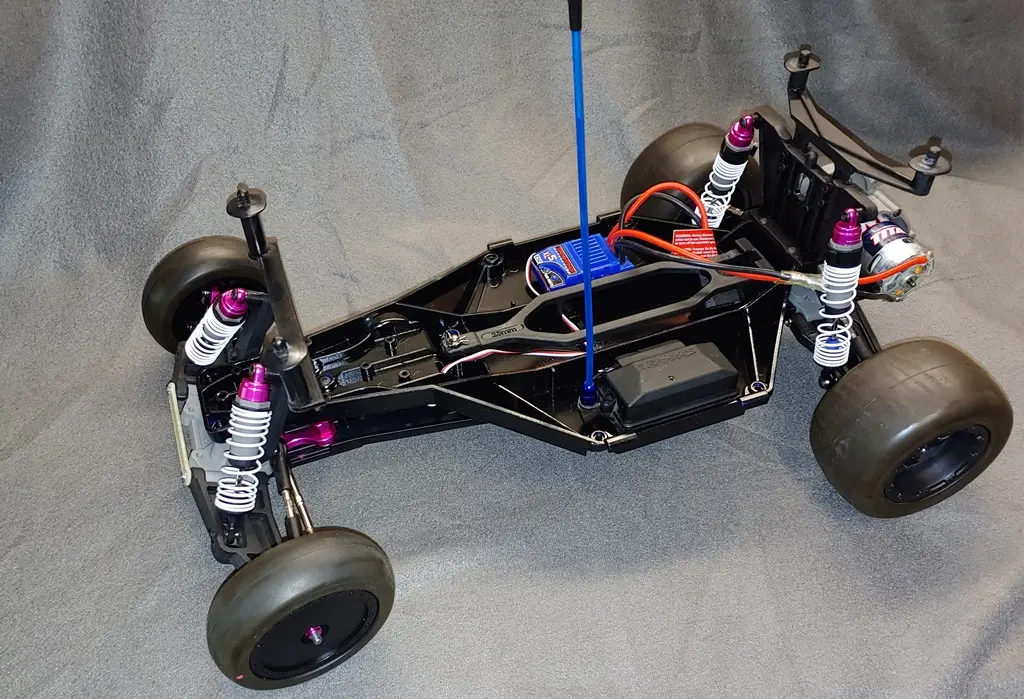
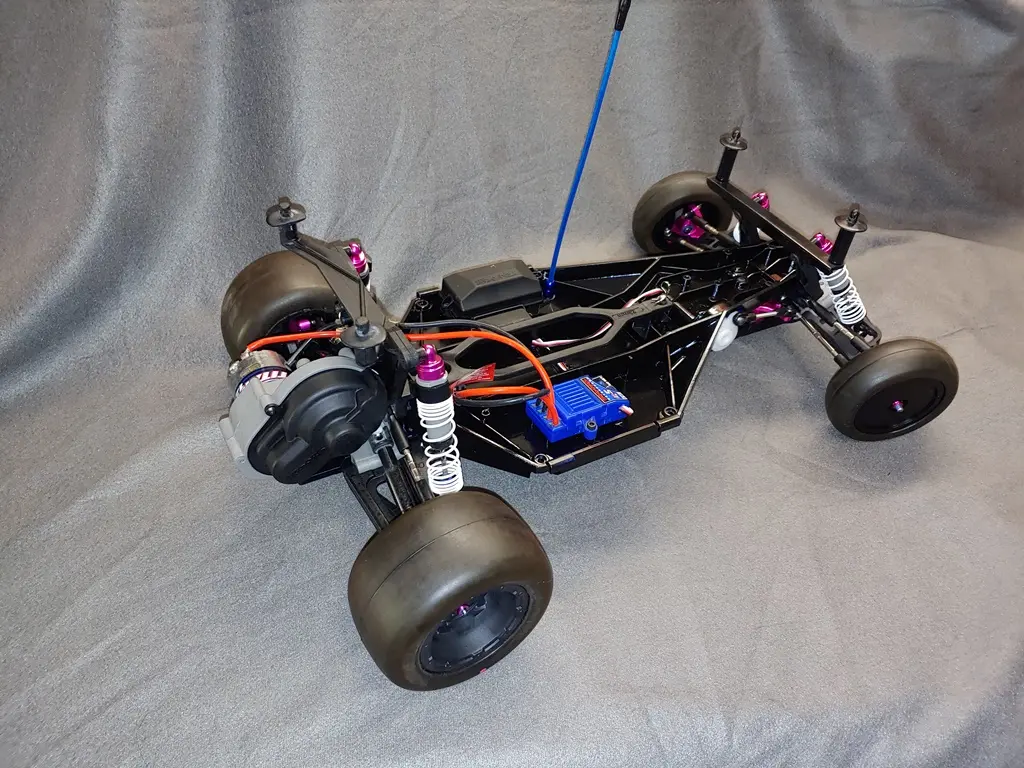
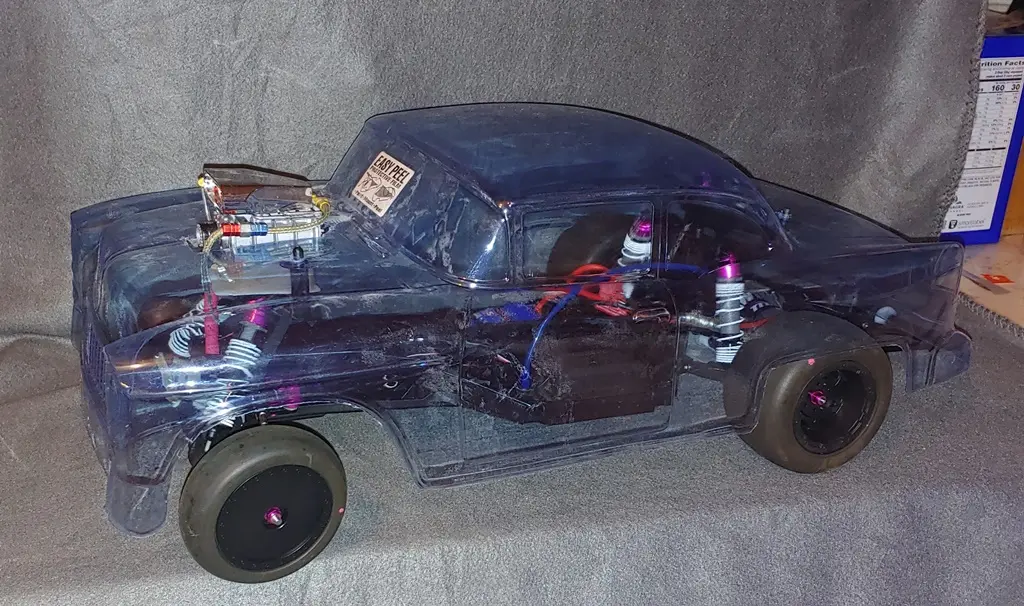
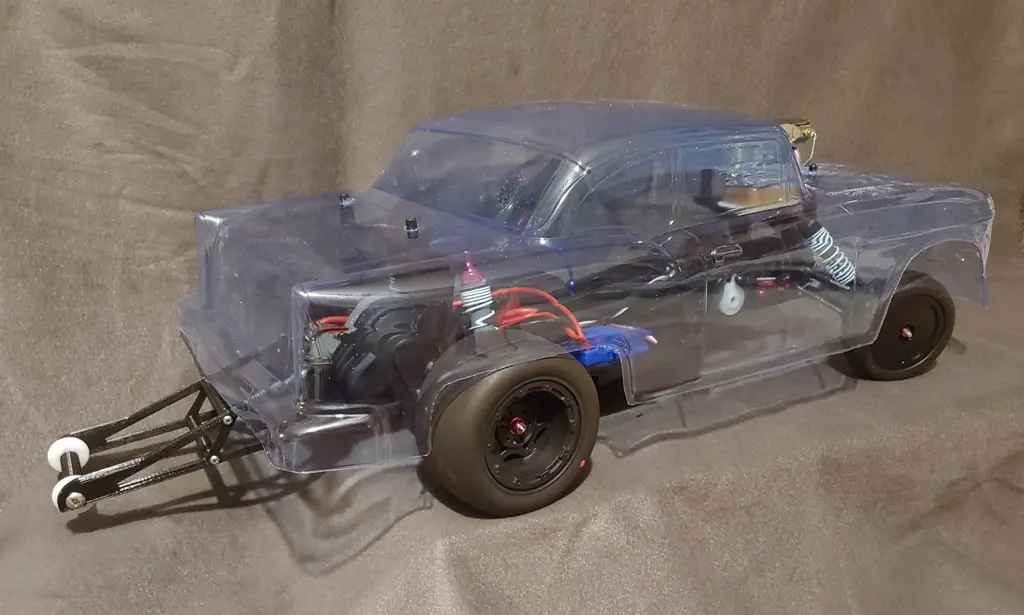
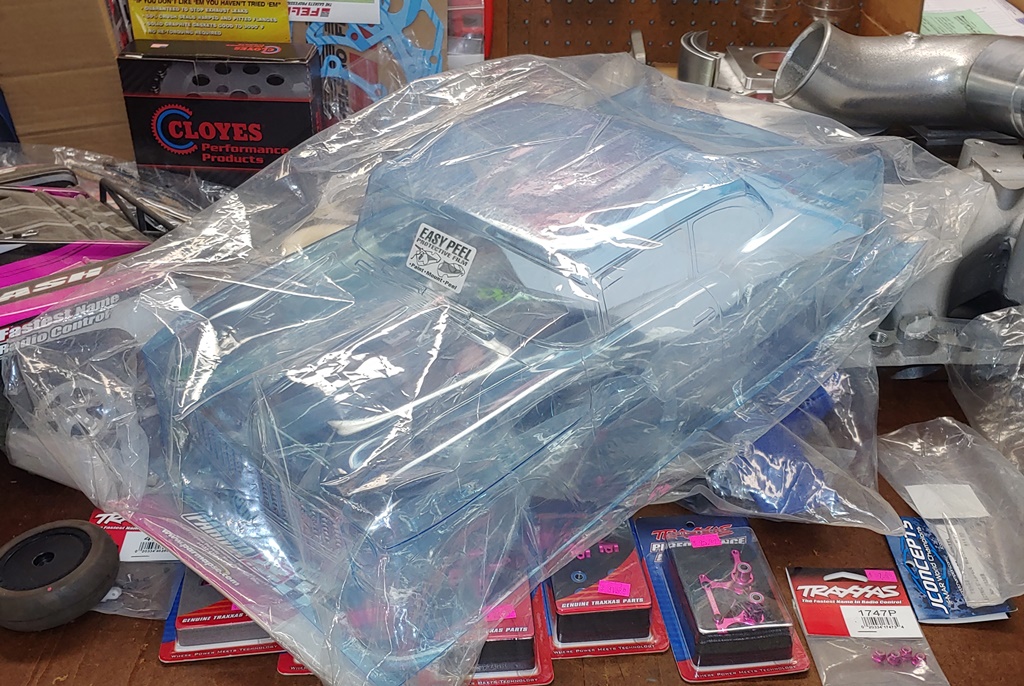
And then top it off with a new lid like this?
Well that equals a project of course!!!
As you can see in the first pic, it is a little dirty. I only ran one full battery and about 10 minutes on a second the next day before breaking it. It sucked because I was in Branson MO at the time and no spare parts, no time to work on it either. I didn't bother cleaning it when I got home either, just put it on the shelf.
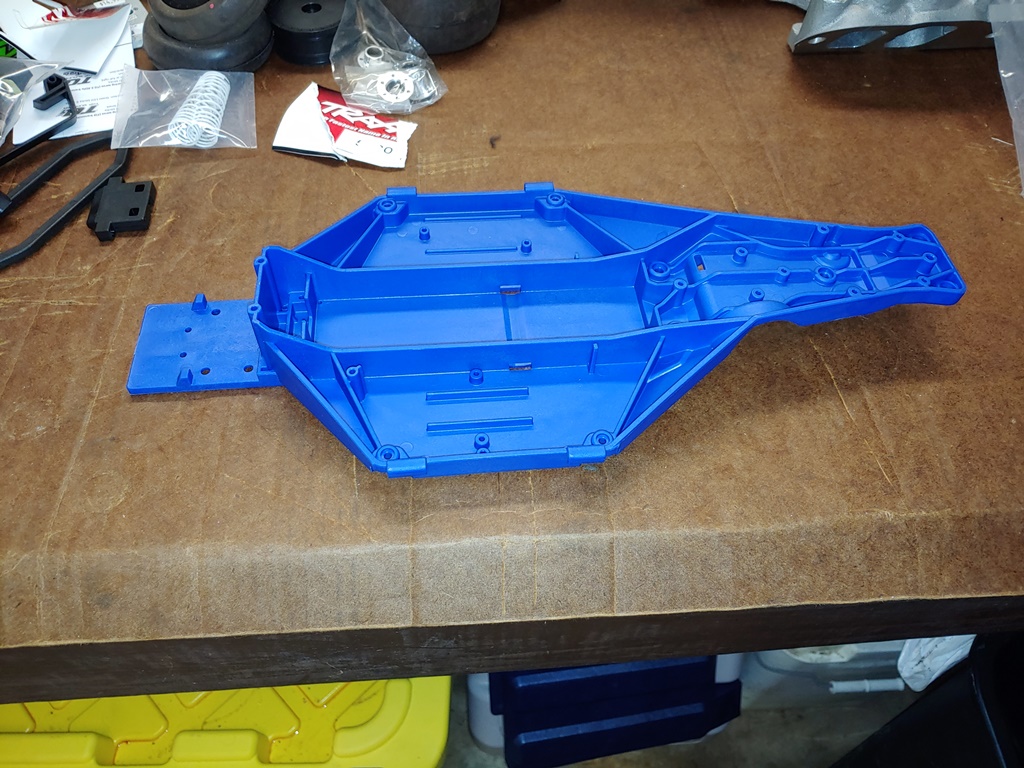
Now let's get to work. First off, I have a LCG chassis kit but this much blue isn't going to work for me on this project. I think black ones are available now but I already had this one. I opted to just paint it black.
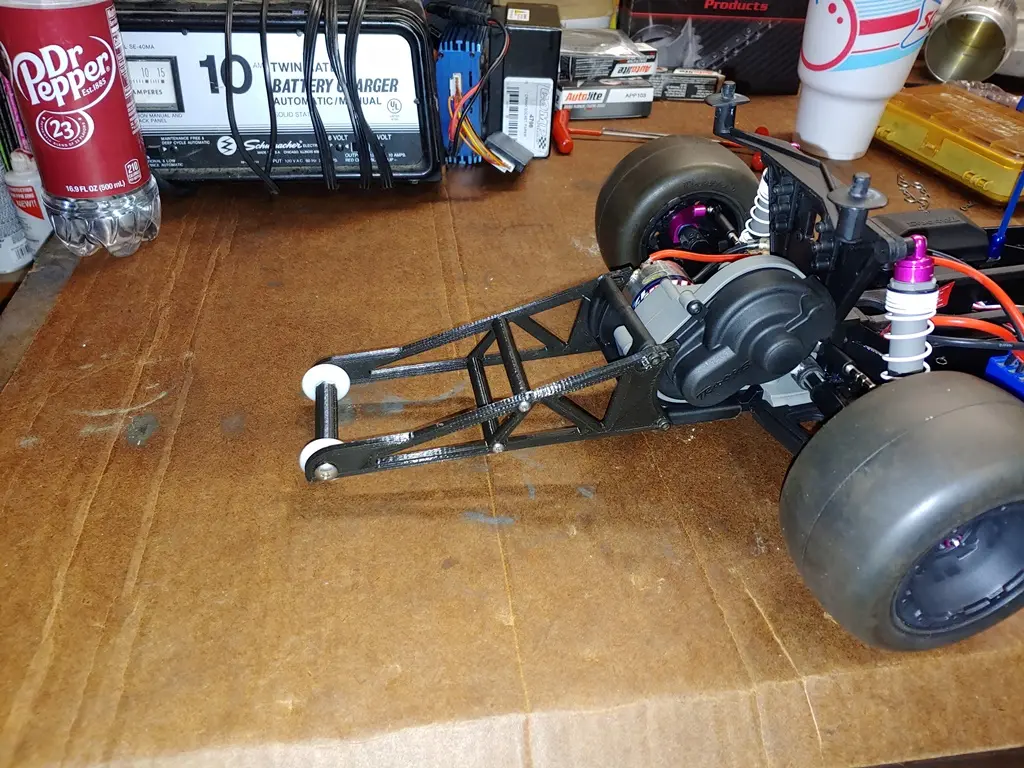
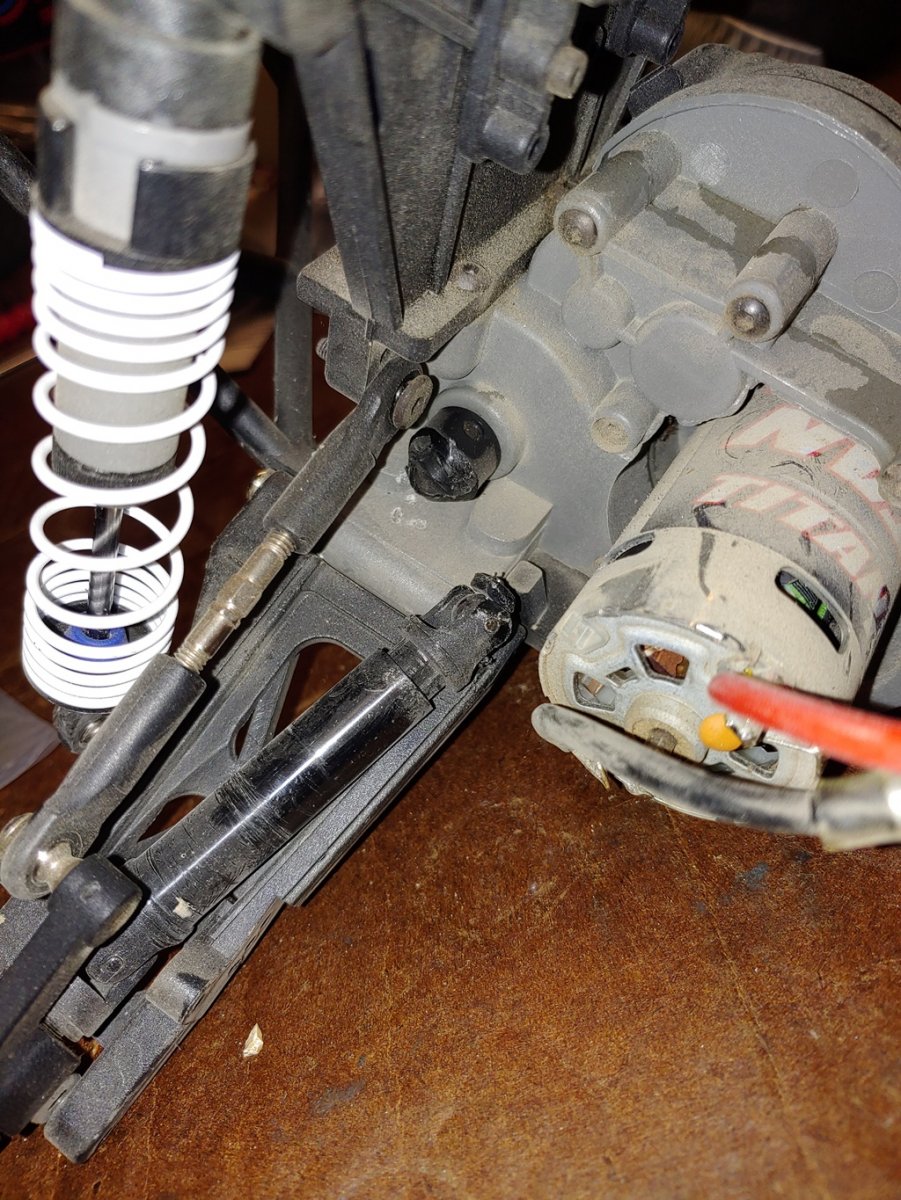
While the paint is drying I pulled the lid and removed the electronics. Then separated the front and rear suspensions as assembled units. Here's the broken piece I mentioned too.
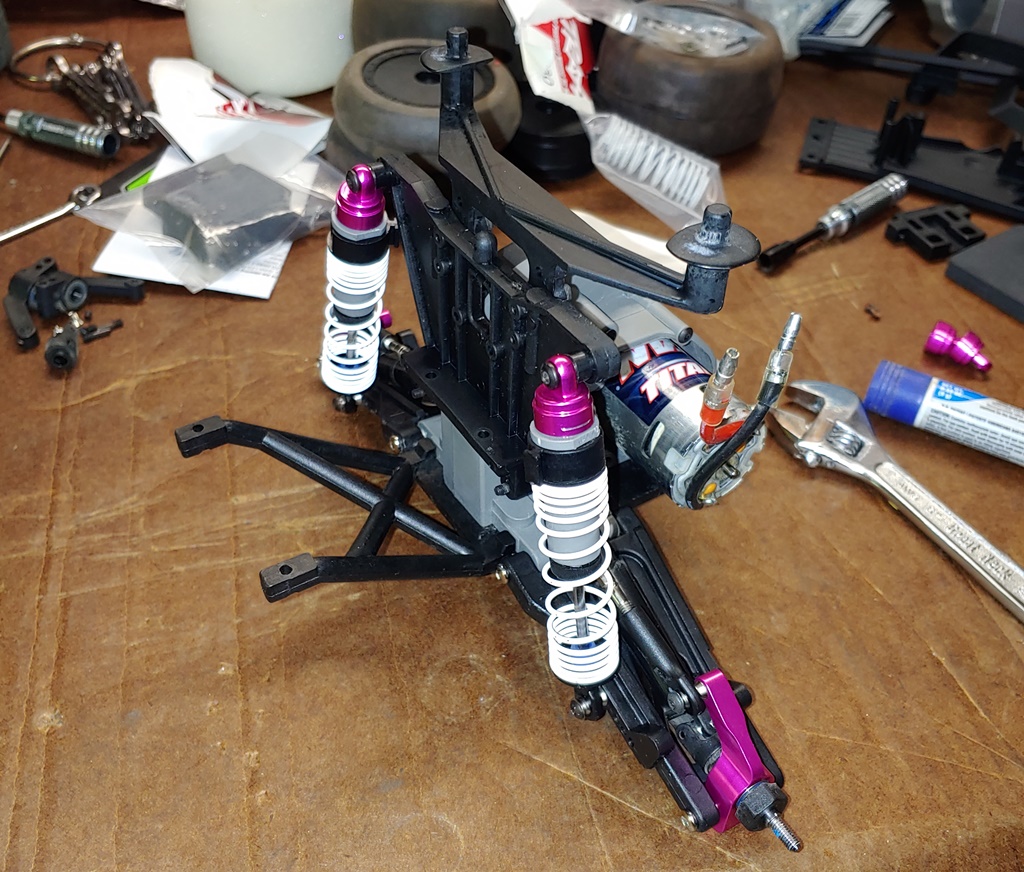
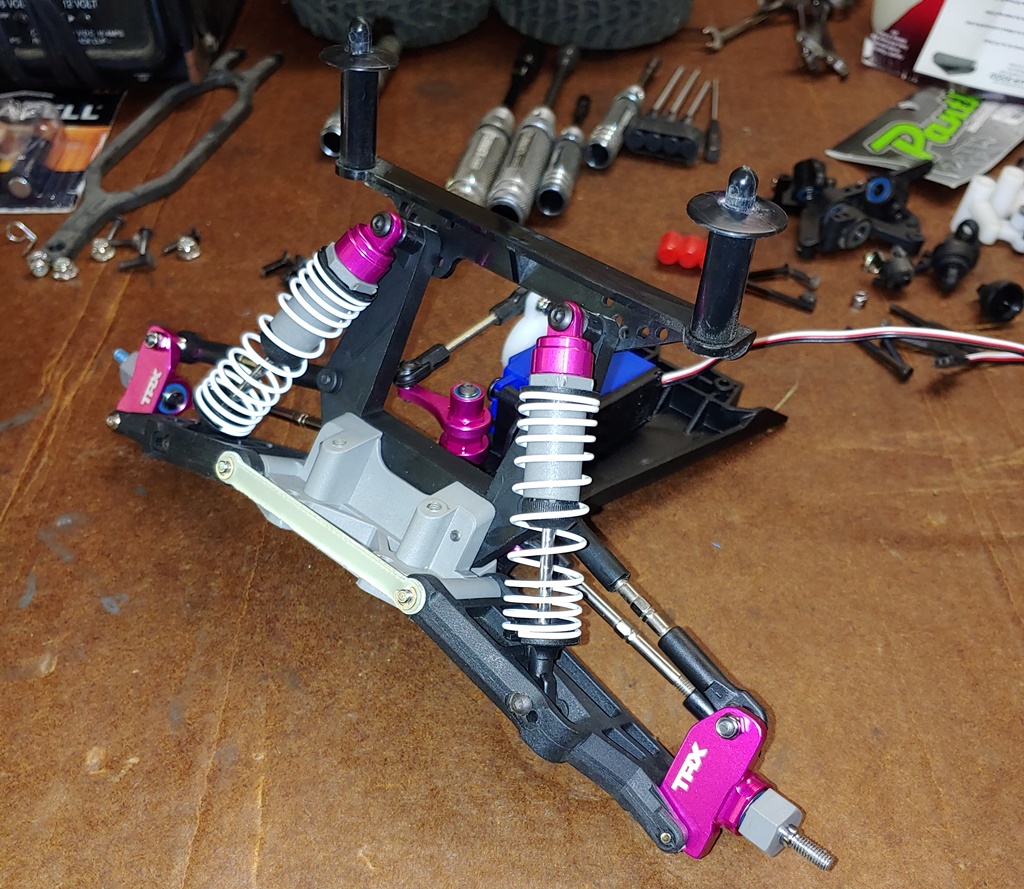
Having not worked on these for a few years, I did few things out of order LOL I started the rear section. Thoroughly cleaning everything, swapping out the broken part, swapping in some nice anodized parts and reassembled the unit.
I originally planned to actually race this when completed and was going to put in a brushless system. But I never bought the system and now I don't know any other rc'ers in my area so this will mostly just be for looks.
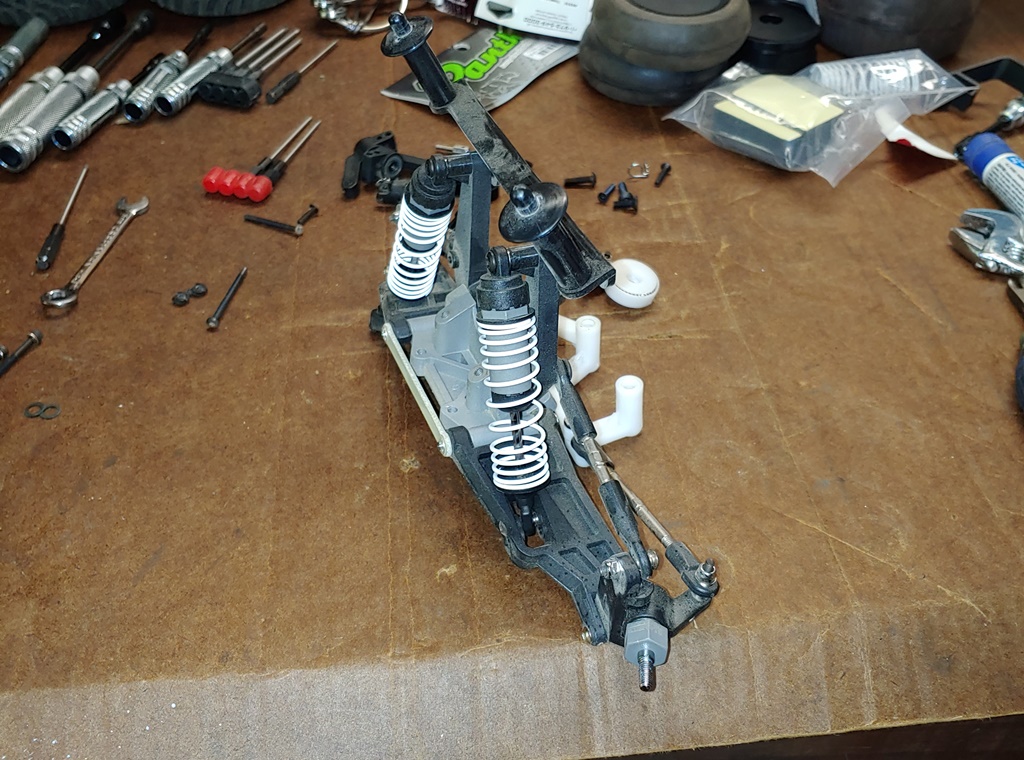
Next I disassembled the front unit,thoroughly cleaned it up, swapped in more pretty parts and put it back together. And here is where I quit for the first day. I wanted to let the paint on the chassis fully dry before working it. So here is where I'll stop the post for tonight, but don't worry, I will update it with more progress in the next day or two.
The back story: Here on RCT in the past we have had fund raiser/prize give-aways. In the last one I won a RTR Traxxas 2wd Slash - Pink Edition (my color choice!). I said then I had a project in mind for it and even purchased most of the parts to do it. But then dropped it after my son started wanting to do a real car project he could drive. So I switched gears and focused on that, even sold some complete rcs and parts to fund the car build. Actually, thinking about it now, I think I was already knee deep in the car project before the Slash came into my possession, but any ways, it got set aside and forgot about. Until now. So let's do a short but I think sweet project!
So to start this off,let's do some rc math. What do you get when you start with one lightly used Pink edition Traxxas slash like this.....
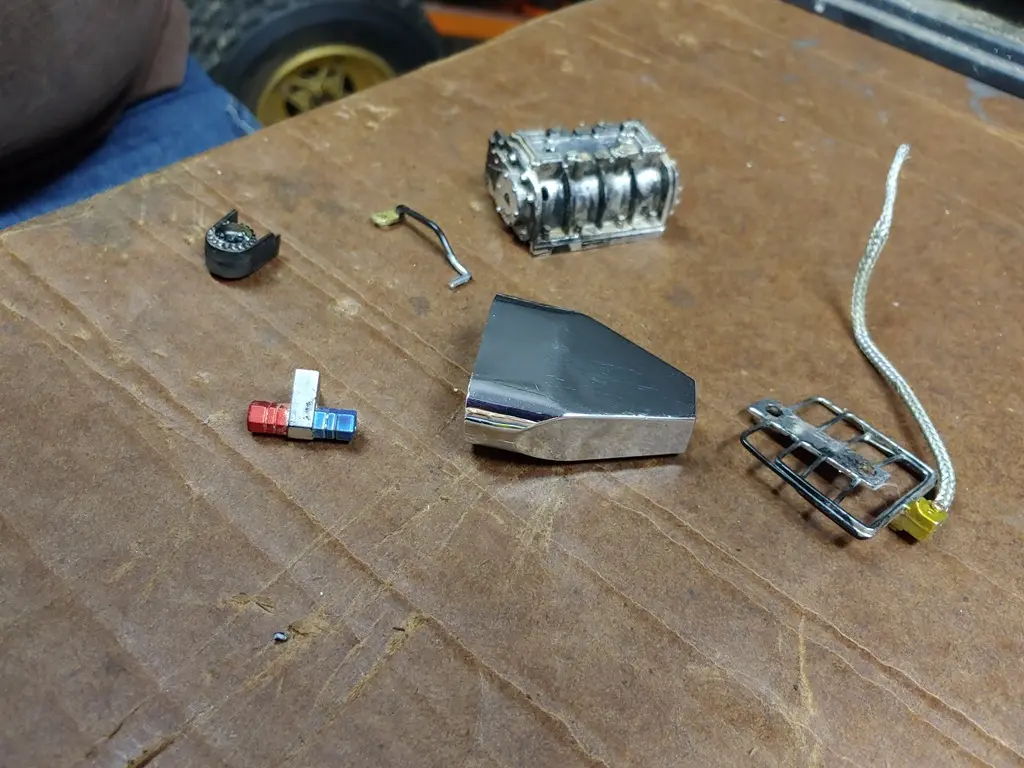
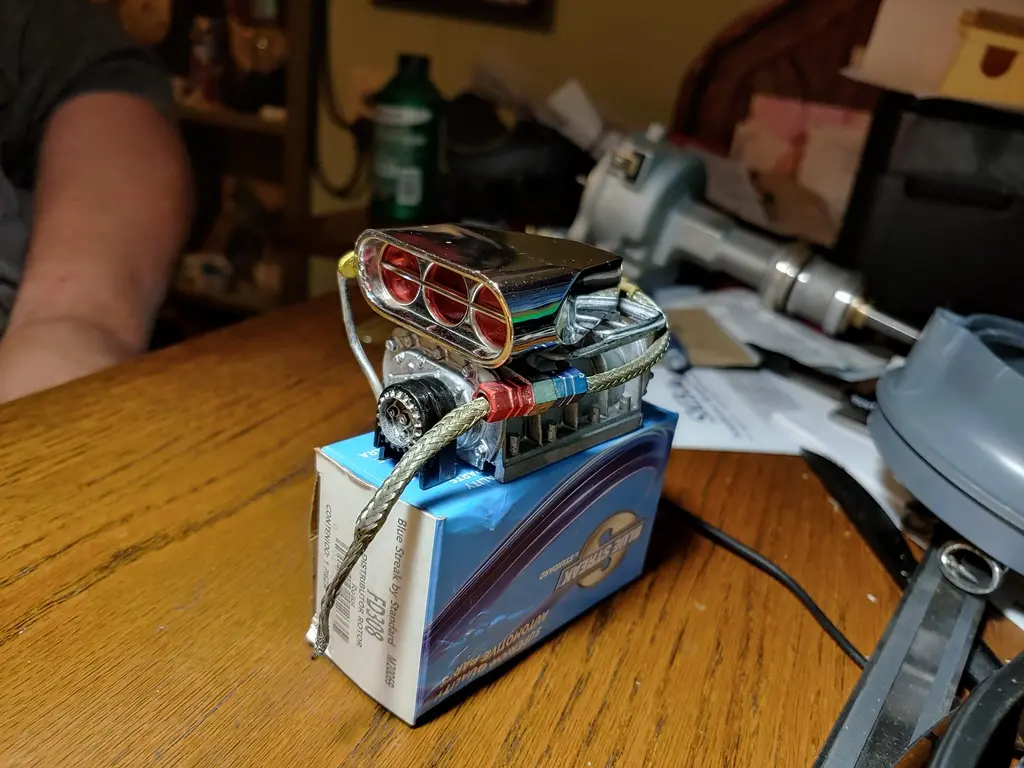
And then add a bunch of parts like this....
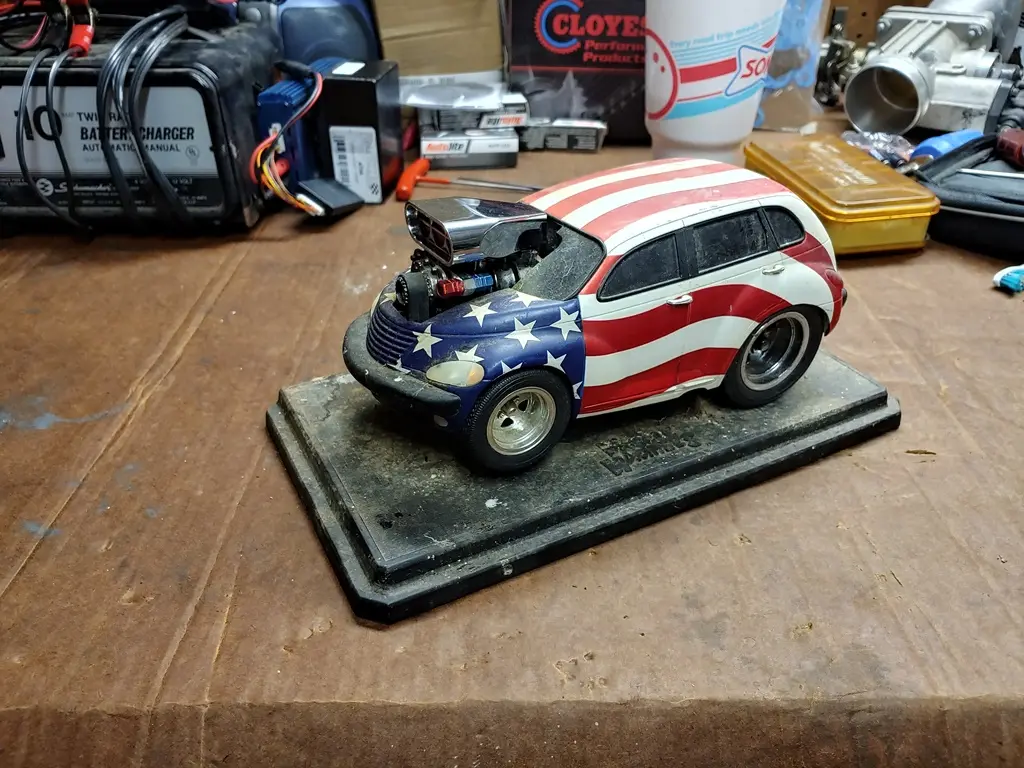
And then top it off with a new lid like this?
Well that equals a project of course!!!
As you can see in the first pic, it is a little dirty. I only ran one full battery and about 10 minutes on a second the next day before breaking it. It sucked because I was in Branson MO at the time and no spare parts, no time to work on it either. I didn't bother cleaning it when I got home either, just put it on the shelf.
Now let's get to work. First off, I have a LCG chassis kit but this much blue isn't going to work for me on this project. I think black ones are available now but I already had this one. I opted to just paint it black.
While the paint is drying I pulled the lid and removed the electronics. Then separated the front and rear suspensions as assembled units. Here's the broken piece I mentioned too.
Having not worked on these for a few years, I did few things out of order LOL I started the rear section. Thoroughly cleaning everything, swapping out the broken part, swapping in some nice anodized parts and reassembled the unit.
I originally planned to actually race this when completed and was going to put in a brushless system. But I never bought the system and now I don't know any other rc'ers in my area so this will mostly just be for looks.
Next I disassembled the front unit,thoroughly cleaned it up, swapped in more pretty parts and put it back together. And here is where I quit for the first day. I wanted to let the paint on the chassis fully dry before working it. So here is where I'll stop the post for tonight, but don't worry, I will update it with more progress in the next day or two.
Last edited: