Kyosho Scorpion Turbo build project

Welcome to RCTalk

Come join other RC enthusiasts! You'll be able to discuss, share and private message with other members of our community.

This site may earn a commission from merchant affiliate
links, including eBay, Amazon, and others.
just for fun, bought me some nice stands, that go together well with these classic buggies

Blockhead Motors
20220827_122938.jpg

20220827_123017.jpg

20220827_123032.jpg

20220827_124852.jpg

20220827_124905.jpg

20220827_124921.jpg


bling bling is expensive as expected, but imo worth it to show case a shelf queen :cool:
 
Couldnt resist to post the almost finished result: looks wise its done for about 95% I'd say :cool:
Knipsel.PNG

IMG_5546.png


I am stoked with how it ended up looking and how the build went!
A picture build will follow from start to end, but its kinda time consuming because of the big picture size I used to reduce them so the forum will accept them.:rolleyes:

The helmet/head will follow (still in pré-order)
Senna helm/hoofd volgt nog (is nog in pré-order)
Just have to print some Japanese flags from sticker paper for the sides of the rear wing.
And playing with the idea to make a big round red circle somewhere in the midle of the car, as the '60 F1 Honda cars....but that will be a pain to cut the circle perfectly round 🤔

Only have to order the ESC-motor combo (hobbywing EzRun Max10) and install the servo (Savöx SC-1267SG) and receiver (Spektrum AVC SR6100AT)

To be continued...
 
Pretty impressive kit isn't it? The Turbo Scorp is still one of my all time favorite builds.
 
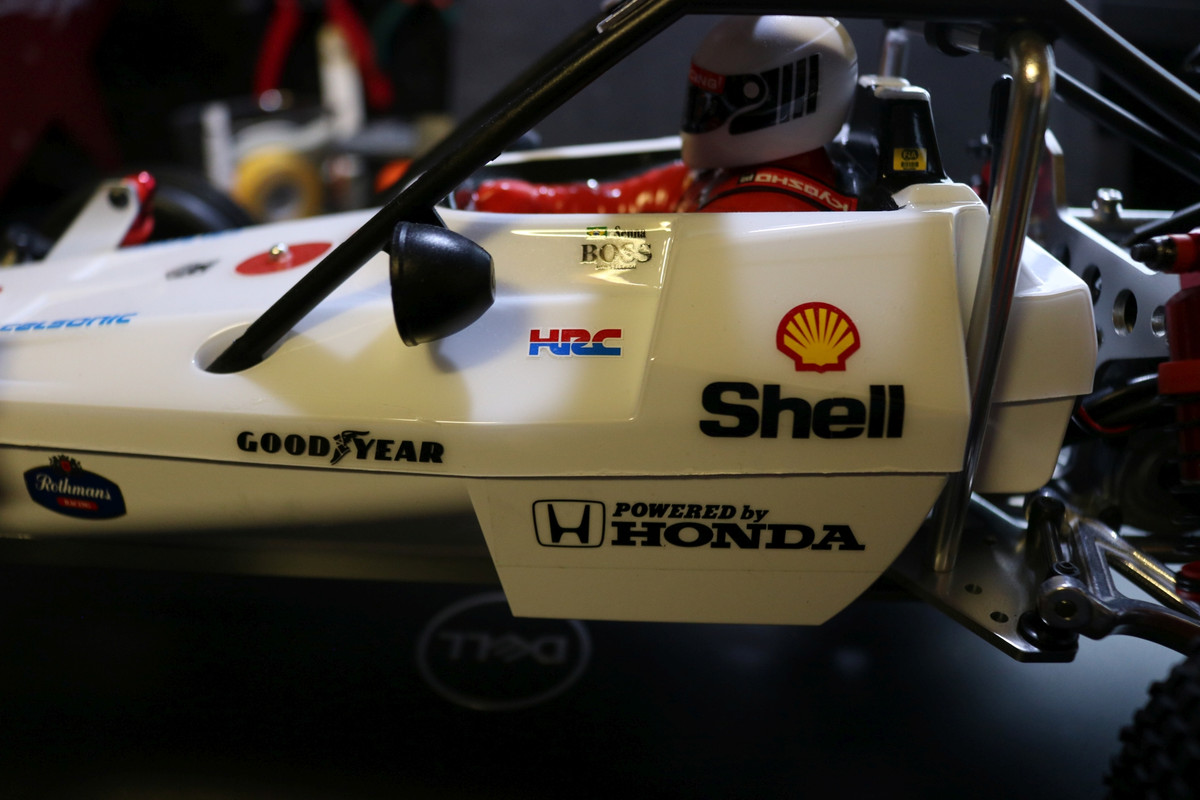
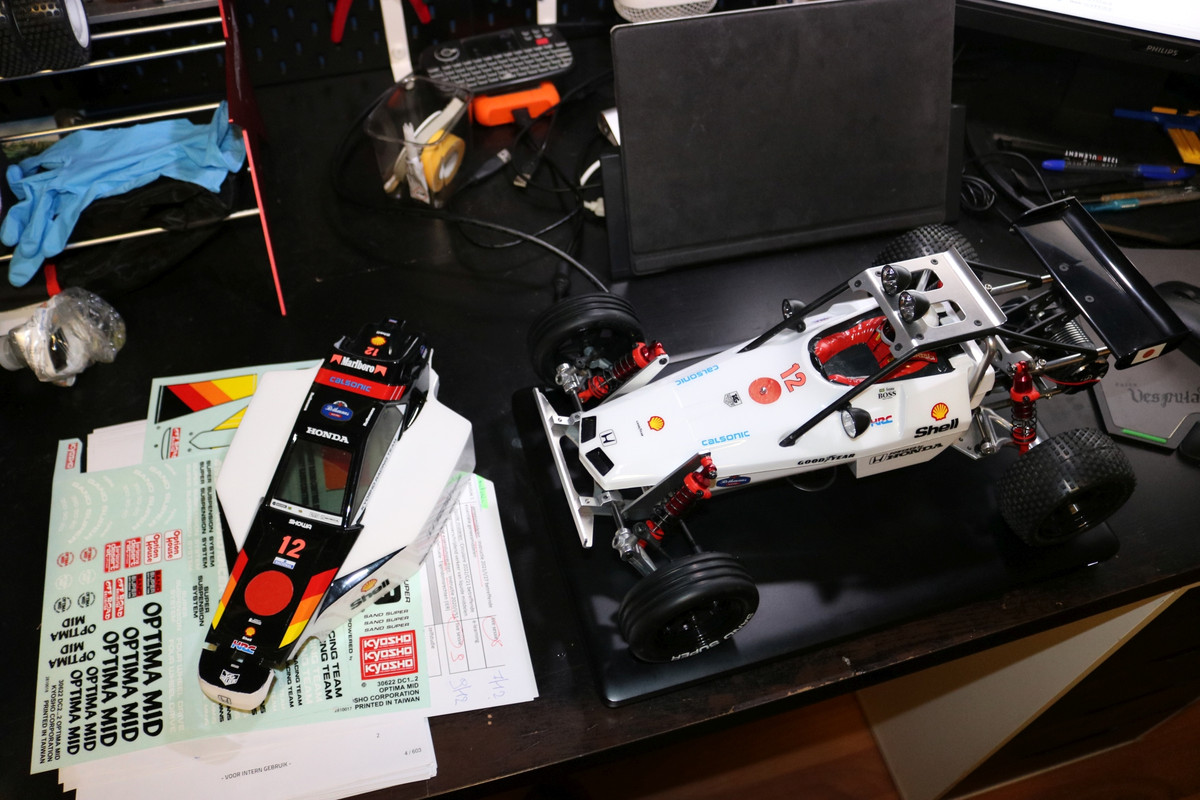
yes, but there are some choices Kyosho made that were plain stupid...
Like the whole wing assembly was idiotic: nut in plastic of the same shape, when tighting the hex, the plastic isnt strong enough so the nut forces its way in its nut shaped jig.
The heavy duty steel bar where the whole front wheel assembly relies on, the way that has to be bolted on, I was afraid I'd strip all four bolts....I even felt heat coming from my screwdriver lol.
I also stripped a screw for the assembly of the rear subframe to the chassis, luckely I had spares and custom fitted a slightly longer screw, so could more or less save that mounting point.

And the stock diff has a lot of wobble in the outer drive cups...
The ball diff on the other hand is firm BUT has a lot of sideways play....is this suppose to be like this? Dunno, guess not many will buy the ball diff...
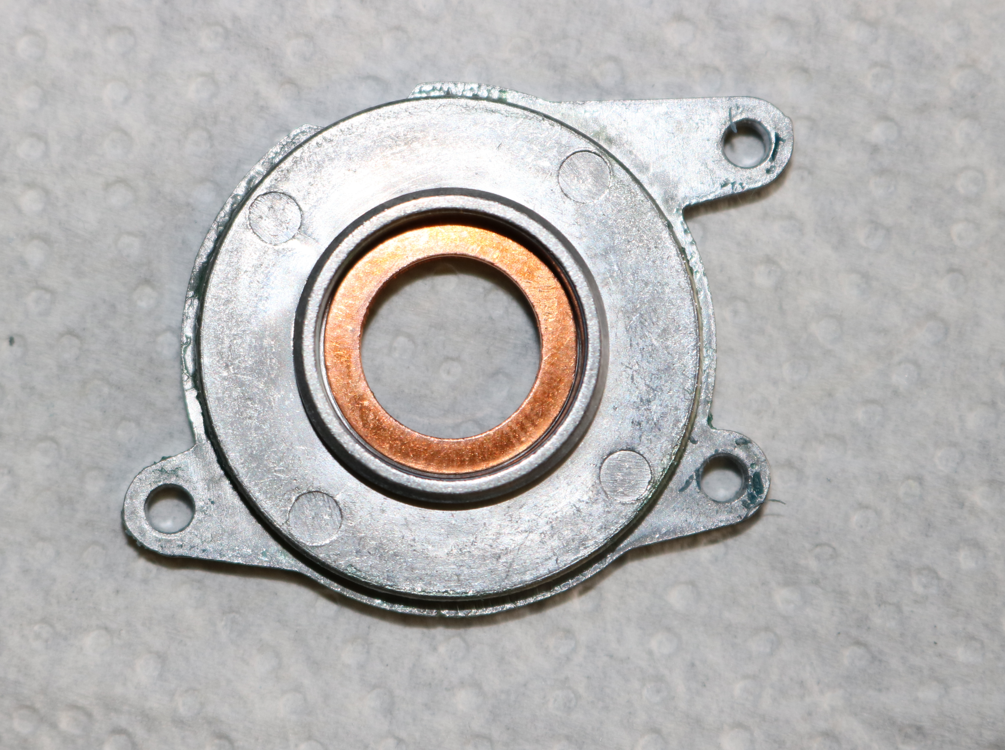
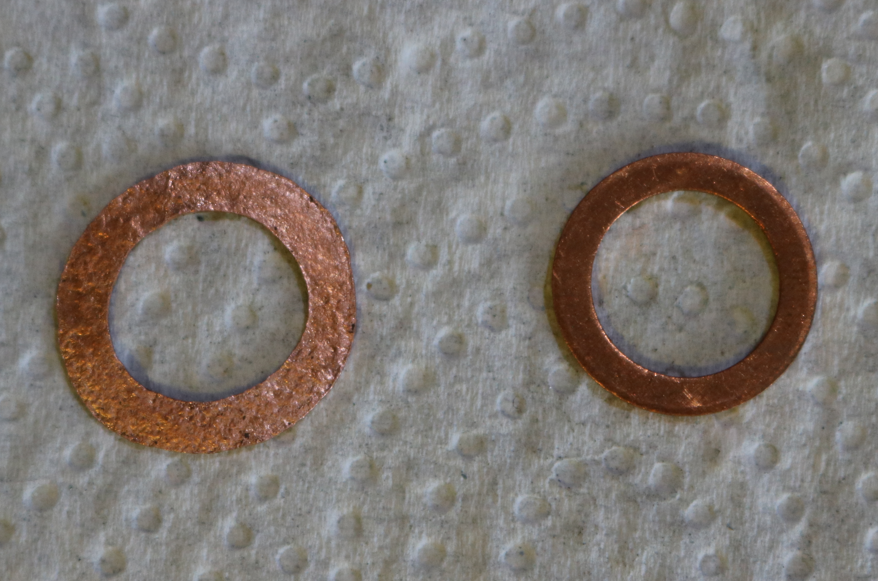
There are no bearings to be found that are 1mm wider, and after experimenting with spacers.

And boy have I done some experimenting, with a copper washers.
It fit perfectly....but...
test3.png

test4.png

....1mm washer are even too wide!
So I tried to slim it down 🤣 🤷‍♂️
test1.png

test2.png


1 mm is too wide as I said, the diff had to much drag, couldnt move freely....so tried to smash the washer, but than it got too agressive in my method 🤷‍♂️ 🤣
kapot.png

I used the trans case as backing, big mistake => made out of cheap pot metal, so I destroyed that cover! :rolleyes:
I flattened the washer using a socket wrench on the washer, and another socket on the other side, so it split the case at that part where the bearing/washer goes.

Have a new one on order, should arrive next week and will try to shave of the edges of the flatter copper washers and hope it all will fit...

Even with the broken side case, the diff will stay in place, but the play stays the same.
And I think with some riding, its not safe to rely on the tiny amount of metal left to hold that bearing in place....
You can even see the outer ring of the bearing
44-Knipsel.png
 
Last edited:
So all electronics are installed, works perfectly, and can't wait to rip it :)
But I'd rather have a spare body just for ripping, because I wouldn like to ruin the nice decals I have on now...:p

So than after fooling around with some spacers (I even broke the cover of the trans case so I had to order a second transmission case :rolleyes: ), I managed to remove all the play and it now turns perfectly :cool:

The stock diff has a lot of play on the outer drive cups, so I'm rather happy I went the ball differential route...

I recently decided to add shock fluid, because the car has too much sag at the rear, or is it normal with this kit?
If someone can chime in about this....
But now I'm experience a leaking left rear shock...(first time ever to build shocks)
For the near future I plan to swap a front shock with that leaking one, the front ones can do with less shock oil than the rears, imo...again, I'd love to read experiences of others that build this kit.
FYI, the hobbywing 3300kv engine weighs in a mere 218 grams....dont think that this too much for the rear to sag??

Will take some time to adjust the pictures of the whole build and share it here though...🤔
 
Last edited:
The Kyosho shocks are a pain to build. Those thin, nearly invisible gaskets drive me up a wall.

I don't drive mine, as it's a shelf queen. But mine didn't sag with the Castle 3800kv motor in it. Add some pre-load to the rear shocks and see if that helps.
 
manual says to leave a gap of 1.5mm between top of shock body and top of the adjuster plastic....but that would make it sag a lot!
So I left a gap of 9mm
:rolleyes:


IMG-5634.jpg

The end result is much nicer
:cool:

 
The Japanese flags are applied with sticker paper, not the best paper quality, but it will do..
20221013_115852.jpg

Gonna wait to take some nice quality pictures until I finally receive the Senna helmet; wich could take a few more months to ship (last quarter of the year :rolleyes:)

(Also gonna buy a second body + cage with roof for 'bashing')
 
Couldnt resist to make some pic..
IMG_5638.jpg

IMG_5639.jpg

IMG_5642.jpg

IMG_5650.jpg


So, waiting the Senna helmet and the 2nd bash body, this is the self queen body
:)

I also used a smaller Honda logo on the nose, looks better imo.
And added some detailed stickers at the rear.
 
Anyway, added some decals I had left from the Optima Mid build
IMG-5737.jpg

IMG-5738.jpg

IMG-5729.jpg
 
Back
Top