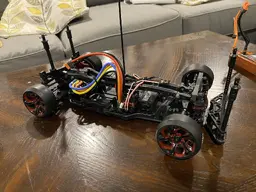
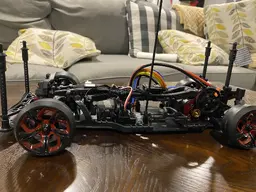
I am getting started in RC drift. So far, I have purchased an MST RMX 2.0s chassis, Hobbywing QuicRun 10BL60 speed control, Hobbywing 10.5 turn brushless motor, Futaba 3PV radio, and Power HD servo and gyro. I got Hydra XDR 2" wheels/tires, but don't even know how to tell if they are compatible with the chassis. I also ordered a body: HSP RC Body Shell for HSP Redcat Exceed 1/10 Scale 4wd, but I also don't know if that will fit the chassis or even how to tell.
I haven't put anything together yet, but looking at the parts, I realized I need to learn how to solder. I ordered a soldering kit and will practice before tackling the motor and ESC. Is there anything else I am missing? There is a lot of information out there, but it seems like there are all of these small details that are assumed and not explicitly mentioned.
Thanks

")