Welp, time for my first build thread. This will be a build thread for my old beat up Nanda BD8, I'm gonna transform it from a broken and outdated old buggy to a frisky updated buggy basher. Last fall I took it out of the basement and fired up after sitting in the basement for several years and it started surprisingly easily. My GF and I were delighted and took it for a spin. The first little test run went well, the next run resulted in a slightly broken front suspension and body shell and steering servo. The cause of the crash was that the power switch turned off after a jump somehow and the throttle got stuck fully open! My initial plan was to just replace the broken parts and repair it, but it's turned into a full on upgrade.
Before the crash, had to put a sock on the cooling fins to get enough engine heat in the cold fall weather.

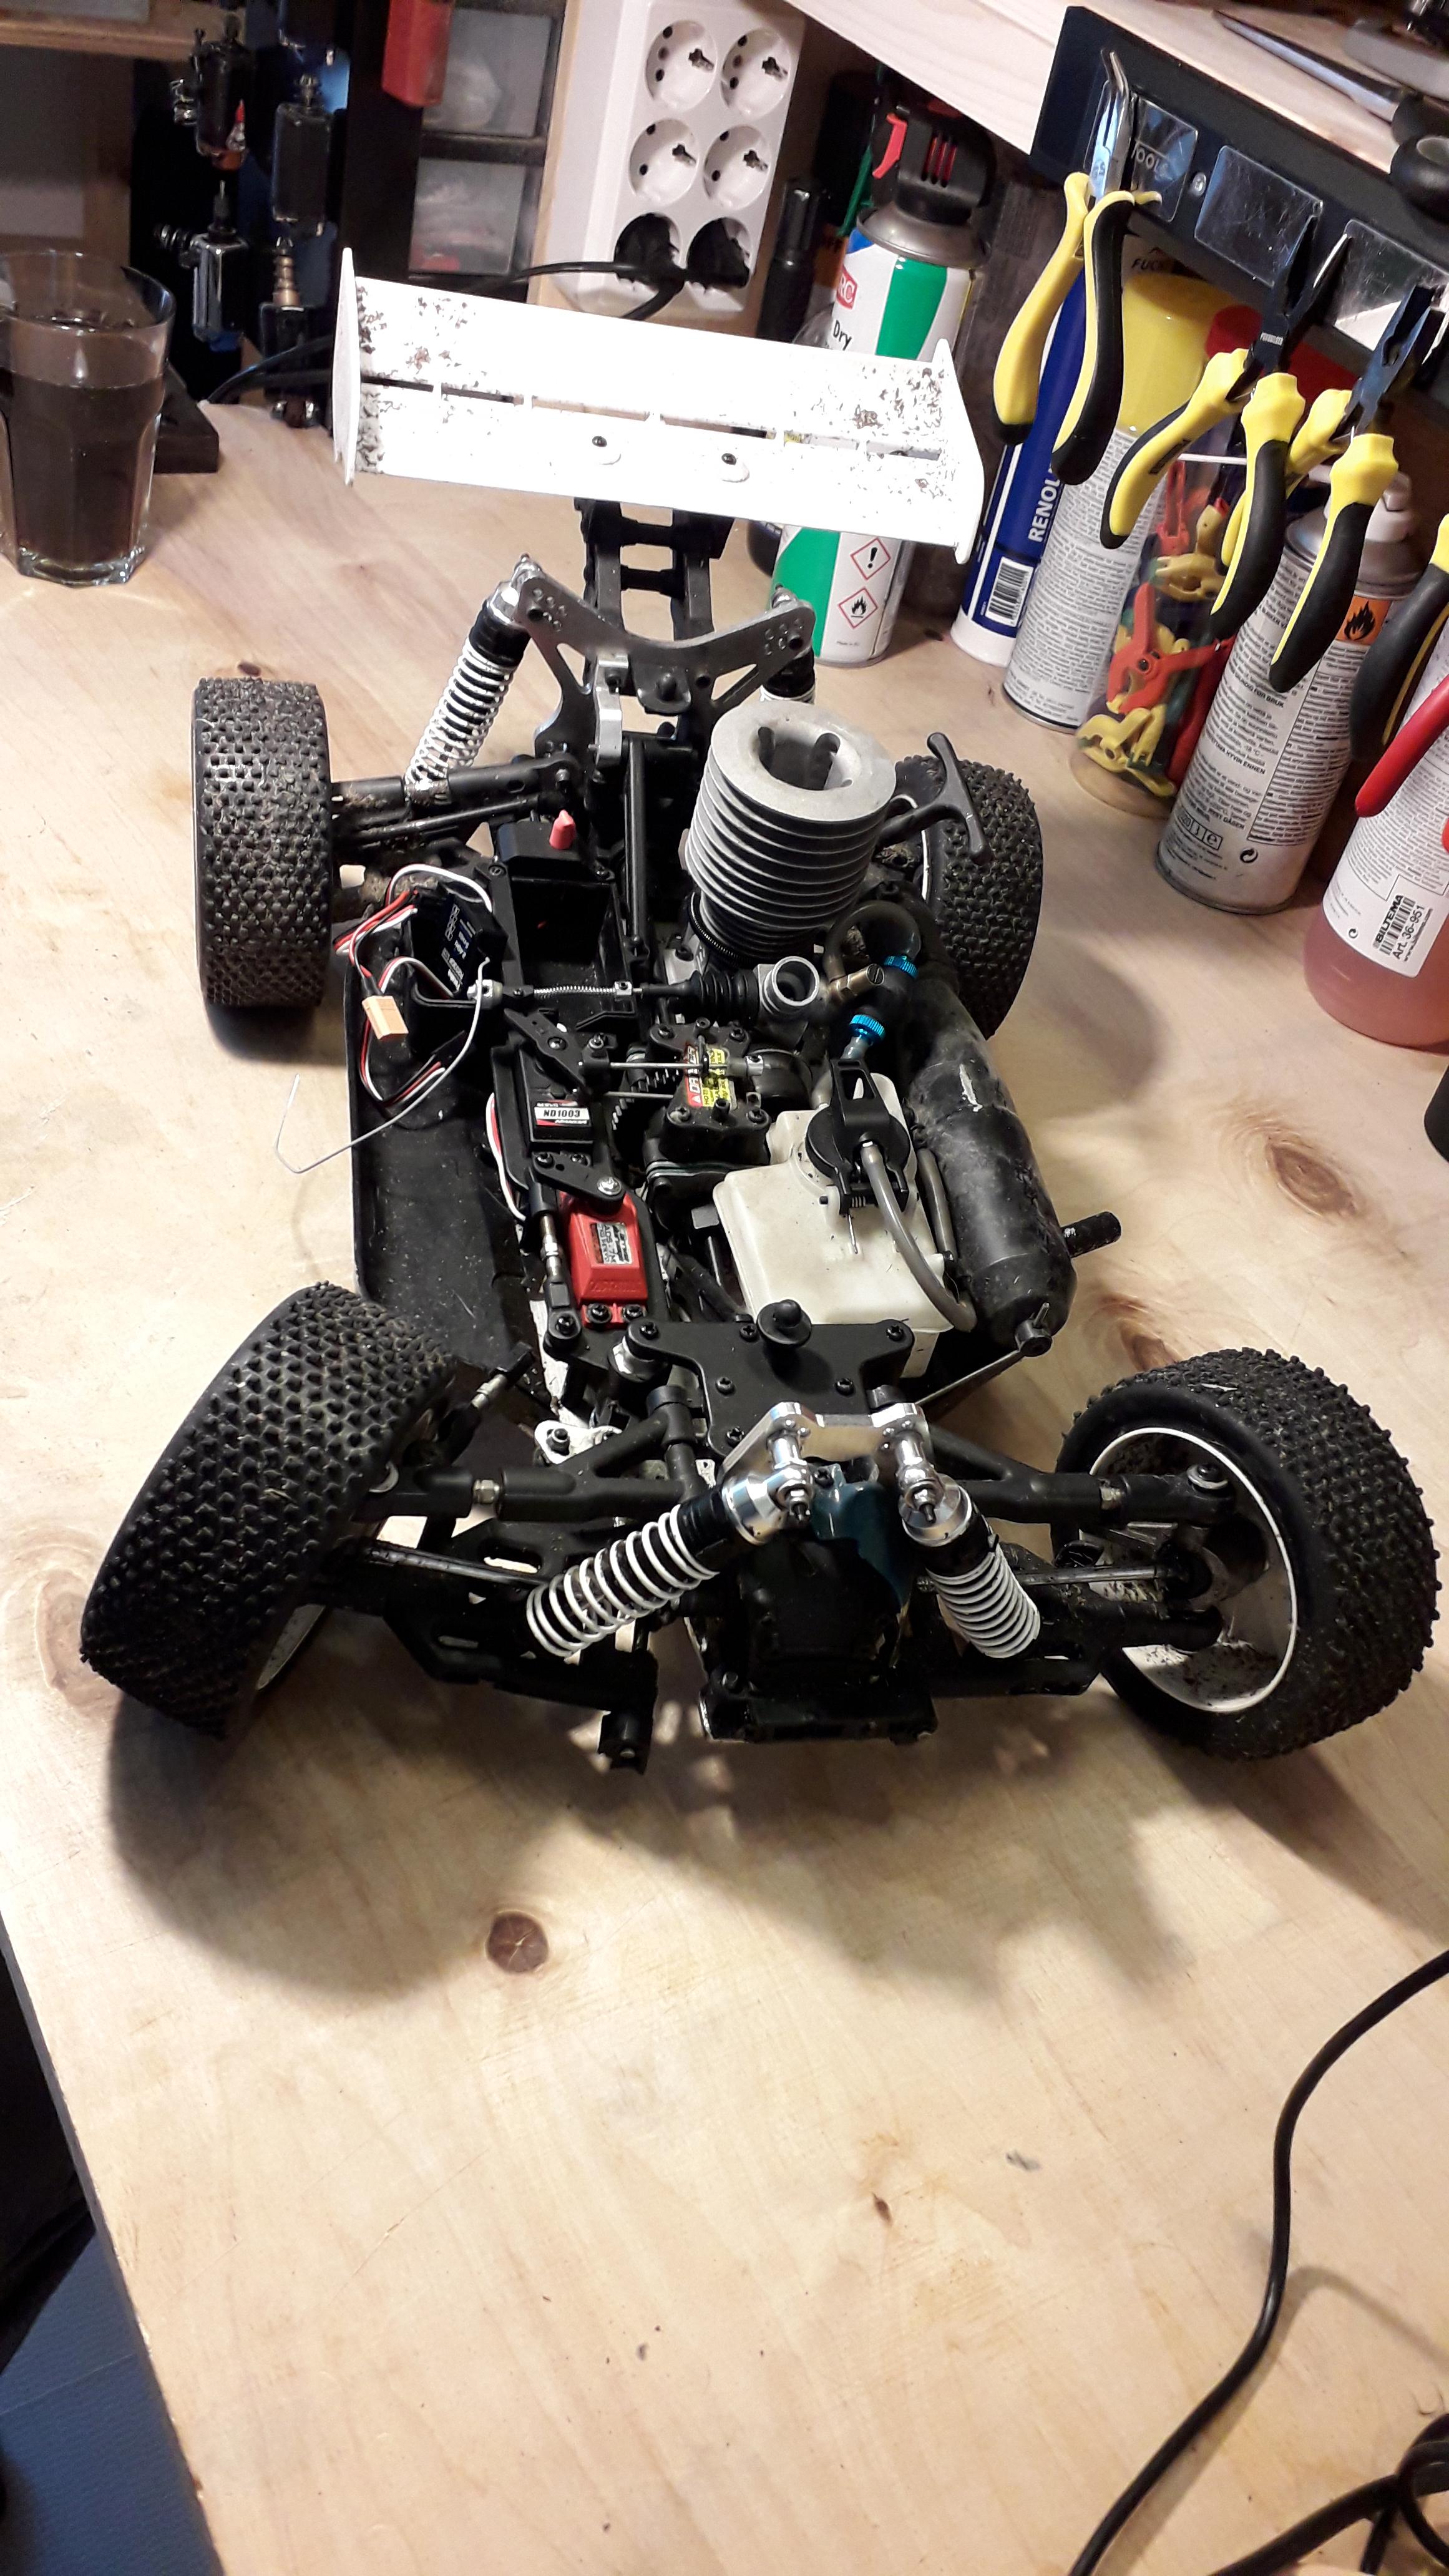
The aftermath of the crash, the front wheels were a tad misaligned. The red steering servo is a an Arrma servo I got for free from a friend after the stock one broke after a minor crash before the big crash.
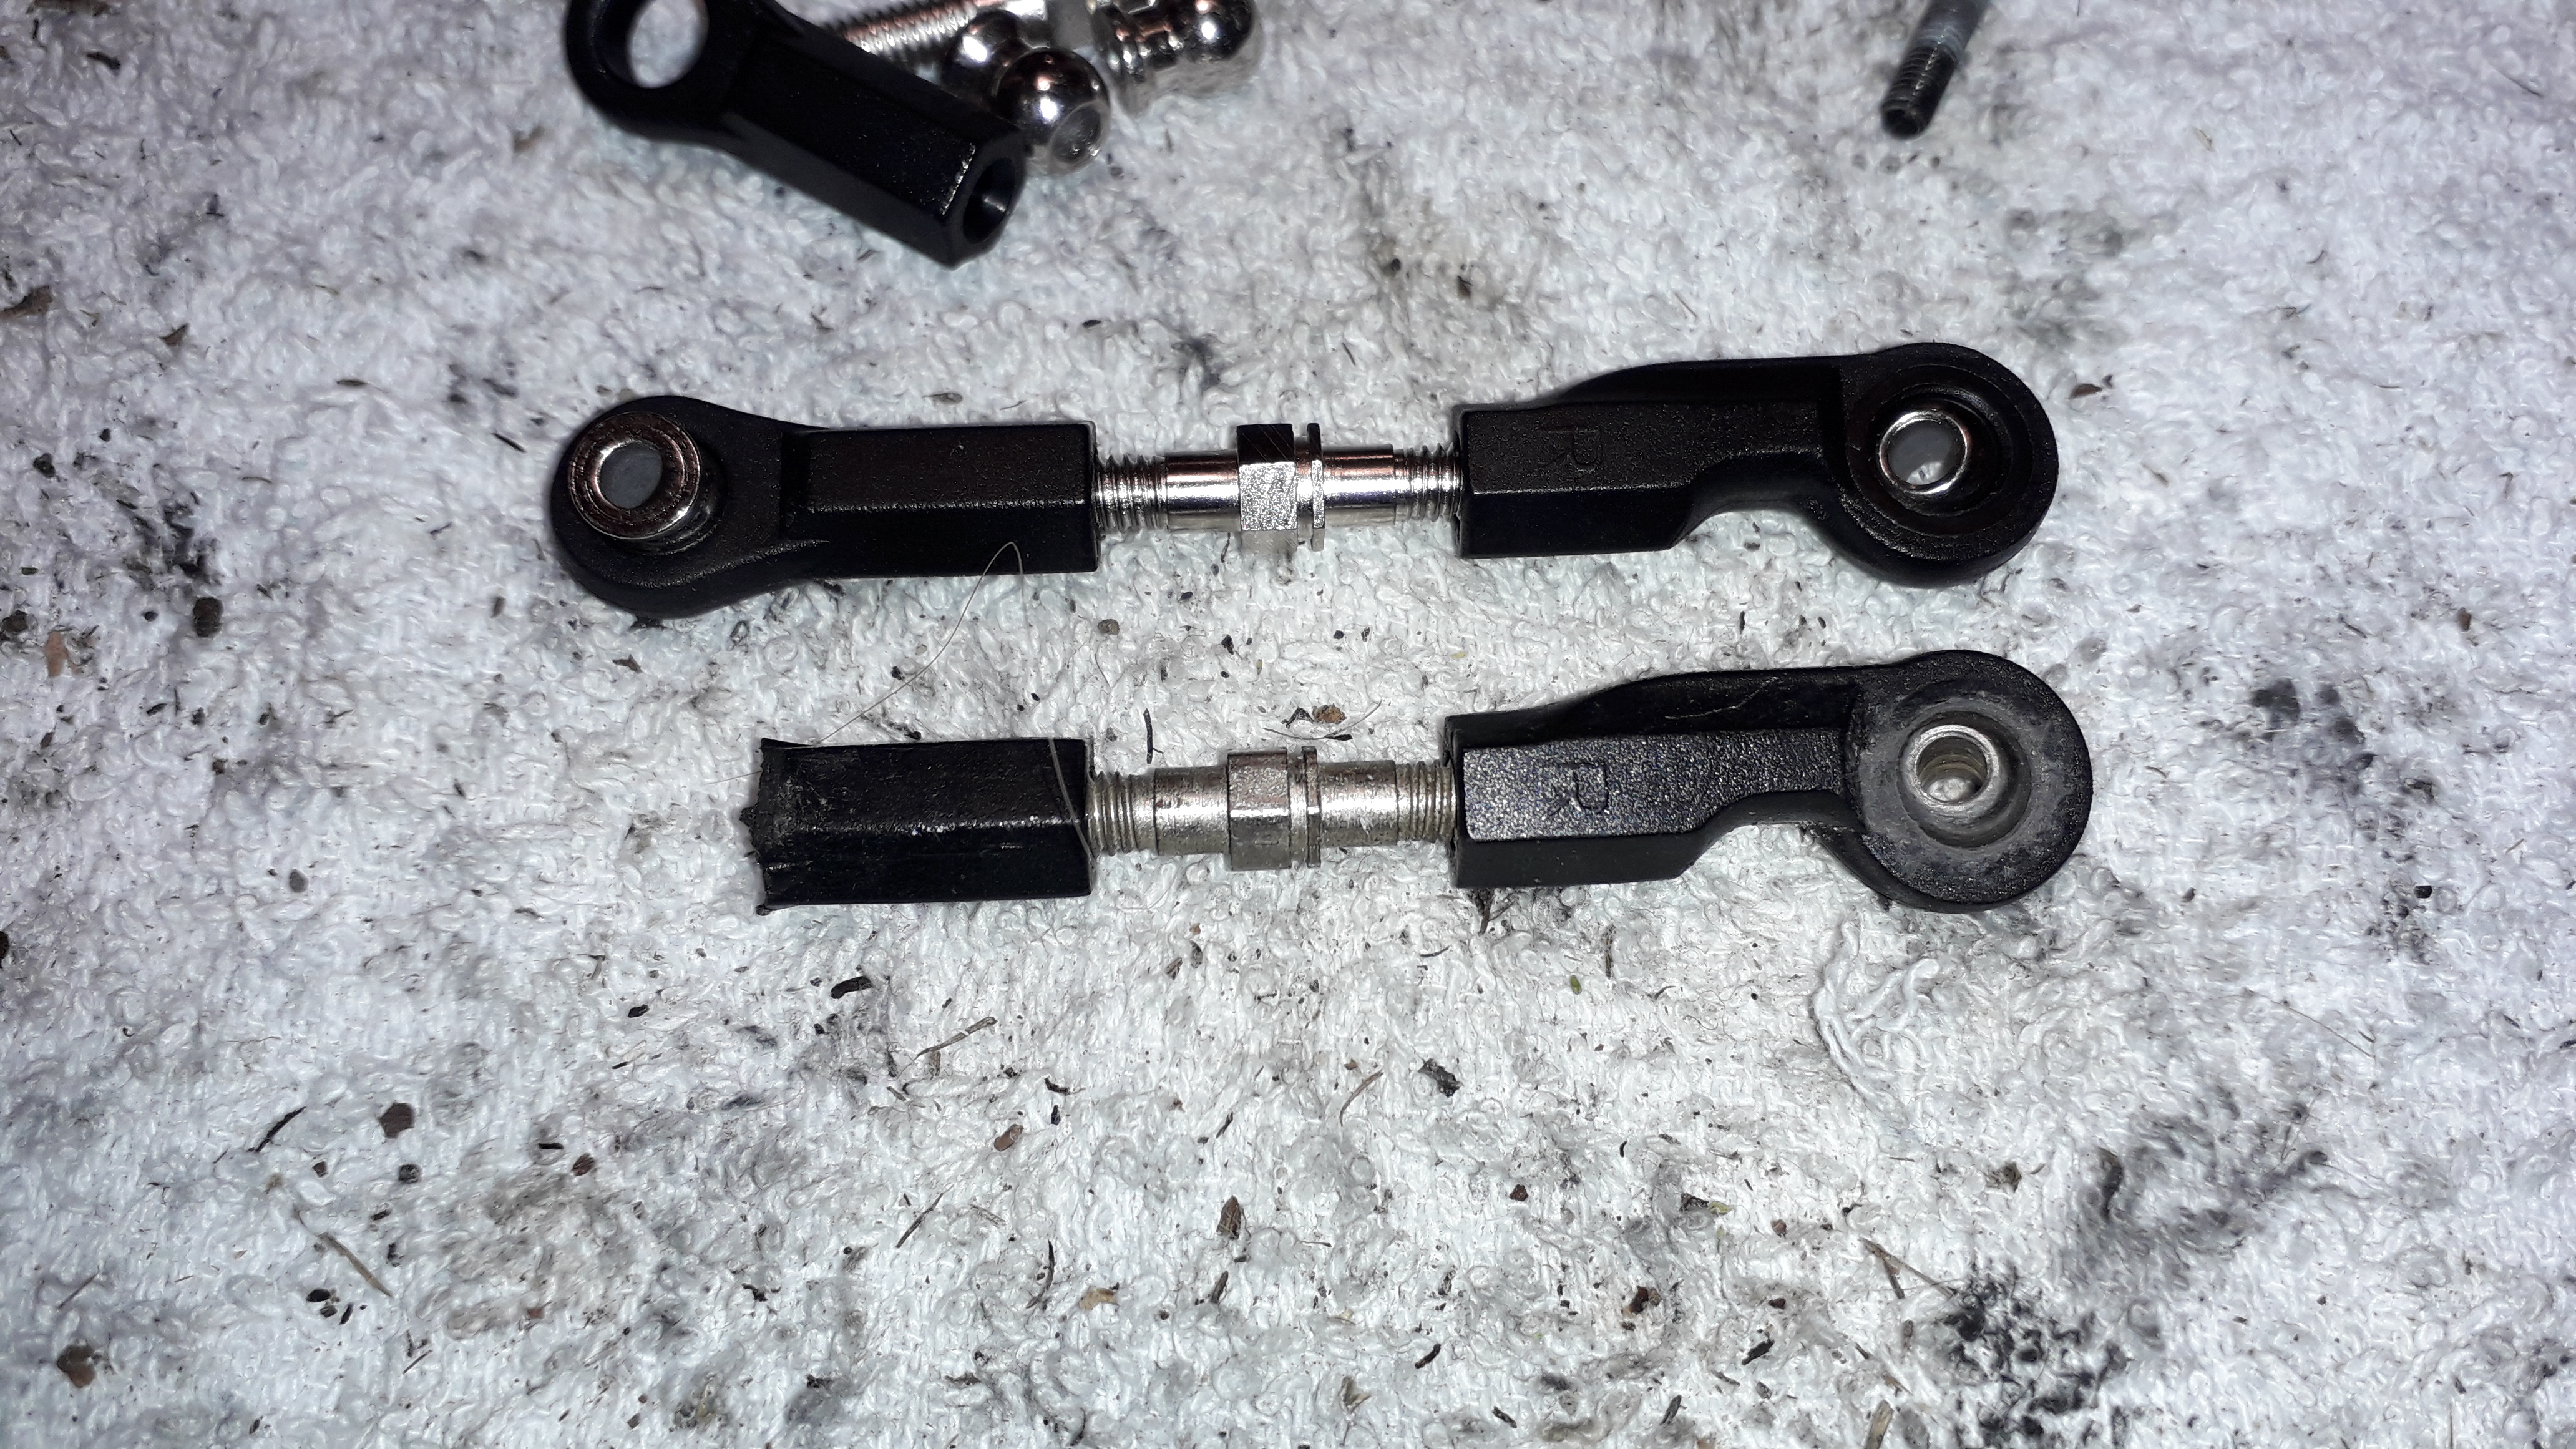
One of the parts that broke, the left steering linkage, easy to replace fortunately.
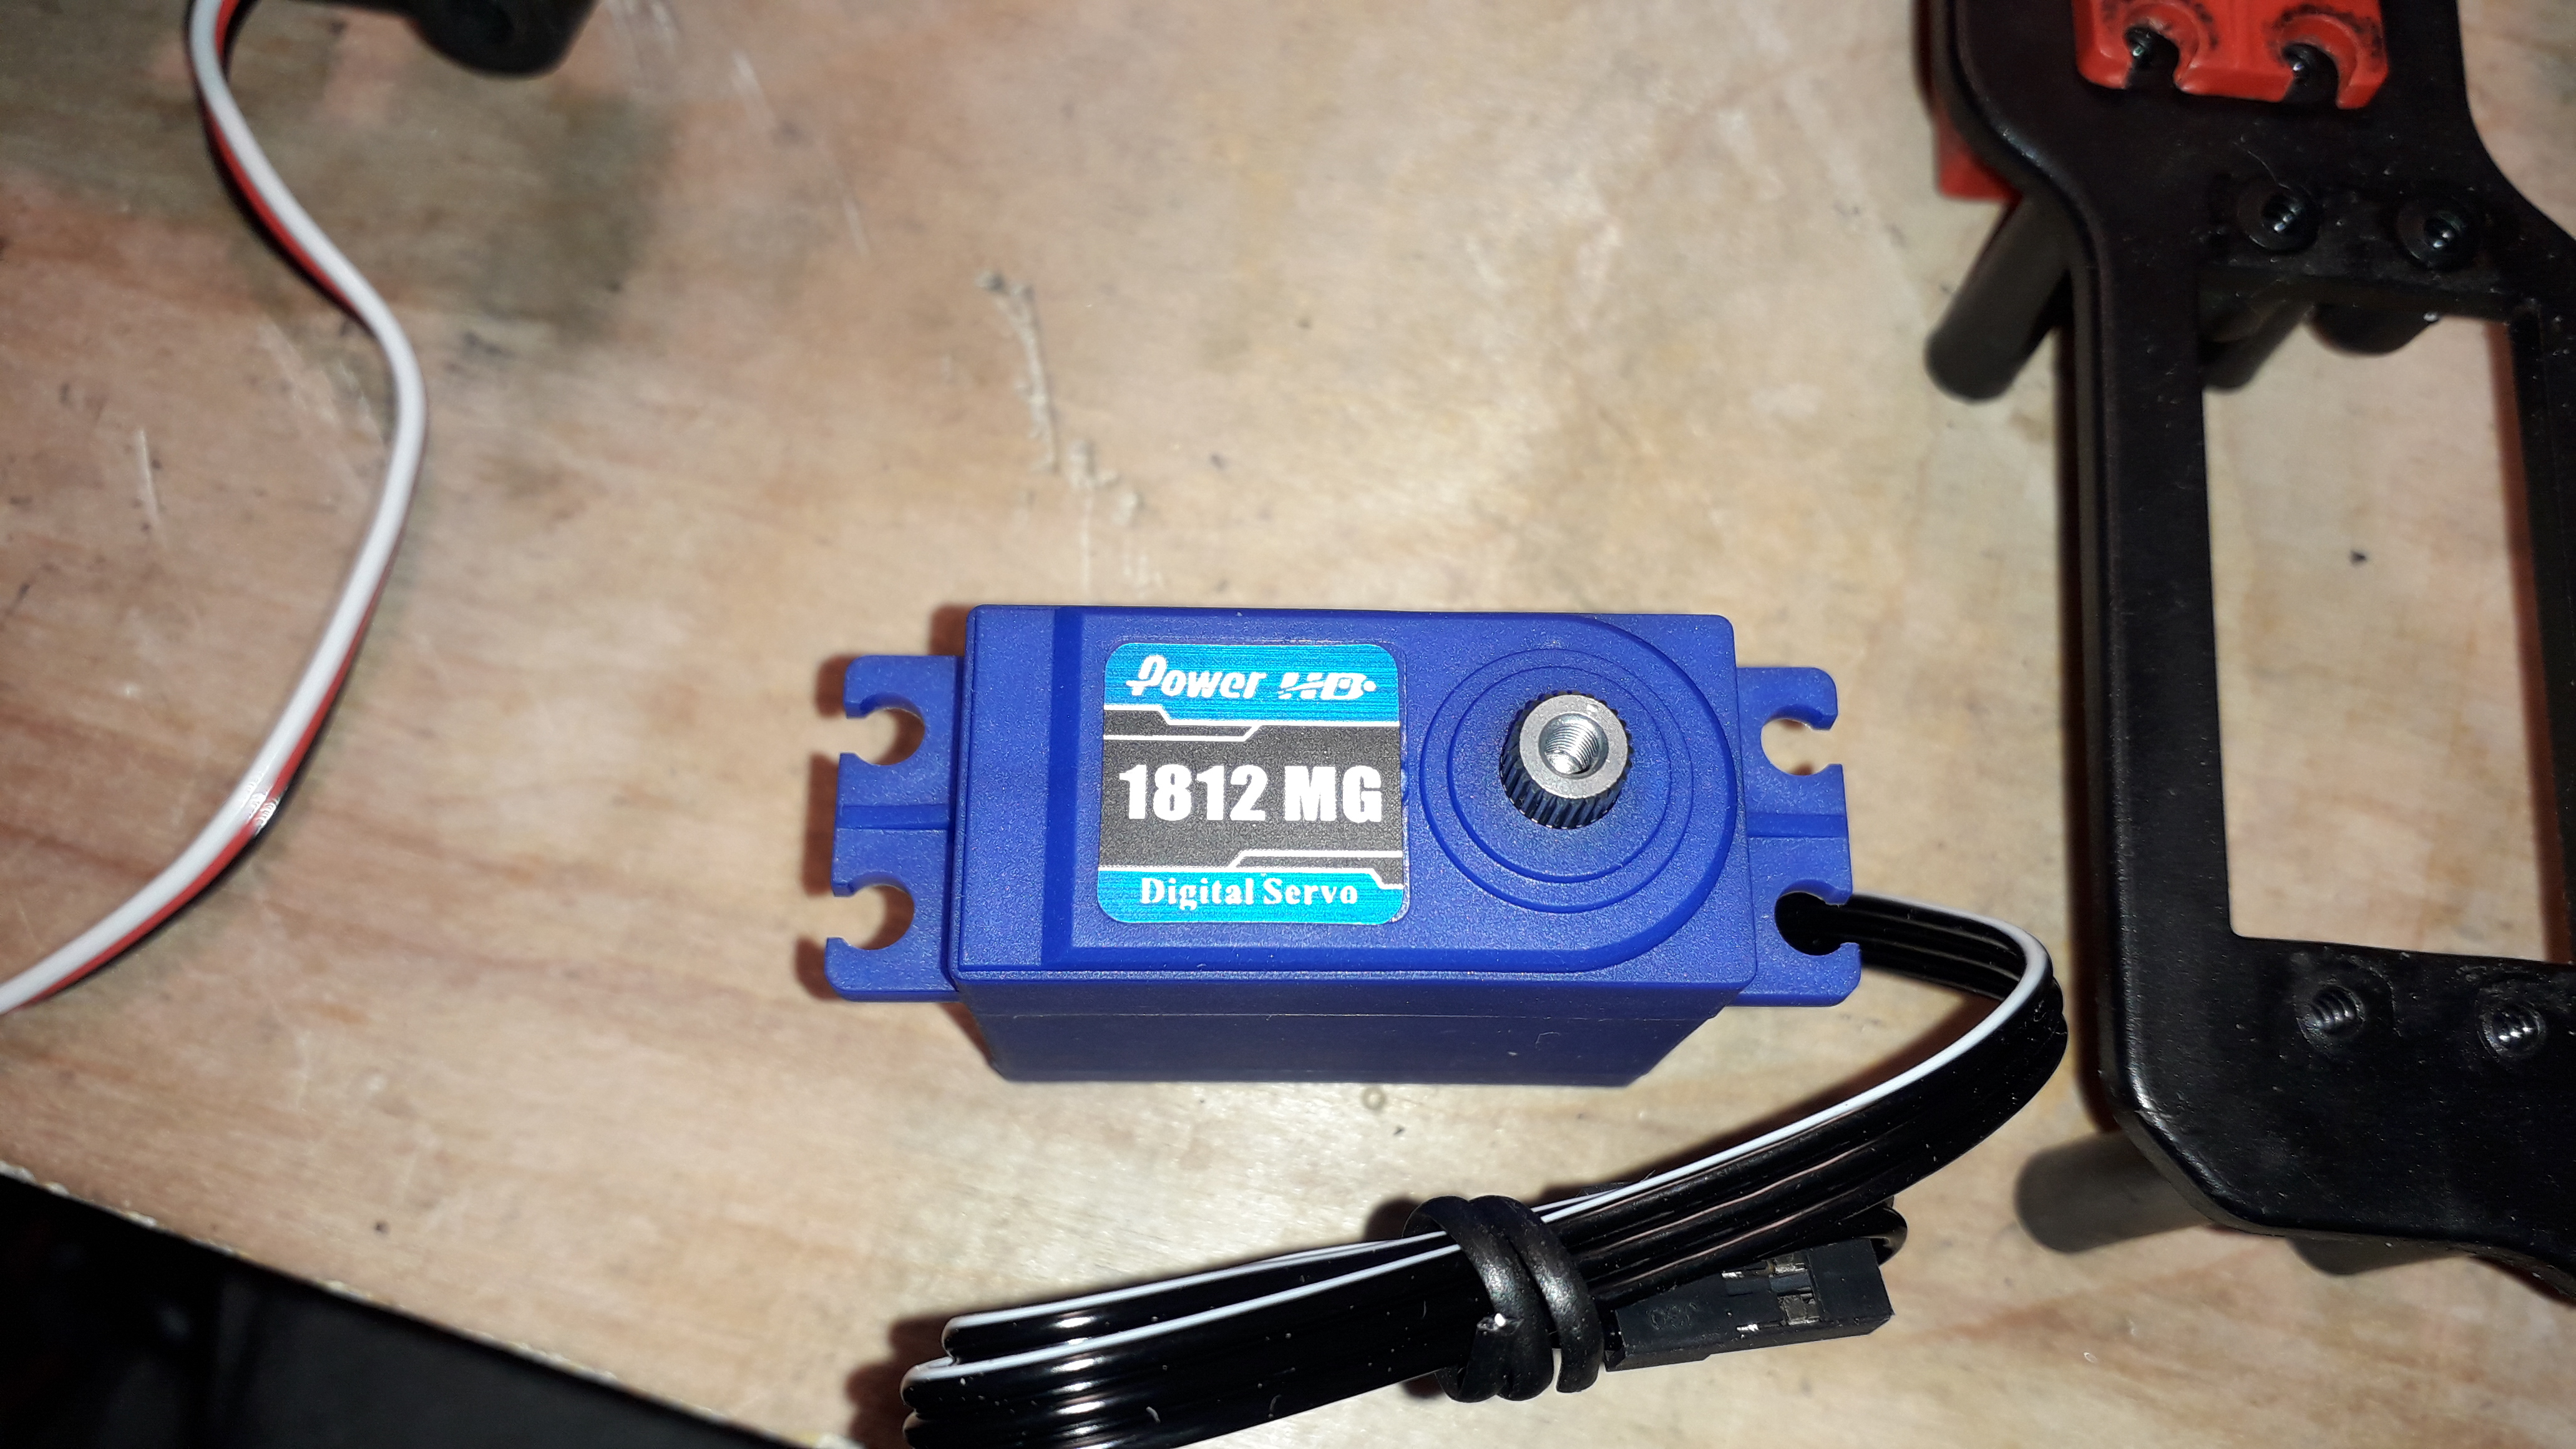
I've replaced the stock 3kg(!) plastic gear servos with two PowerHD 18kg servos. They're quite cheap servos, but still a massive upgrade over the stock ones. I've also replaced the stock analog transmitter and receiver setup with a Futaba 3PRK 2.4 GHz setup, another major upgrade over the stock setup, just better in every way. I'm powering it with a 2 cell 1600mAh li-fe battery to get more oomph than the stock 4 cell ni-mh battery setup.
I bought two of these guys to replace the stock servos.
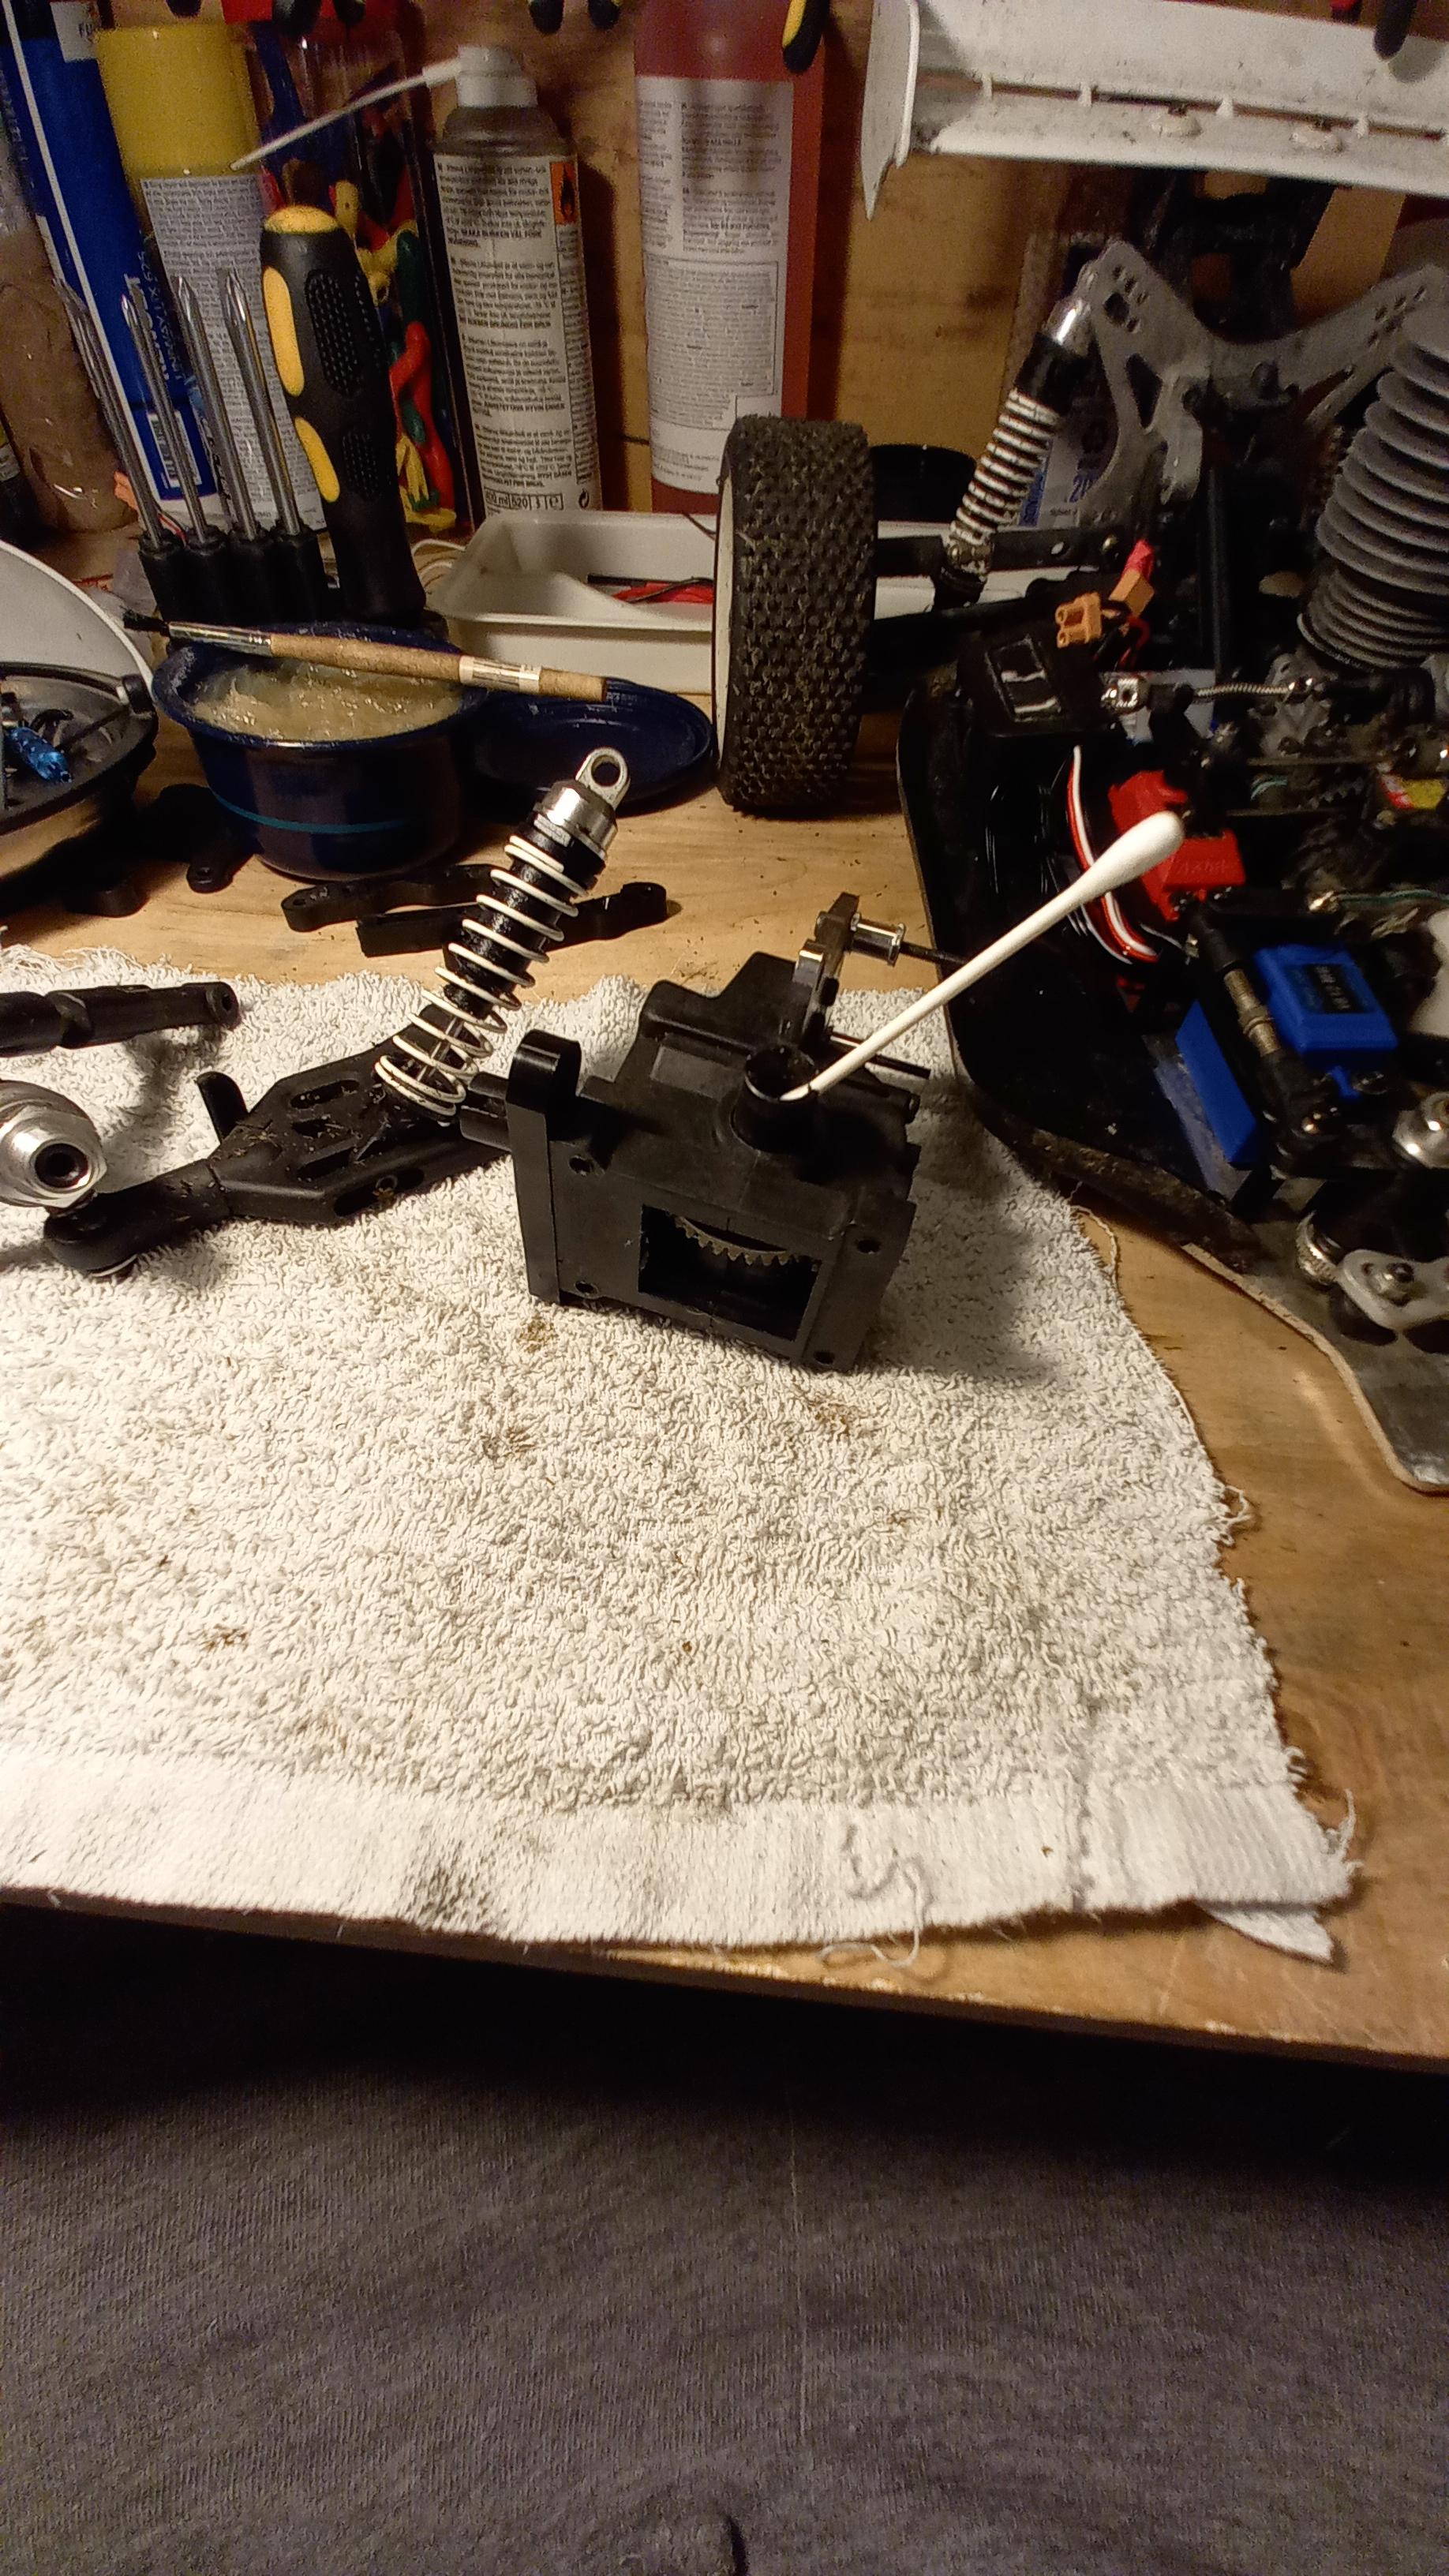
The differentials also got some TLC, which oil viscosity would be good to use for general driving on semi hard gravel?
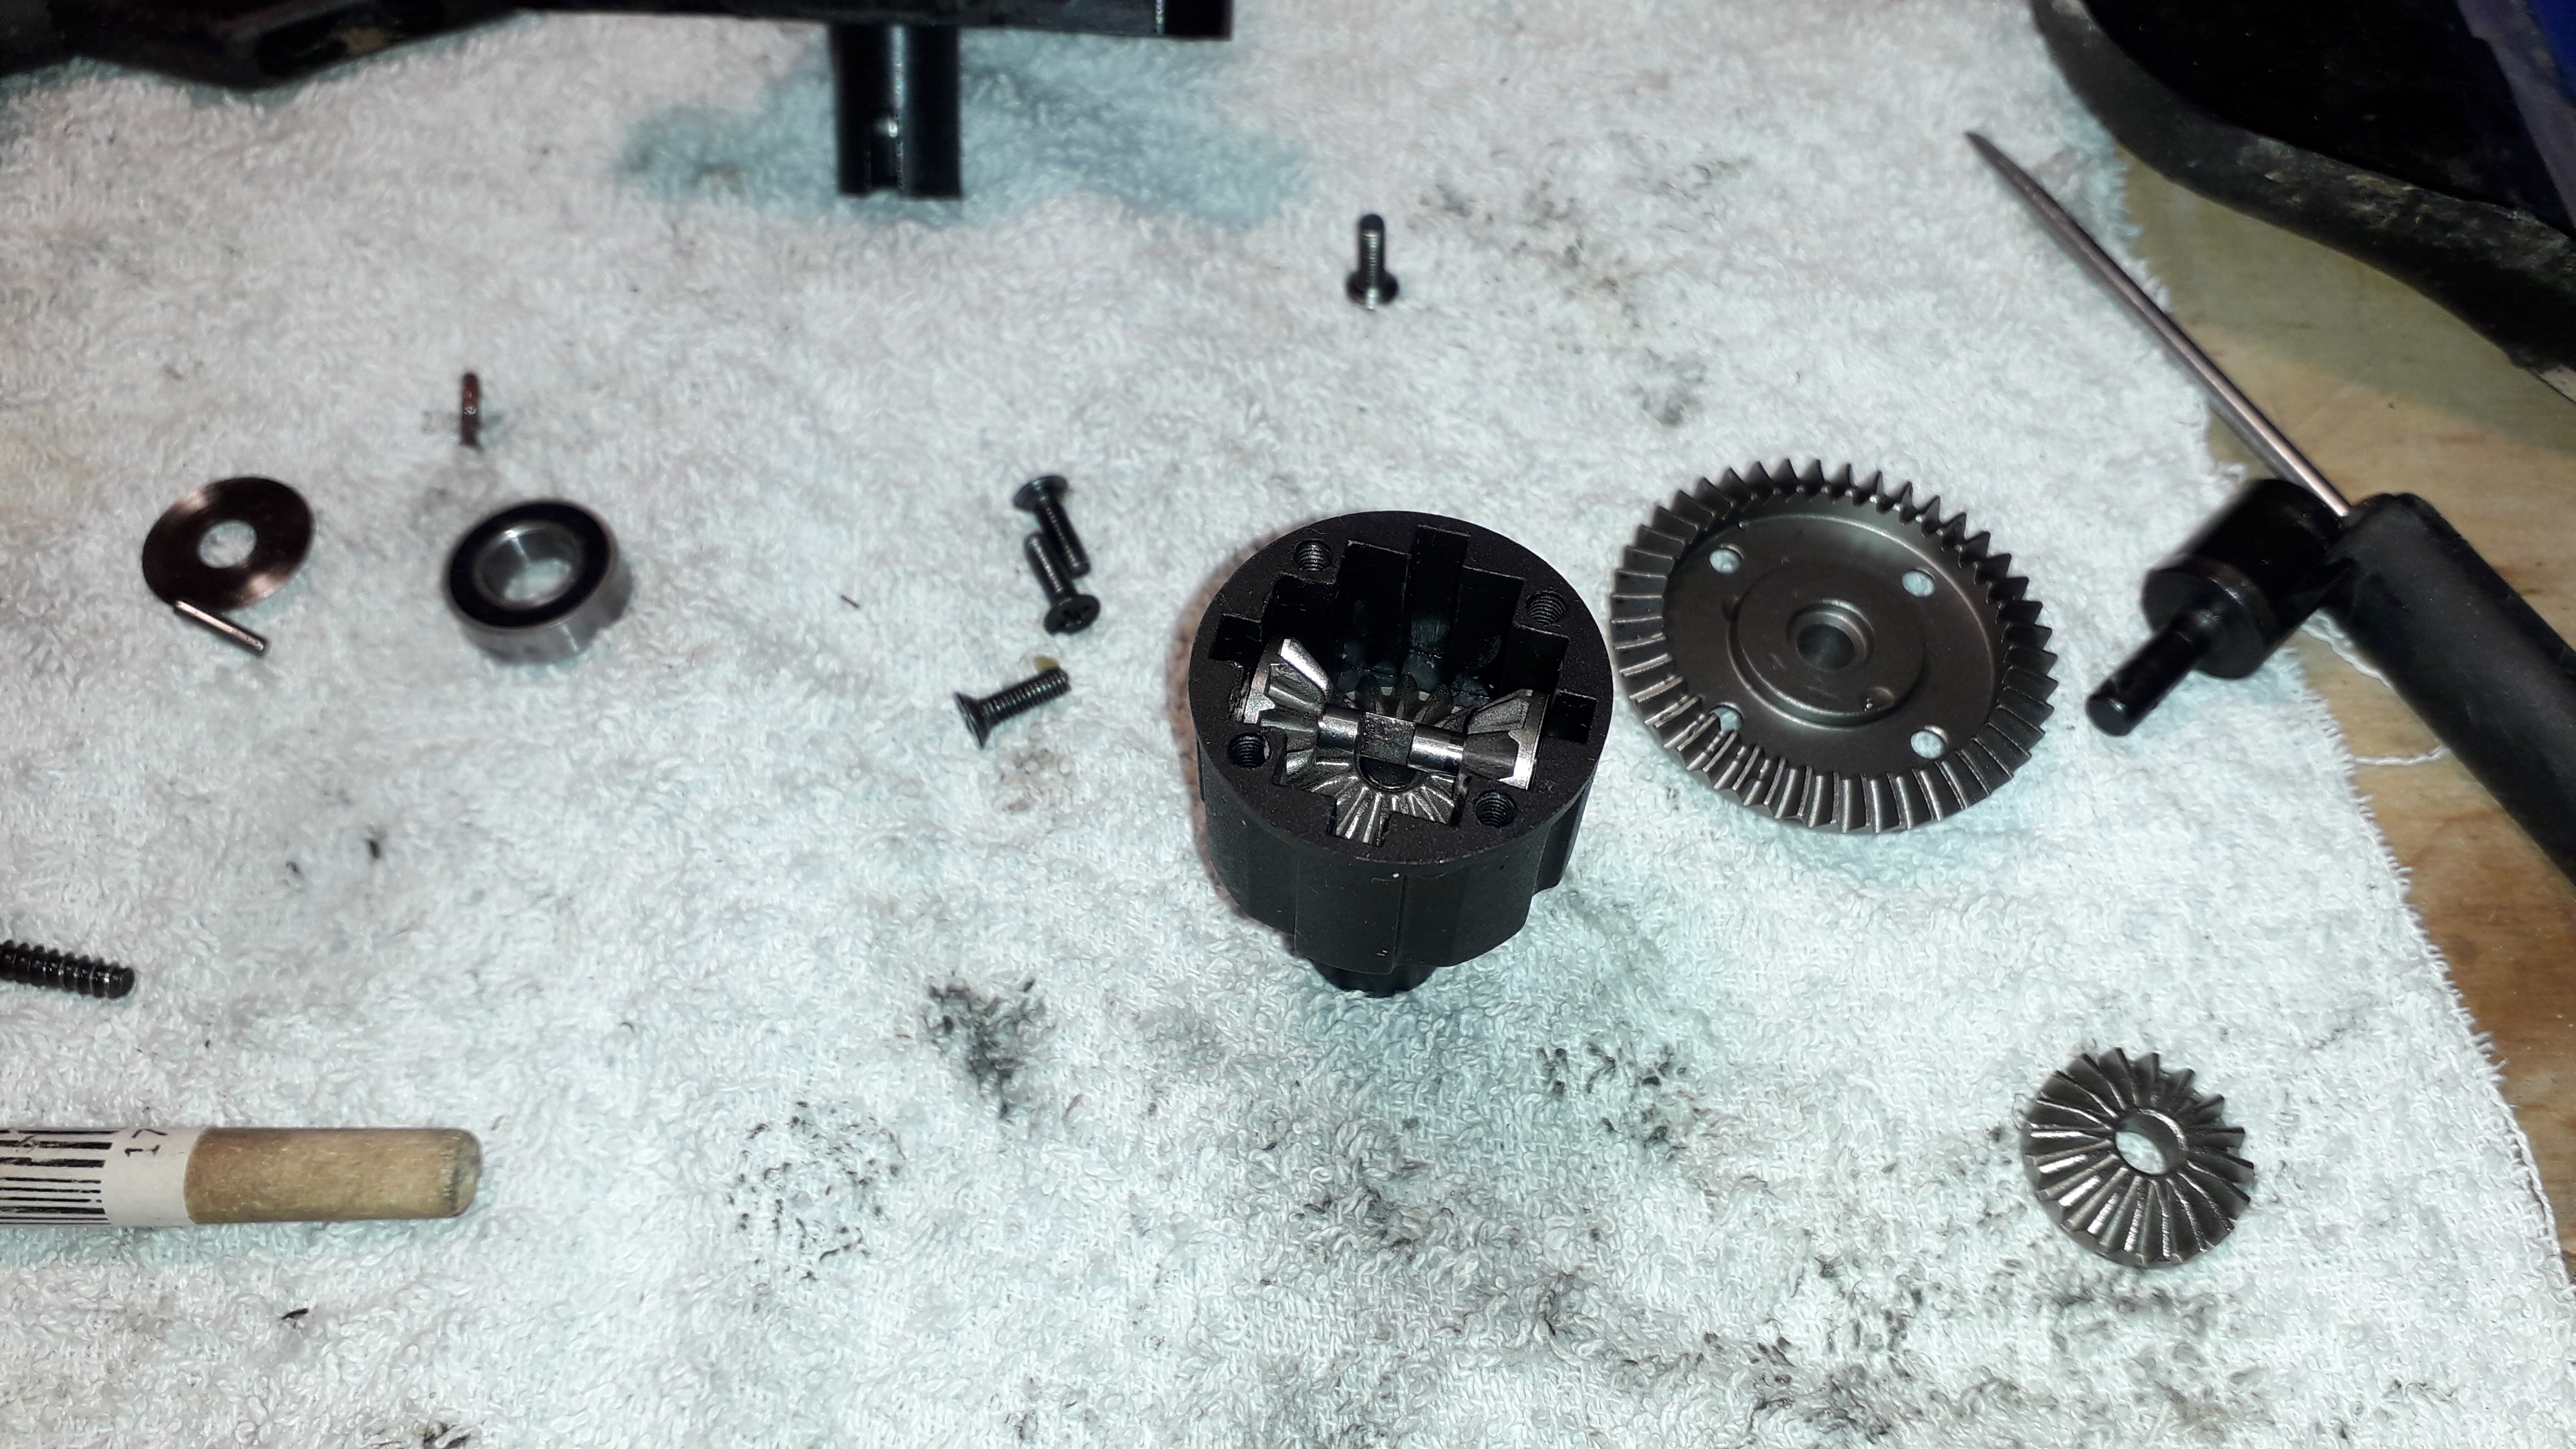
I thoroughly cleaned all of the driveshafts and coupling, I put on a lot of grease when I first got the car, not a good idea. I'm thinking of trying dry chain lube on the drive shafts.
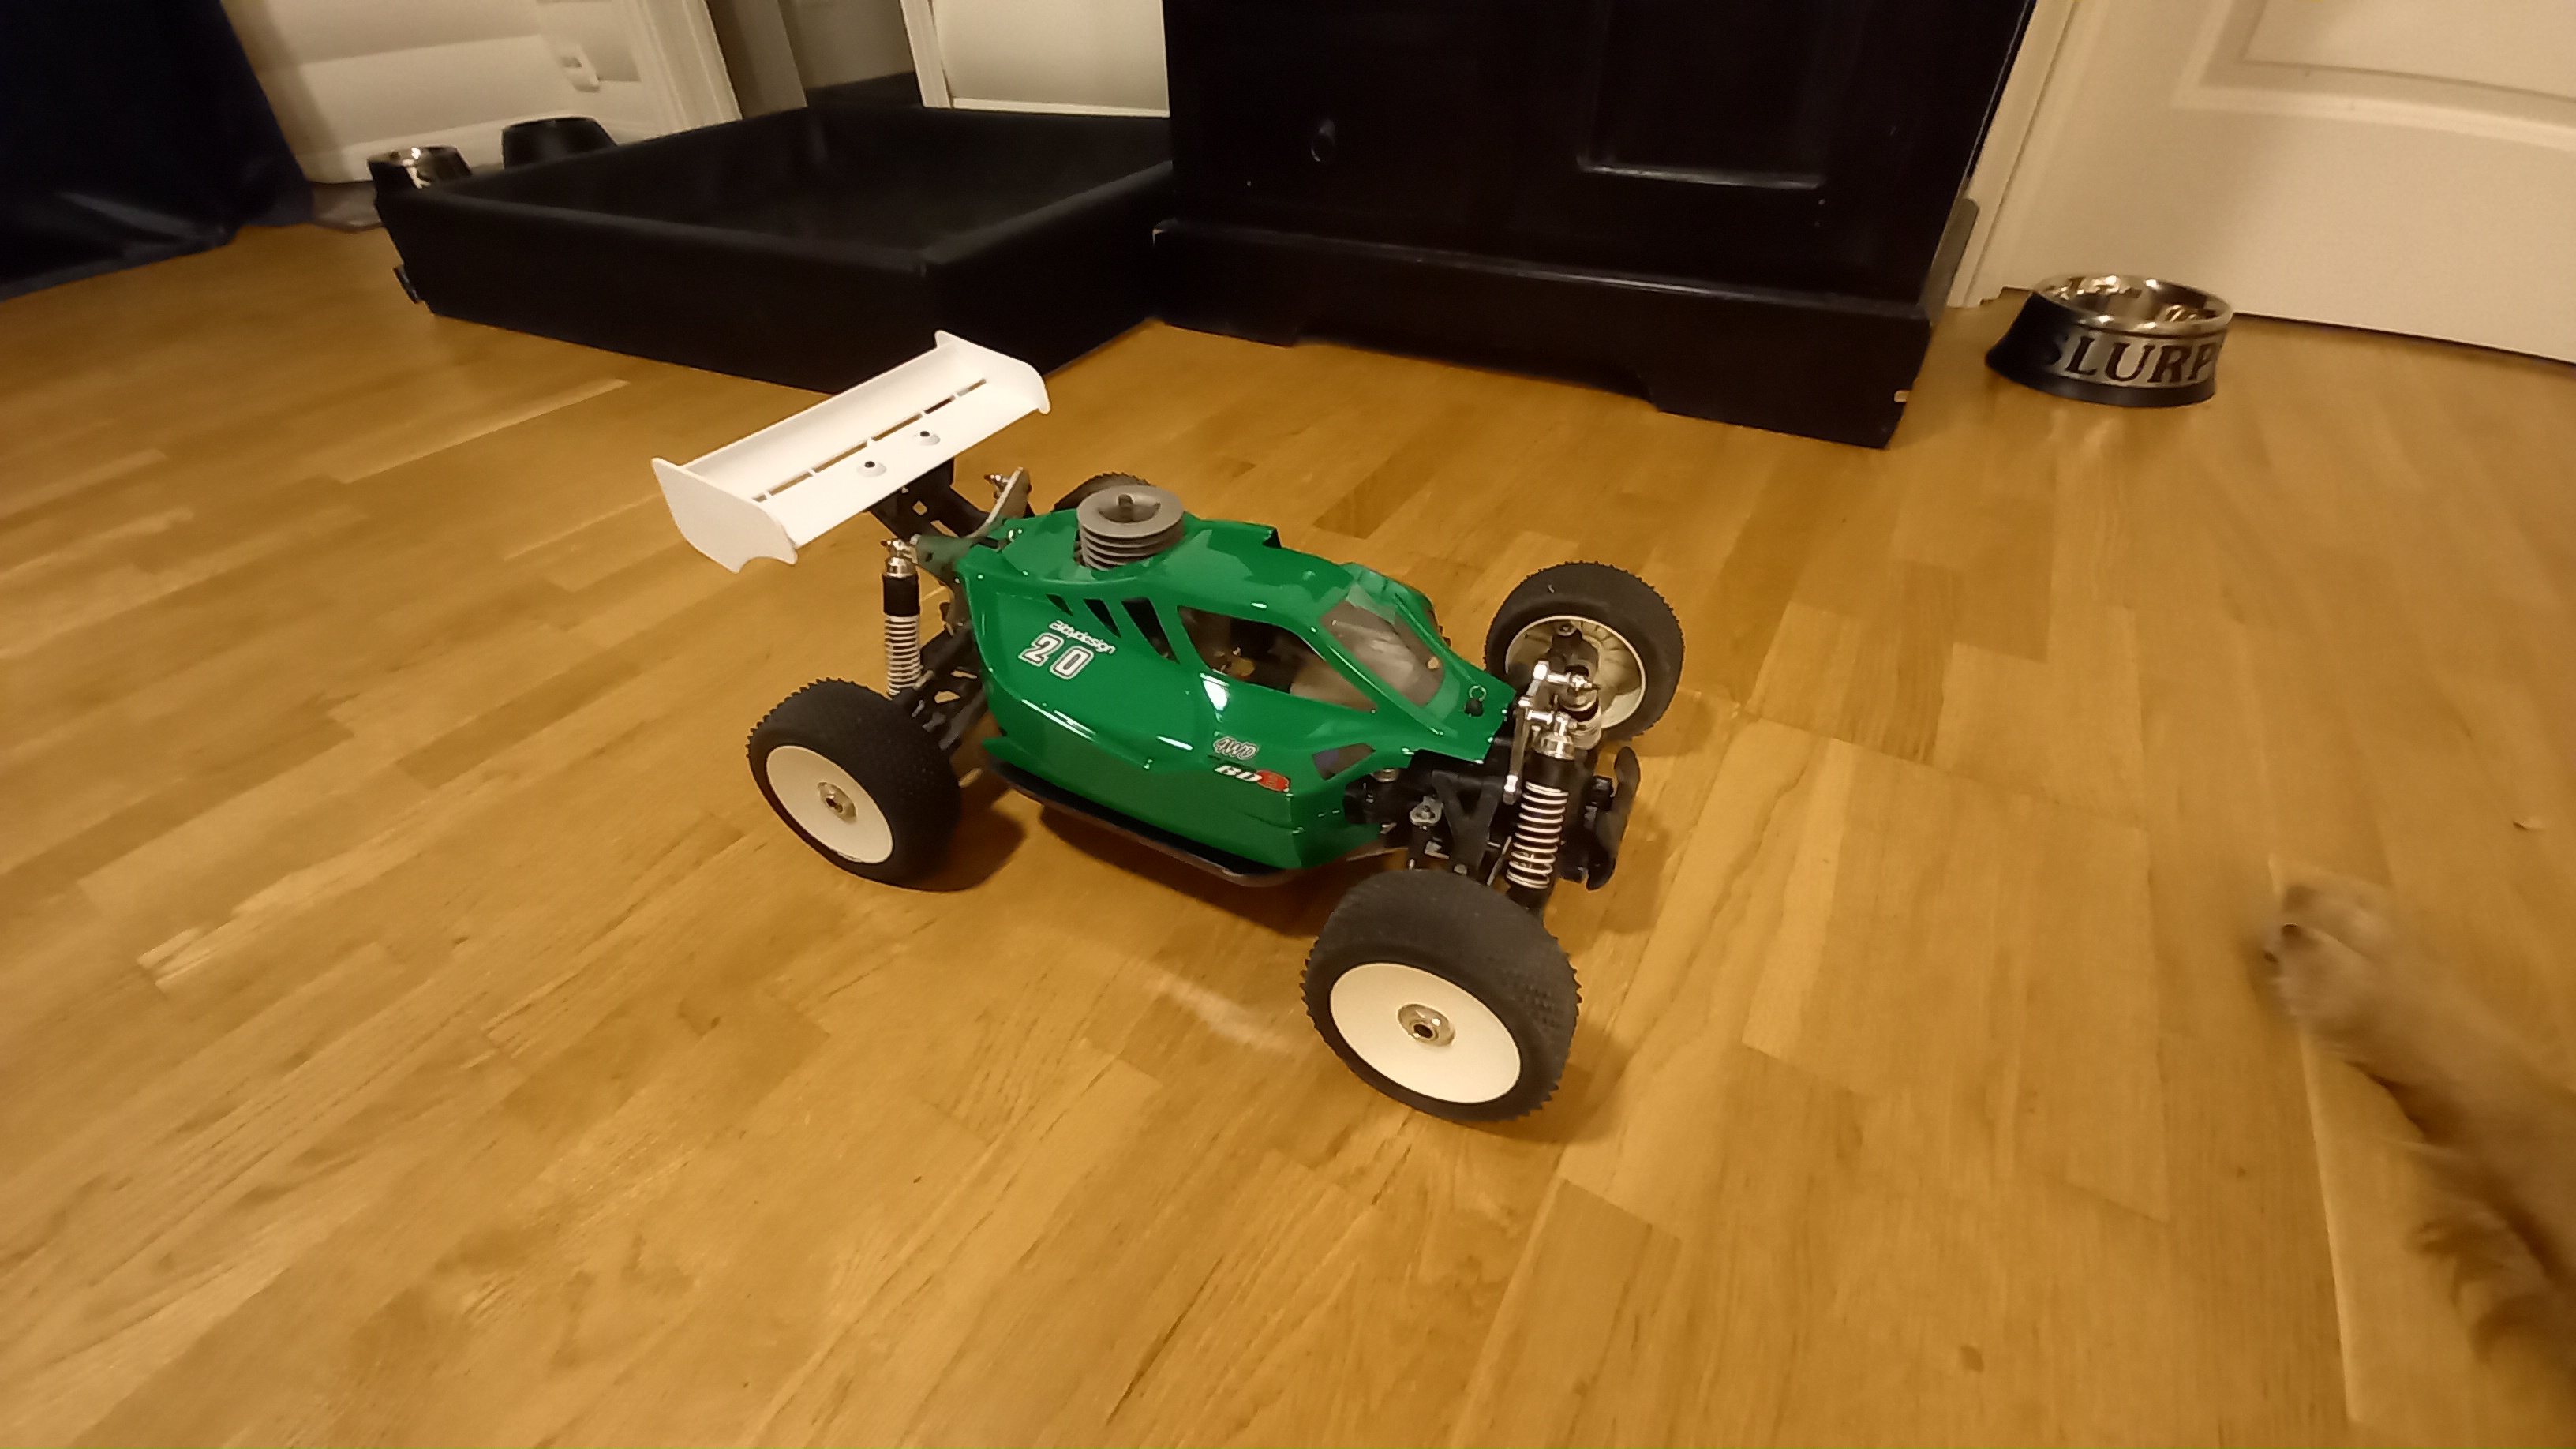
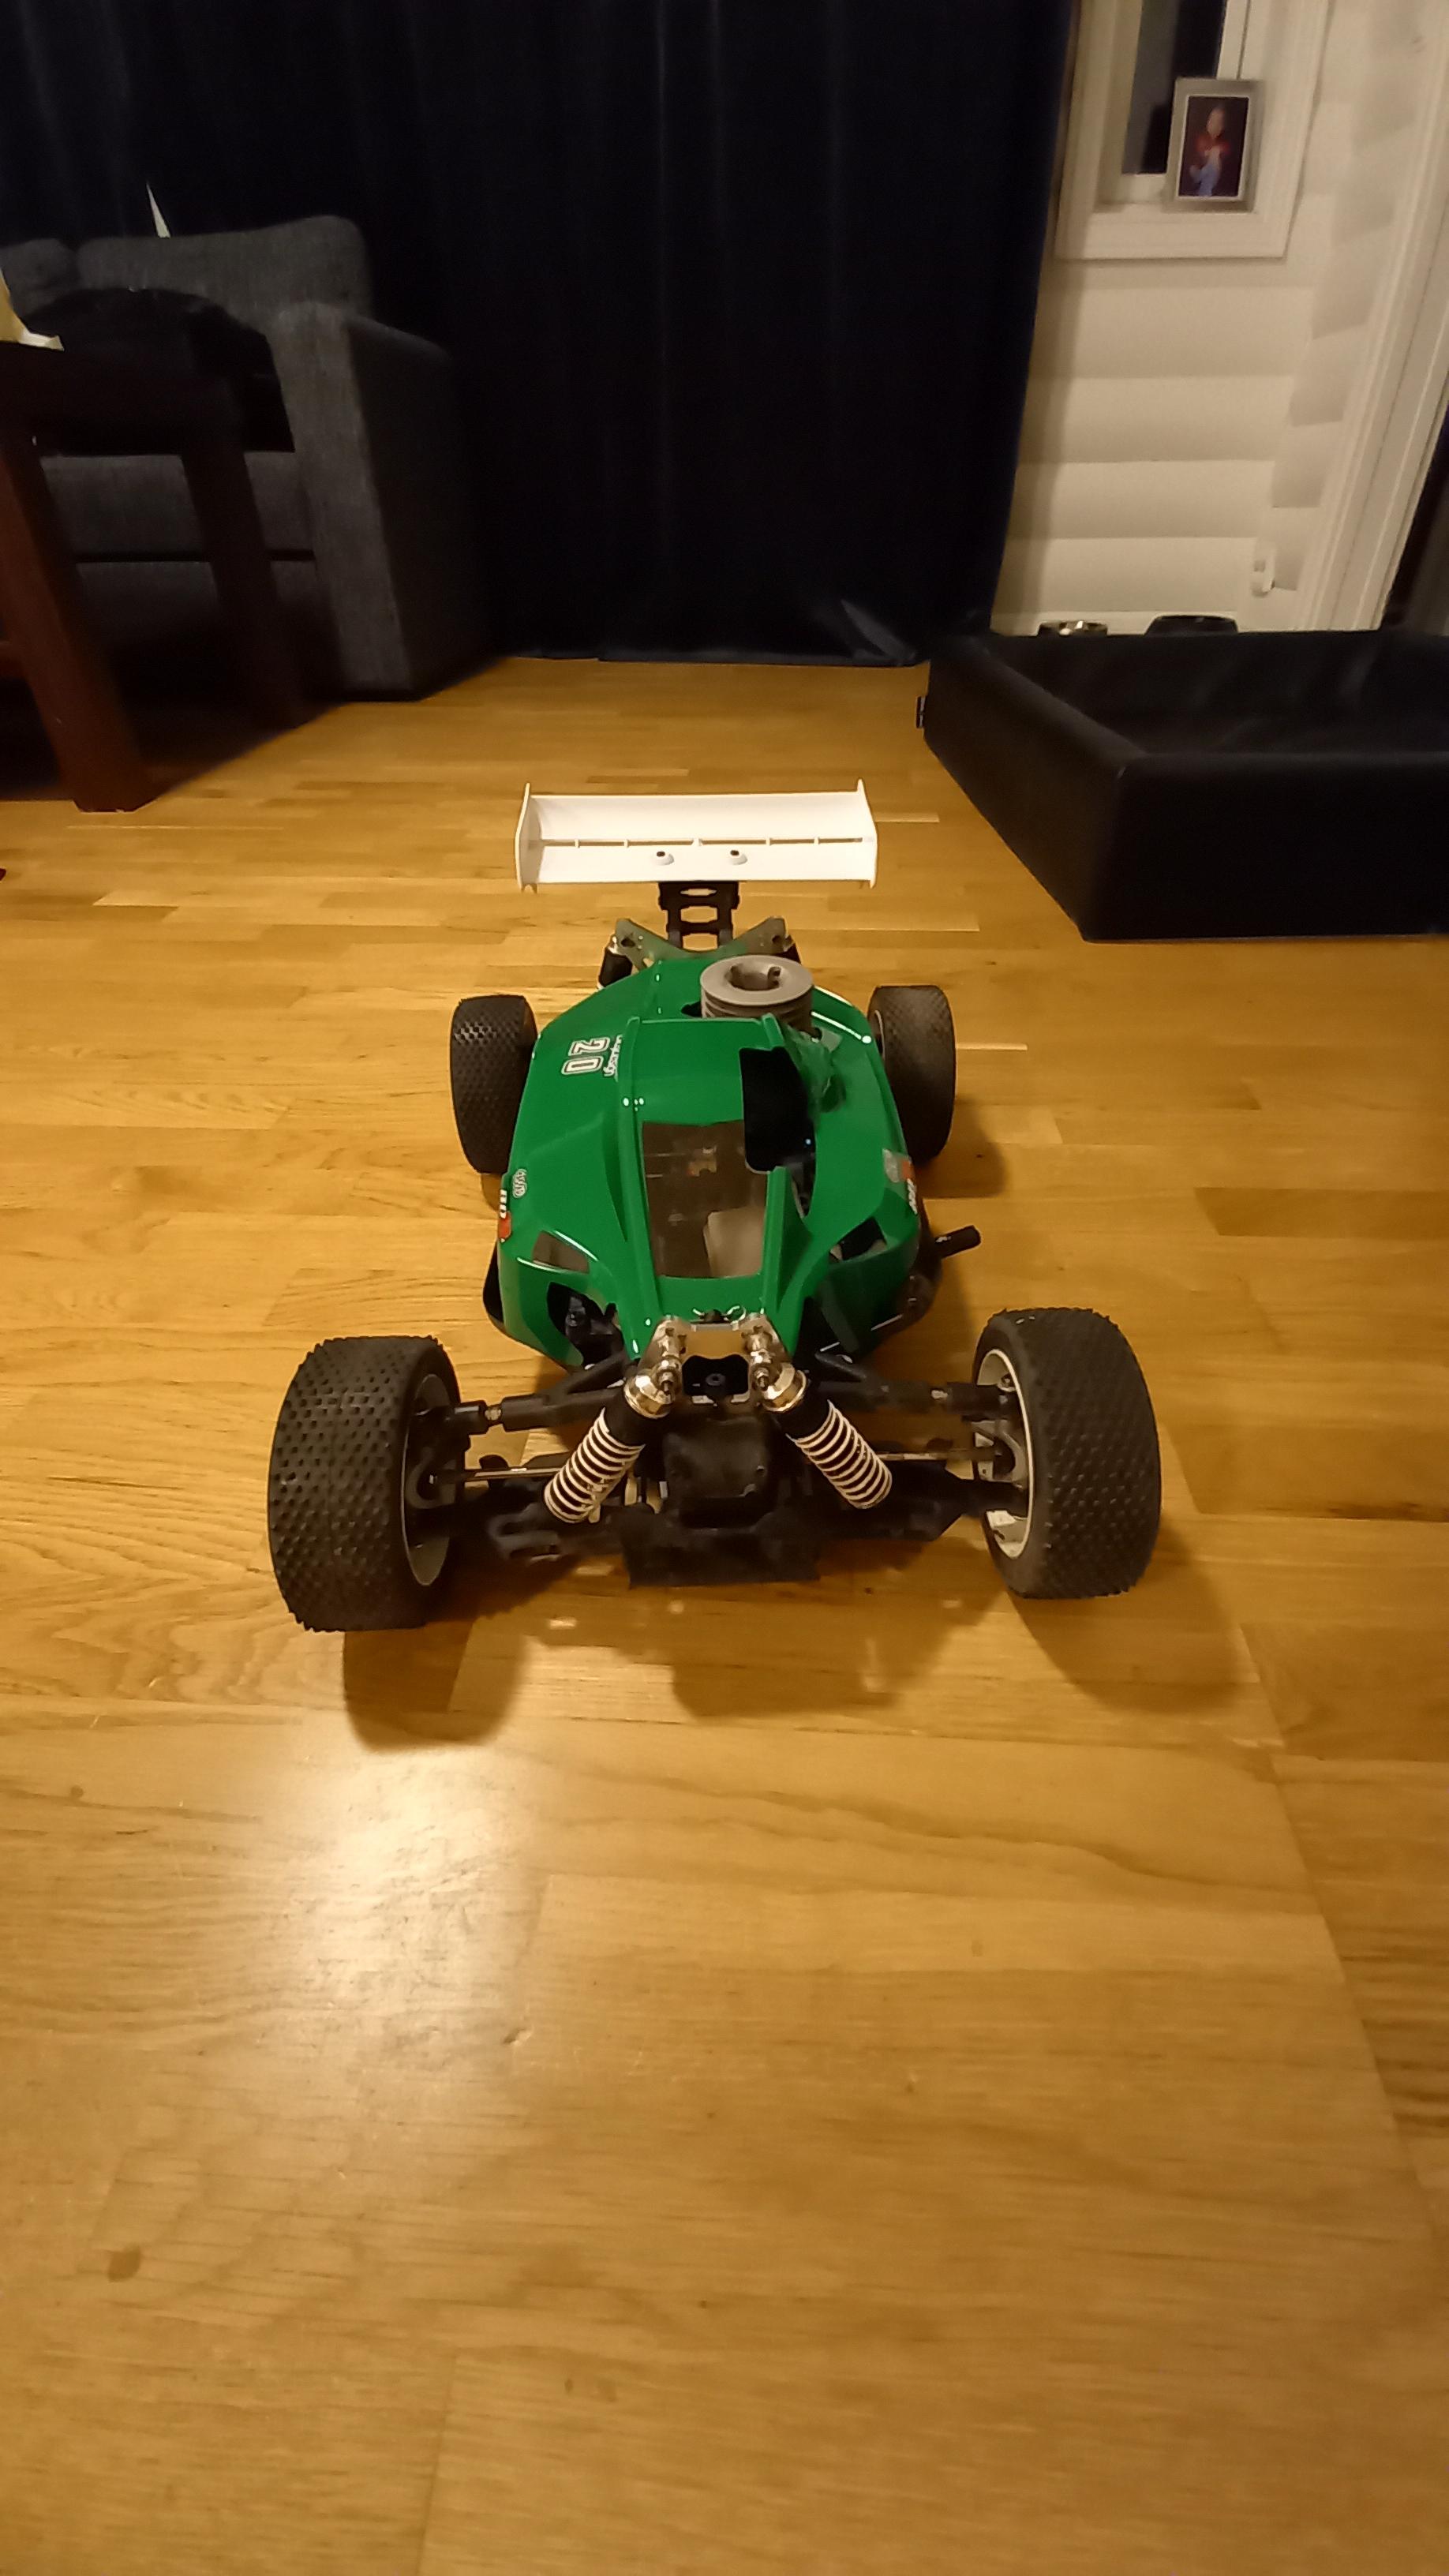
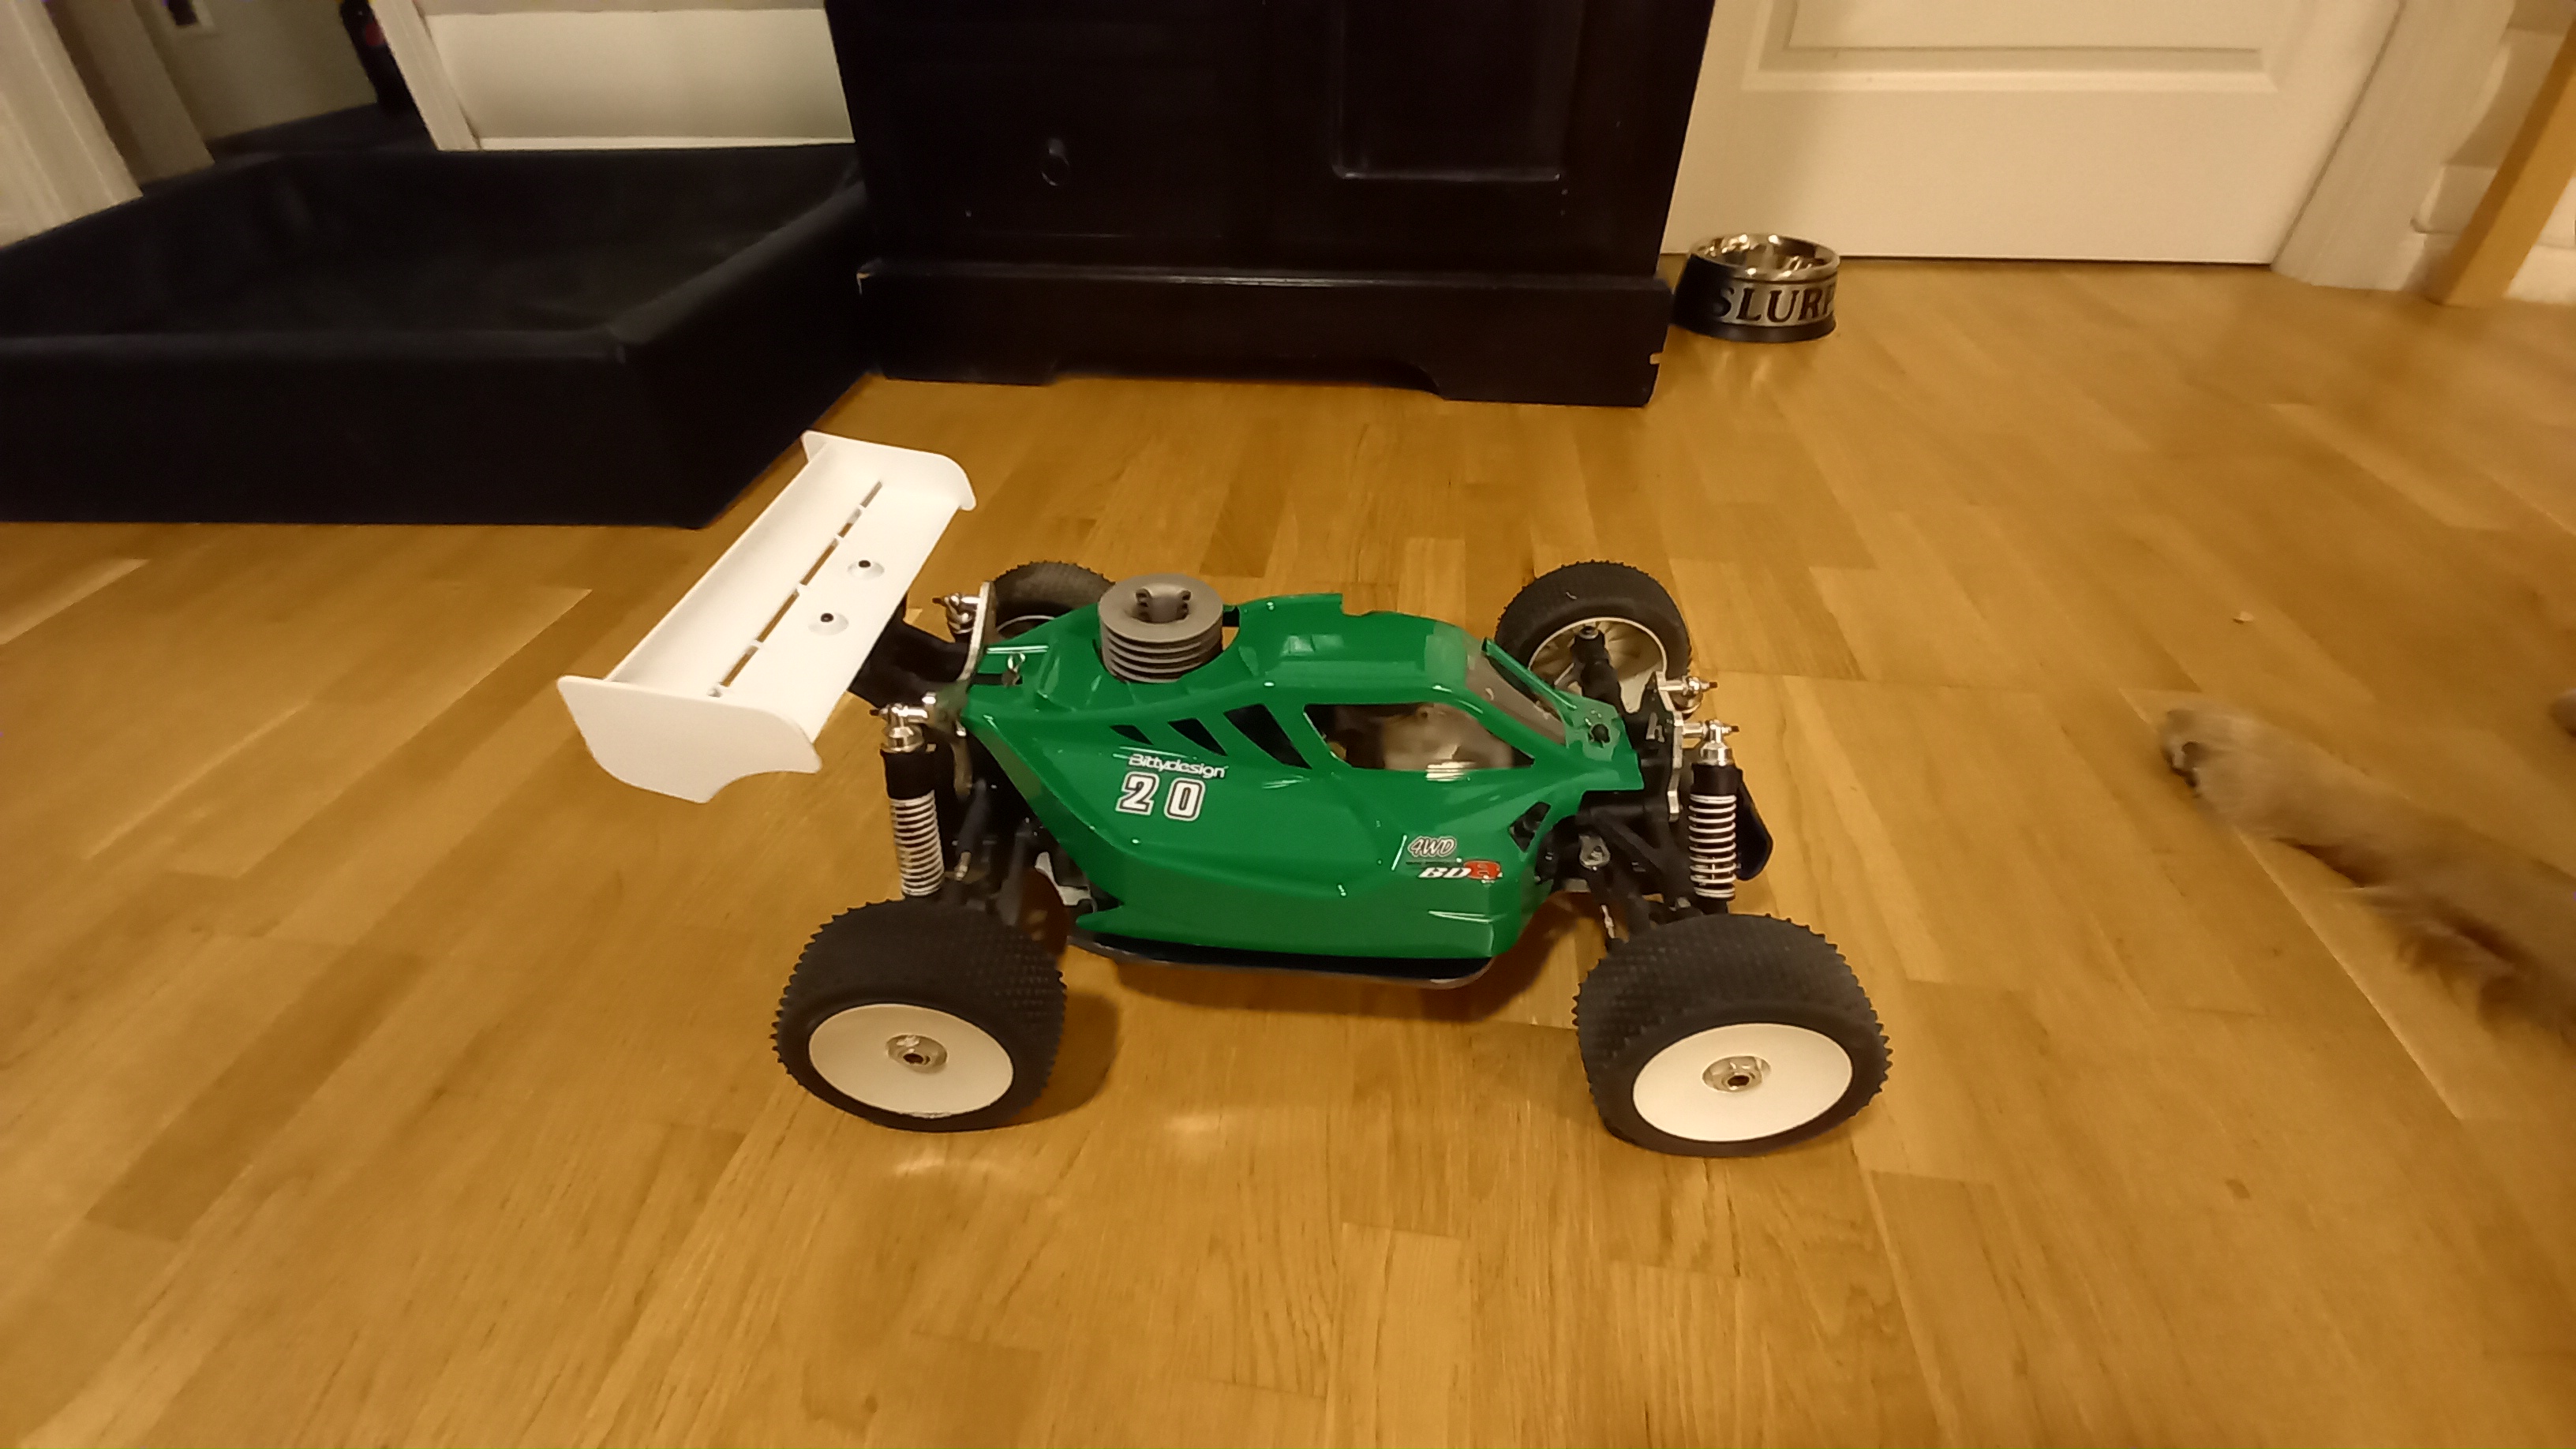
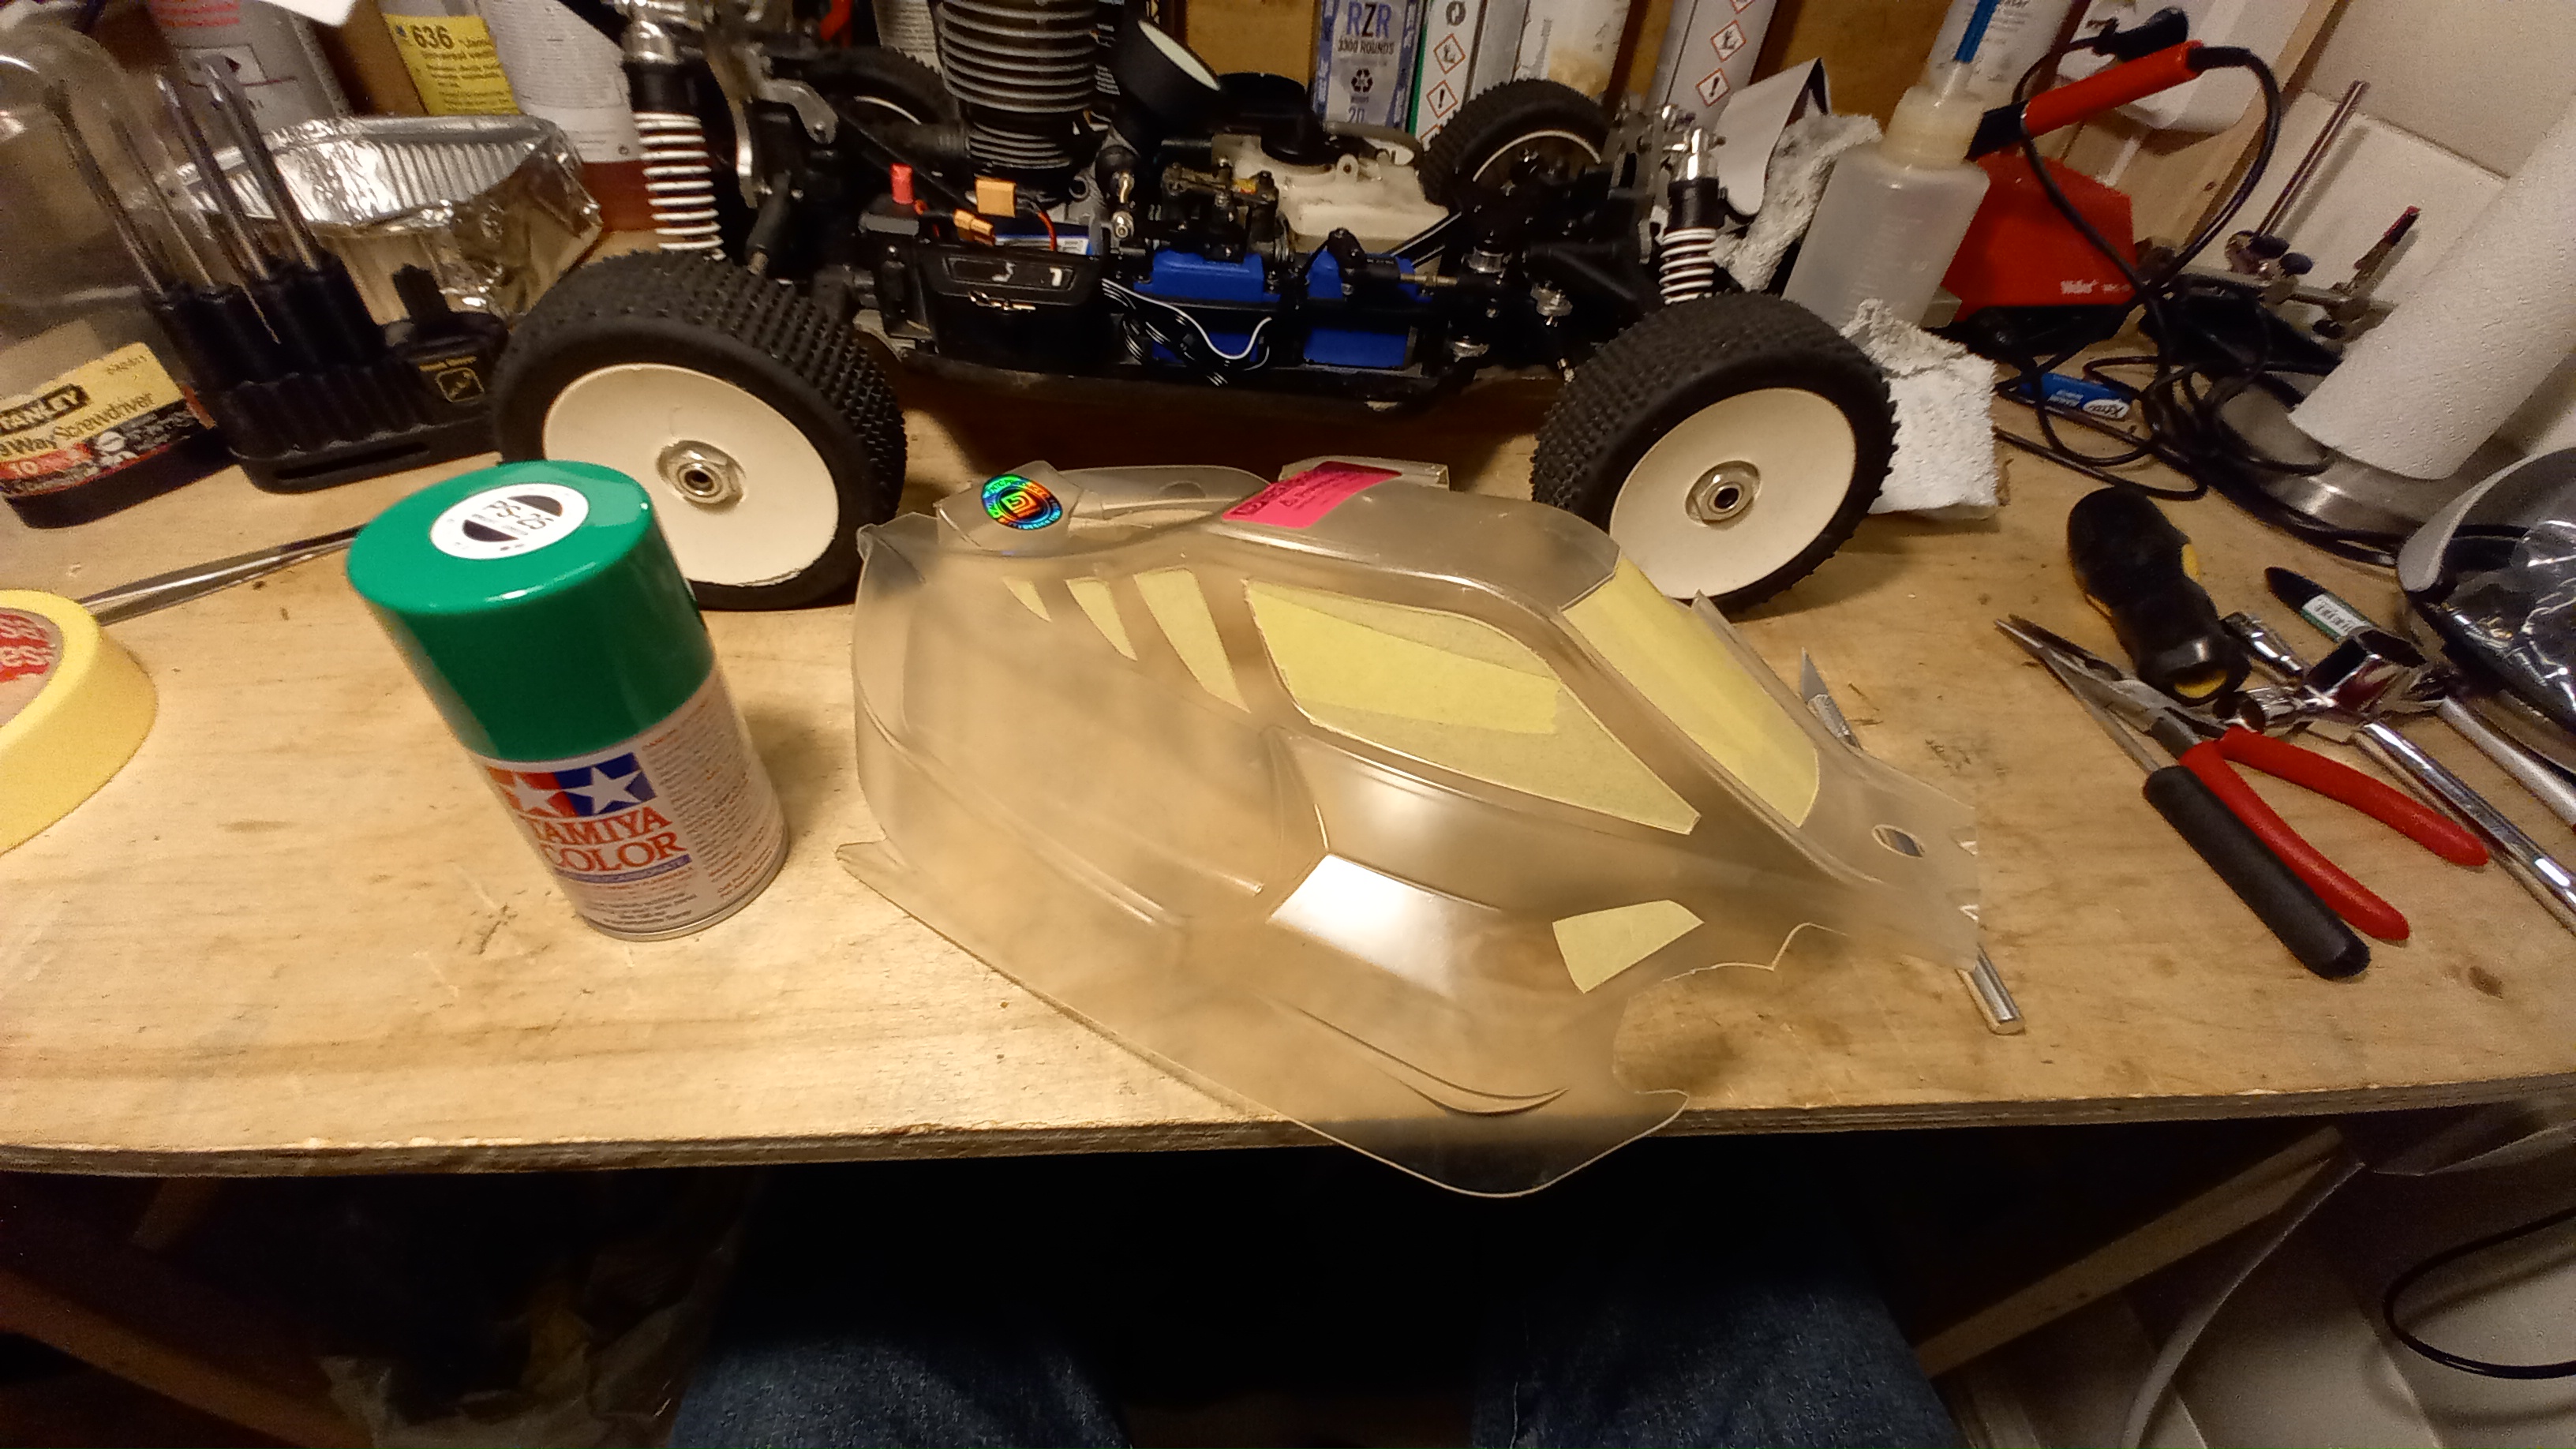
I wasn't able to get a factory shell for it, so had to improvise and get a Bittydesign shell instead. Had to trim it a bit and also shape it a bit to make room for the new low profile air intake. I think it'll look quite nice once I finish painting it and putting on decals and stuff. I'm going for a bright green color to spice it up a bit.
Here's the new body shell, trimmed, masked and ready for paint. I masked both the windows and the "vents in the rear and planning on keeping them transparent to give it a bit more "detail".
That's it for now, I'll post an update when I've finished painting the body shell. I'm hoping to do a test run this weekend, really looking forward to try out the new servos.
Before the crash, had to put a sock on the cooling fins to get enough engine heat in the cold fall weather.
The aftermath of the crash, the front wheels were a tad misaligned. The red steering servo is a an Arrma servo I got for free from a friend after the stock one broke after a minor crash before the big crash.
One of the parts that broke, the left steering linkage, easy to replace fortunately.
I've replaced the stock 3kg(!) plastic gear servos with two PowerHD 18kg servos. They're quite cheap servos, but still a massive upgrade over the stock ones. I've also replaced the stock analog transmitter and receiver setup with a Futaba 3PRK 2.4 GHz setup, another major upgrade over the stock setup, just better in every way. I'm powering it with a 2 cell 1600mAh li-fe battery to get more oomph than the stock 4 cell ni-mh battery setup.
I bought two of these guys to replace the stock servos.
The differentials also got some TLC, which oil viscosity would be good to use for general driving on semi hard gravel?
I thoroughly cleaned all of the driveshafts and coupling, I put on a lot of grease when I first got the car, not a good idea. I'm thinking of trying dry chain lube on the drive shafts.
I wasn't able to get a factory shell for it, so had to improvise and get a Bittydesign shell instead. Had to trim it a bit and also shape it a bit to make room for the new low profile air intake. I think it'll look quite nice once I finish painting it and putting on decals and stuff. I'm going for a bright green color to spice it up a bit.
Here's the new body shell, trimmed, masked and ready for paint. I masked both the windows and the "vents in the rear and planning on keeping them transparent to give it a bit more "detail".
That's it for now, I'll post an update when I've finished painting the body shell. I'm hoping to do a test run this weekend, really looking forward to try out the new servos.
")