Tamiya Hot Shot (re-re) Project

Welcome to RCTalk

Come join other RC enthusiasts! You'll be able to discuss, share and private message with other members of our community.

This site may earn a commission from merchant affiliate
links, including eBay, Amazon, and others.
Build Process: Step 6

Step 6 involves assembling the Counter Gears and Differential Spur Gear in the Front gearbox.

Here are the Instructions:
Step 6 Instructions.jpg


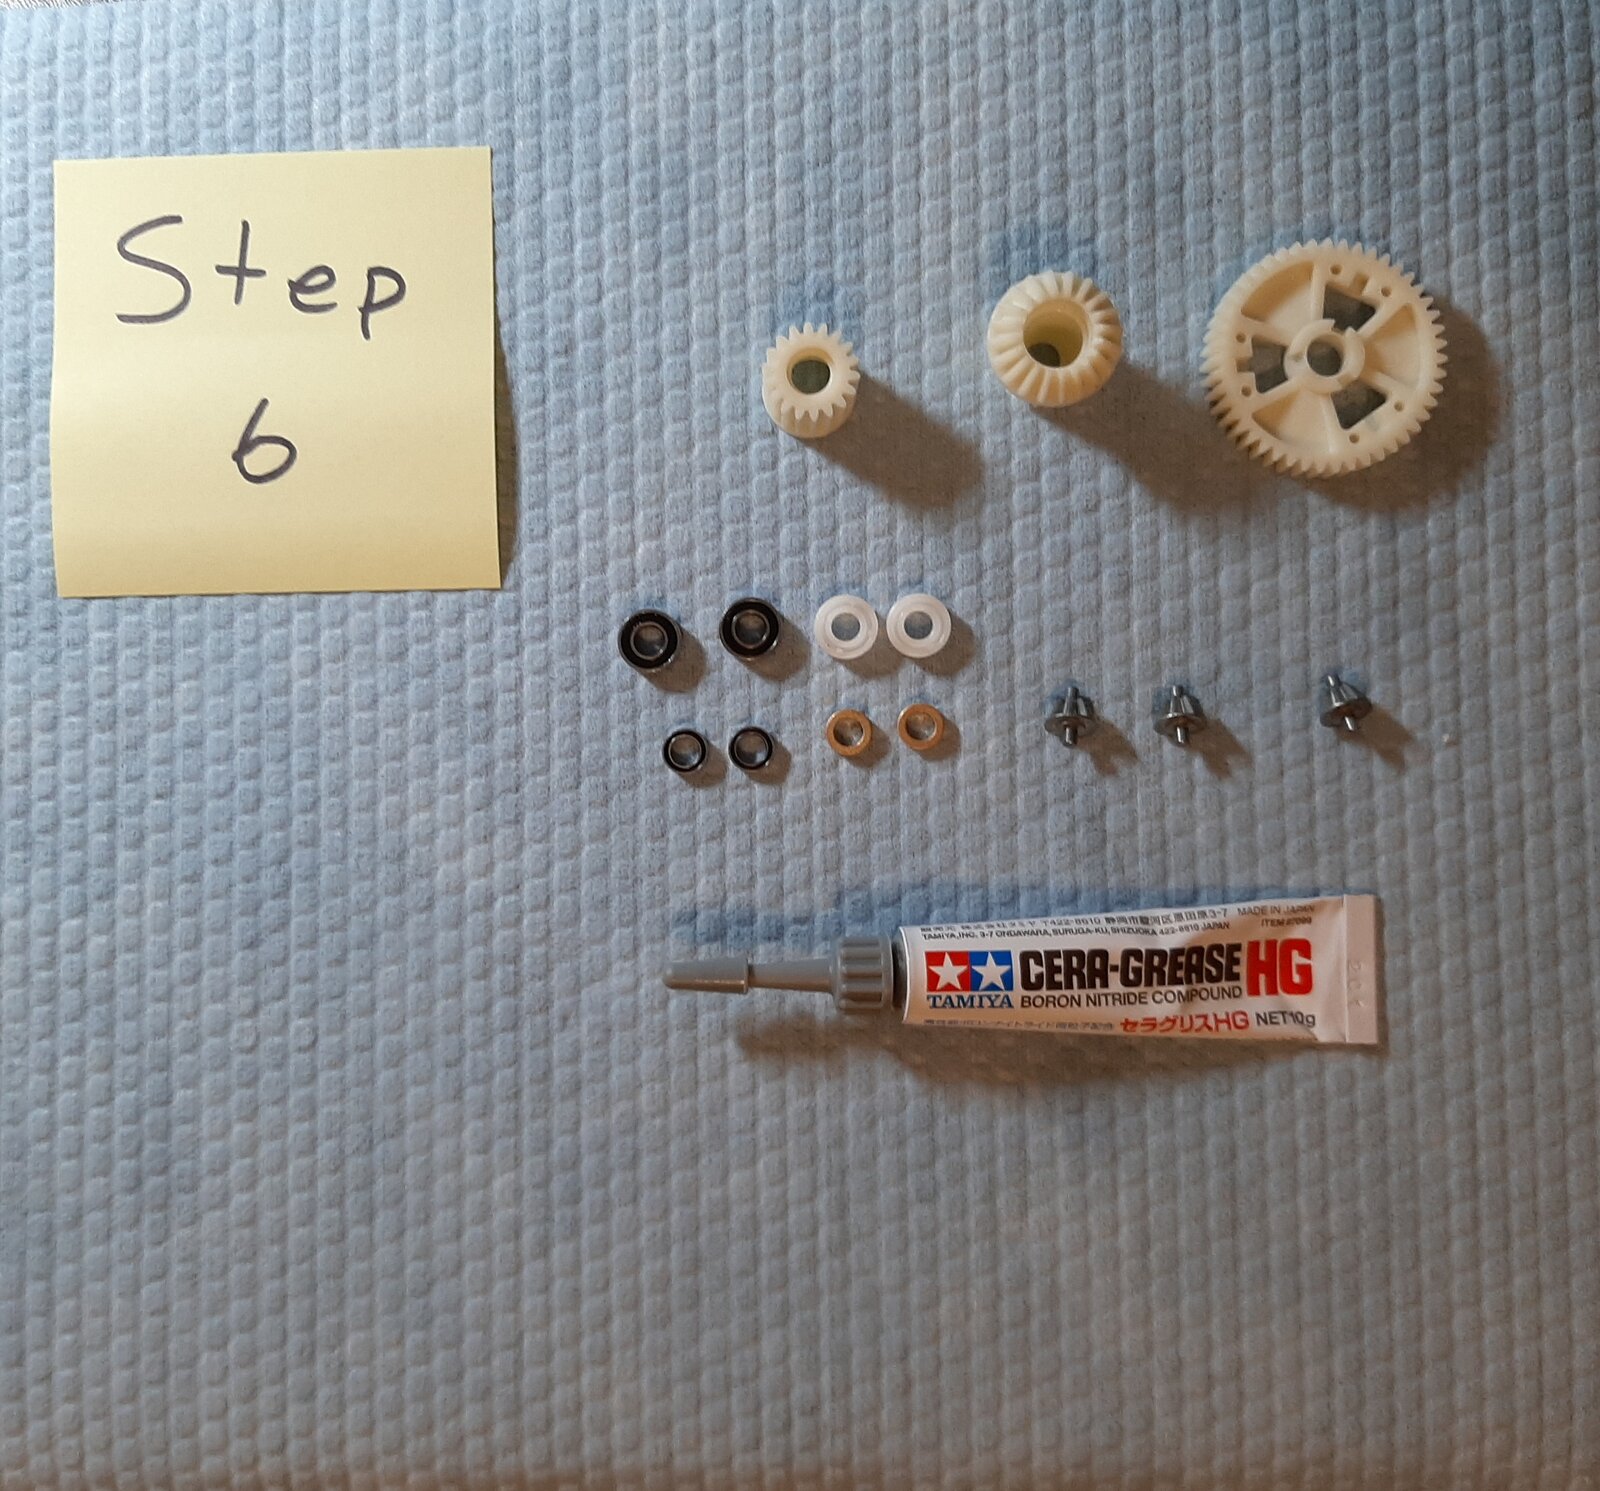
Here are the parts laid out:
Step 6 Parts.jpg


Step 6 Commentary:

The Fast Eddy sealed ball bearings are on the left side and the original Tamiya plastic and brass bushings are on the right side. As before, I chose the sealed ball bearings. I remember the super-fast performance of this little buggy at the time in 1985 so I can’t wait to see what a full set of ball bearings and the optional motors will do:

Here are the gears assembled. I added more grease in a later step:
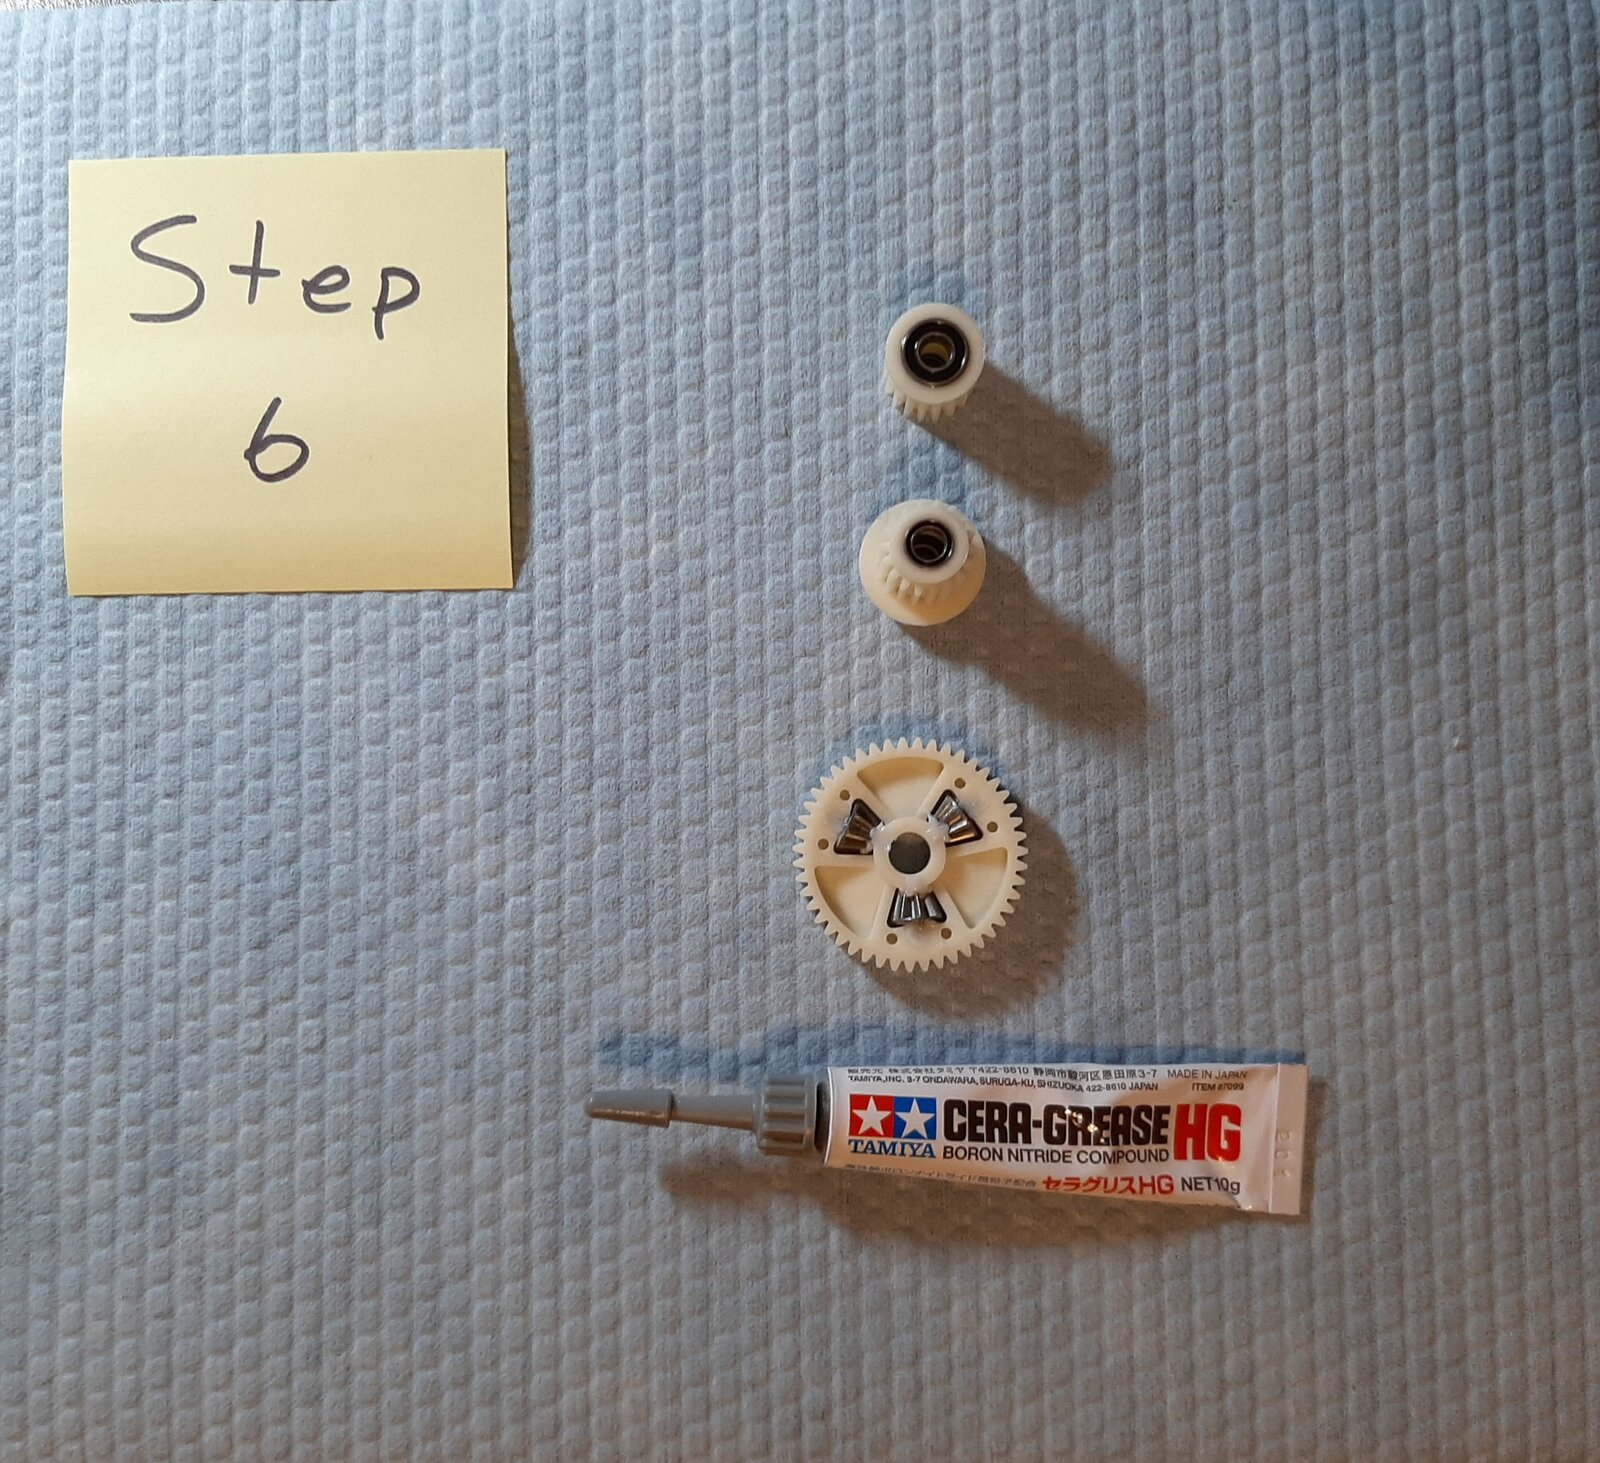
Step 6 Done.jpg
 
Build Process: Step 7

Step 7 involves installing the gears in the front gearbox.

Here are the Instructions:
Step 7 Instructions.jpg


Here are the parts laid out:

Step 7 Parts.jpg


Step 7 Commentary:


I continued the theme of choosing the ball bearings over the ones that came in the kit, but like in the rear gearbox, I chose the Tamiya thrust bearing. I find that laying parts out like this helps me check and ensure all parts for each step are present and nothing is missed.

Here are the gears placed and greased:

Step 7 Done.jpg


Build Process: Step 8

Step 8 involves assembling the two halves of the front gearbox.

Here are the Instructions:
Step 8 Instructions.jpg


Here are the parts laid out:

Step 8 Parts.jpg


Step 8 Commentary:

As with the rear gearbox, when I mated the two halves, I held them together with my hand and checked for proper gear movement before fastening the gearbox together. Here it is done:
Step 8 Done.jpg


I finished up filling in the 4WD recessed script with paint on both gearboxes. Here is the final result:
Step 8 Cosmetic.jpg
 
Build Process: Step 9

Step 9 involves assembling some of the rear suspension:

Here are the Instructions:
Step 9 Instructions.jpg


Here are the parts laid out:
Step 9 Parts.jpg


Step 9 Commentary:

In order to tighten the ends on the stabilizer bar to the 18mm spec, I used a silicone barrier in the pilers to hold the shaft to avoid marring the black oxide finish on it. Of course, I replaced the original plastic bushings with Fast Eddy ball bearings.

Here is the step done:
Step 9 Done.jpg
 
Last edited:
Build Process: Step 10

Step 10 involves attaching the rear upper control arms.
Here are the Instructions:
Step 10 Instructions.jpg


Here are the parts laid out:
Step 10 Parts.jpg


Step 10 Commentary:

This was a straightforward step. It included attaching 2 decals, one on the (stock) motor and one on the gearbox. I cleaned the area where the decals went with isopropyl alcohol to ensure good adhesion.

Here is a picture of the step finished:
Step 10 Done.jpg
 
Build Process: Step 11

Step 11 involves attaching the rest of the rear suspension.

Here are the Instructions:
Step 11 Instructions.jpg


Here are the parts laid out:
Step 11 Parts.jpg


Step 11 Commentary:

As with all suspension rods and pins with the black oxide finish, I first rubbed them down with 3-in-1 oil and wiped the excess off to help prevent rust from forming too quickly. Other than that, this was a straightforward step using the ceramic grease on the rods, and molybdenum grease on the dog bone U joints.

Here is a picture with it all assembled.
Step 11 Done.jpg
 
Build Process: Step 12

Step 12 involves assembling the front uprights. On this step, carefully reading the instructions and parts information at the back of the manual are required.

Here are the Instructions:
Step 12 Instructions.jpg


Step 12 Commentary:

The uprights on the D sprue are not used. There were a pair on a separate mini sprue in the red box that are used. Also, the kit comes with an extra D sprue for spare parts. I thought that was a nice touch, but there are not a spare set of uprights.

Here are the 2 D sprues and the separate pair of correct uprights:
Step 12 Extra Suspension Parts.jpg


The unused uprights are very close in design and the outer hole for the steering rack ball are in the same location. The only thing is that the 2 holes for the upper and lower ball joints are not threaded like the correct uprights.

Here is a close up of the correct upright (on the bottom) and the other one:
Step 12 Upright Difference.jpg


I decided to thread a pair of the incorrect uprights and see if they fit. If so, I’ll use them for a spare set. To thread the holes in the plastic, I found that I needed to place the upright in a vice and use the ball as a tap:
Step 12 Use of Vise.jpg


However, the little 2.5mm Allen key provided in the kit did not give me leverage and it was impossible to keep it straight and plumb. So, I used a T handle Allen key which worked well:
Step 12 Use of T Handle 2.5 Hex Handle.jpg


With my (hopefully) spare set of uprights ready, here are the parts laid out:
Step 12 Parts.jpg


We’ll see if they fit and work in the next two steps. Here is a picture of uprights assembled:
Step 12 Done.jpg
 
Last edited:
Build Process: Step 13

Step 13 involves assembling the components of the front suspension.
Here are the Instructions:
Step 13 Instructions.jpg


Here are the parts laid out:
Step 13 Parts.jpg


Step 13 Commentary:

I used ample Ceramic grease on the parts that move, and as before, I replaced the original plastic bushings with Fast Eddy ball bearings. I remember that I coveted the ball bearing option on my original Hotshot, so I really appreciate having a full set on this one.

Here are the completed assemblies:
Step 13 Done.jpg
 
Can you hurry up please? I want to see it rip. 😜
LOL. Sorry, I have a few different things that consume my free time. For example, and funny enough, at the same time, I'm working on the red and black suspension on one of my 1:1 cars (replacing shock bushings):
20230212_144905.jpg
 
Last edited:
Build Process: Step 14

Step 14 involves attaching the front suspension.
Here are the Instructions:
Step 14 Instructions.jpg


Here are the parts laid out:
Step 14 Parts.jpg


Step 14 Commentary:

The instructions omitted the addition of MD2 – Urethane bushing, which was included in the kit (there was a total of 3 of these, so I added it to take up the slack that would otherwise be in the front driveshaft joint. Other than that, this was again a straightforward step using the ceramic grease on the rods, and molybdenum grease on the dog bone U joints.

Here is a picture with it all assembled.:
Step 14 Done.jpg


The spare upright had normal movement in this step, so I switched them out with the stock versions. This was a 1-minute job per side:
Step 14 stock upright.jpg


At this point, I am 30 % done with the build (14 of 47 steps), which completes the drivetrain and most of the suspension. In my opinion, these parts are some of what made the Hotshot an icon.
Step 14 Drive Train and Suspension Done.jpg
 
Build Process: Step 15

Step 15 involves painting the chassis.
Here are the Instructions:
Step 15 Instructions.jpg


Here are the parts laid out:
Step 15 Parts.jpg


Step 15 Commentary:

It took 3 coats of the flat white paint to cover the black plastic chassis. I also chose to apply the original seatbelt decals. Here is one coat:
Step 15 One Coat.jpg


Here are all 3 coats and the decals applied:
Step 15 Done.jpg
 
Build Process: Step 16

Step 16 involves assembling parts on the chassis, including putting together and painting Crash Cramer’s head.
Here are the Instructions:
Step 16 Instructions.jpg


Here are the parts laid out. I really liked the quality of the soft brushed aluminum electronics cover:
Step 16 Parts.jpg


Step 16 Commentary:

Painting Crash Cramer’s head proved to be the most difficult task in this step. The gloss white Tamiya paint flashed before I could paint around the helmet, so I had to remove my first attempt and try again. There are 3 coats with wet sanding in between on my second attempt. The face has a similar problem with the Tamiya flat flesh paint. But I left my first attempt as it looked like scarring, that would be appropriate for Crash Cramer. LOL. I moved on to other steps while I waited for multiple coats / attempts to dry.

Here is the head/helmet in process:
Step 16 In Process.jpg

Here is the step completed:
Step 16 Done.jpg

Here is a close up of Crash Cramer’s face:
Step 16 Done Close up.jpg
 
Build Process: Step 17

Step 17 involves assembling the rear suspension crank.
Here are the Instructions:
Step 17 Instructions.jpg


Here are the parts laid out:
Step 17 Parts.jpg


Step 17 Commentary:

I used wooden paint stirrers in my vise to hold the shaft so I could install the plastic ball socket to the 28mm spec without damaging the shaft. Here are the specifications:
Step 17 Specs.jpg


Here is the step completed.:
Step 17 Done.jpg
 
Build Process: Step 18

Step 18 involves attaching the rear gearbox and axle assembly plus installing the rear suspension crank and stabilizer bar.

Here are the Instructions:
Step 18 Instructions.jpg


Here are the parts laid out:
Step 18 Parts.jpg


Step 18 Commentary:

This was a straightforward step. I’m really glad that I chose to get a bigger tube of ceramic grease, as I used it in many more steps that the molybdenum grease.

Here is the stabilizer bar and mount after installation:
Step 18 Stabilizer Bushing.jpg

Here is the suspension crank installed:
Step 18 Suspension Crank.jpg

Here is the step completed:
Step 18 Done.jpg
 
Build Process: Step 19

Step 19 involves attaching the front gearbox and stabilizer stay.
Here are the Instructions:
Step 19 Instructions.jpg


Here are the parts laid out:
Step 19 Parts.jpg


Step 19 Commentary:

I carefully cut the MD2 urethane bushing in exactly half to use one at each end of the propeller shaft. Then it was a simple matter of holding the greased shaft in place while lowering the front gearbox assembly in place.

Here is the step completed:
Step 19 Done.jpg


I like how snug the shaft is with the use of the urethane bushings.
 
Build Process: Step 20

Step 20 involves putting together the two shock damper cylinder assemblies.
Here are the Instructions:
Step 20 Instructions.jpg


Here are the parts laid out:
Step 20 Parts.jpg


Step 20 Commentary:

As before with these aluminum parts, I am impressed by the quality. Plus, I think my optional aluminum rims will match very well with these various aluminum pieces.

Here are the seals and other parts on the shaft in an exploded view:
Step 20 Exploded.jpg


Here are the dampers completed:
Step 20 Done.jpg
 
I've been following along, enjoying the build and organized presentation, and it hit me, this thing is not as big as I was thinking. I'm looking at the size of the post its and tools and wondering how I didn't notice this, I think I was so focused on what was happening I didn't see the big picture. 🤪
 
Back
Top