D3MON
Hardcore RCTalk User
well as you know a while back me and my now wife put revived an old AE MGT 3.0 as her first Nitro MT, was quite a fun build and excellent teaching truck to put together with her, doing my best to teach her the ins and outs.
i had been tempting looking for another so that we can have the same truck while bashing together, and so happened that a gentleman, @Mr. block had found my build thread and messaged me as he had one that was needing a little bit of work and a new home.
i do want to thank you again for the project!
now as you may or may not know i really love the build/refurbish process of RCs, getting them back to their golden days of blasting around.
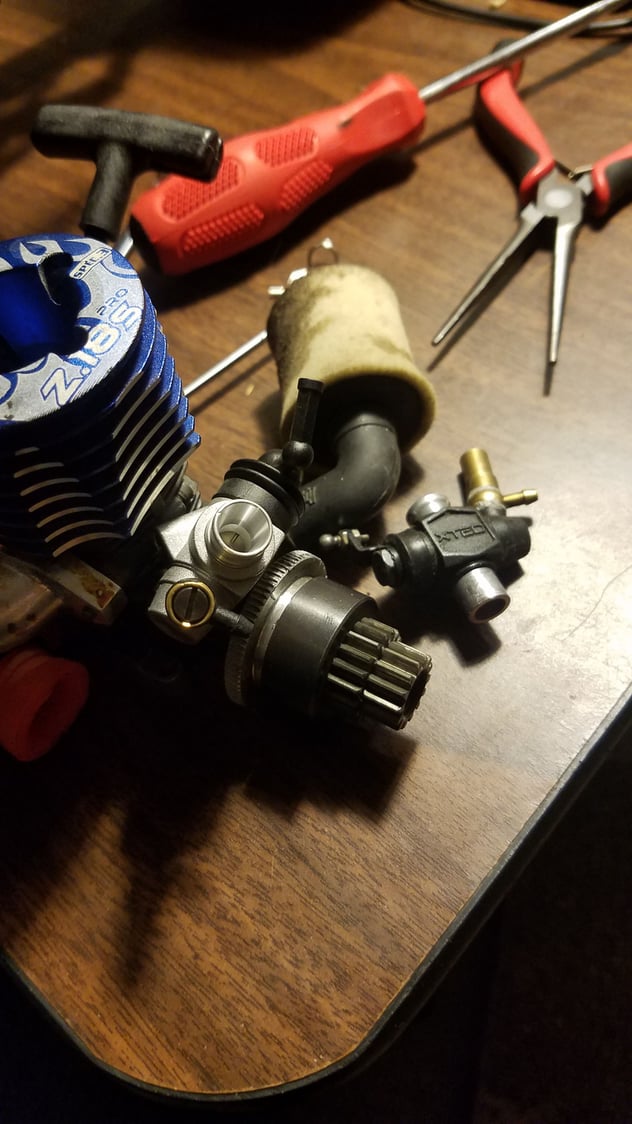
initial layout and assessment of parts:

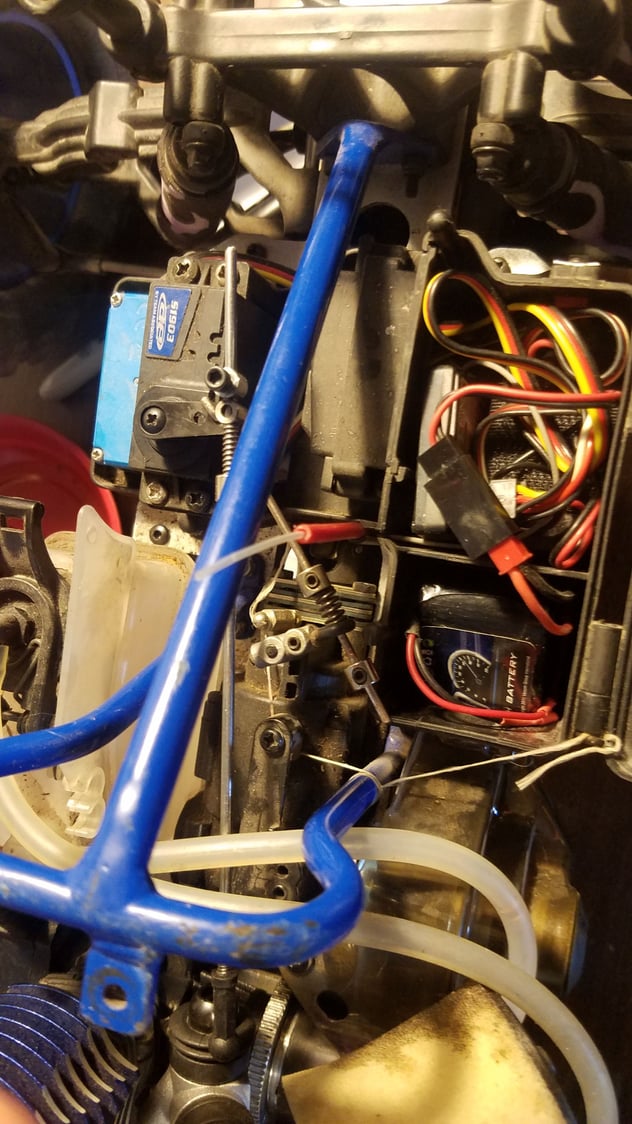
installed the radio tray, and putting in the FlySky Receiver to control this little beast! (only say little because i am very used to 1/8 scales lol)

slightly torn down, so went through and tore down just a bit more and started getting to work inspecting/ cleaning, it is in quite good condition and other than just a little bit of dust in places is quite clean.
to start off with the main components i started with the heart of the truck, the engine.

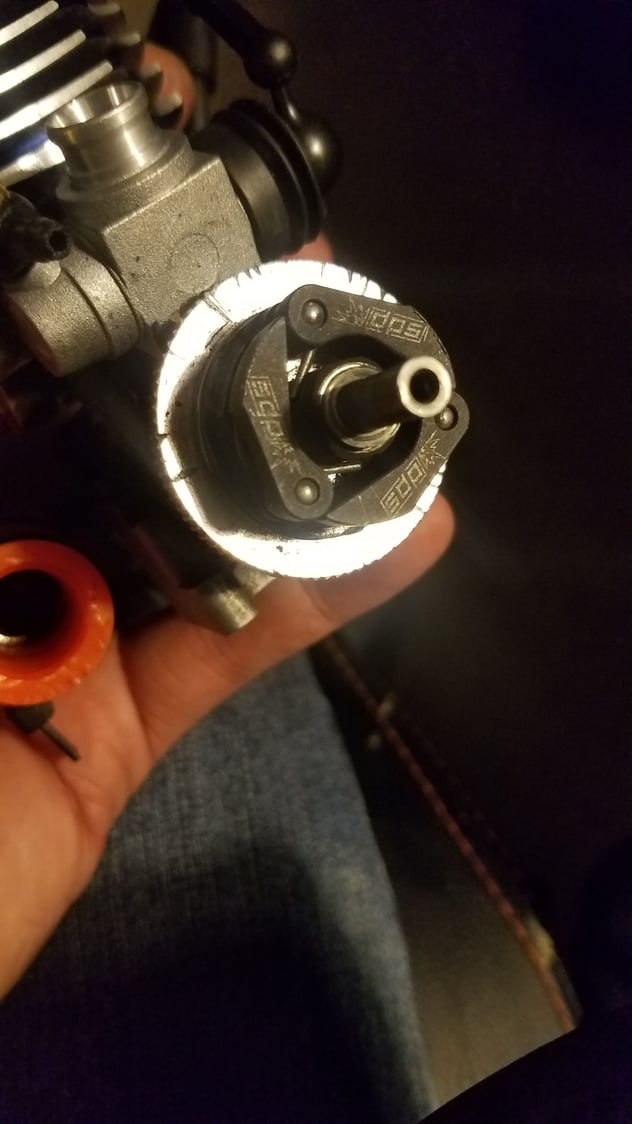
the engine as expected after sitting for a length of time was pretty locked up, i disassembled the pullstart, backplate, and tore down the head. (my phone ended up not saving the pictures of the pre-cleaning.)

was a bit of old nitro fuel gumminess that many know, so went ahead with some alcohol and started letting it soak, the starter shaft was pretty stuck in the backplate so i let that sit in some alcohol for a bit to loosen up.
when the backplate was open, i poured a little alcohol and sloshed it around and was able to get the crank free after minimal work. i was able to get the gunk out of there and cleaned up really well. as luck would have it, very minimal rust had formed and any that did i was able to just brush off with a q-tip. once i was satisfied with how it looked in there, put in a few drops of Marvel mystery oil and spun it a few times making sure to coat all the internals and the piston/sleeve.
engine still has really good compression, not quite pinch anymore, but loads of life left on it.
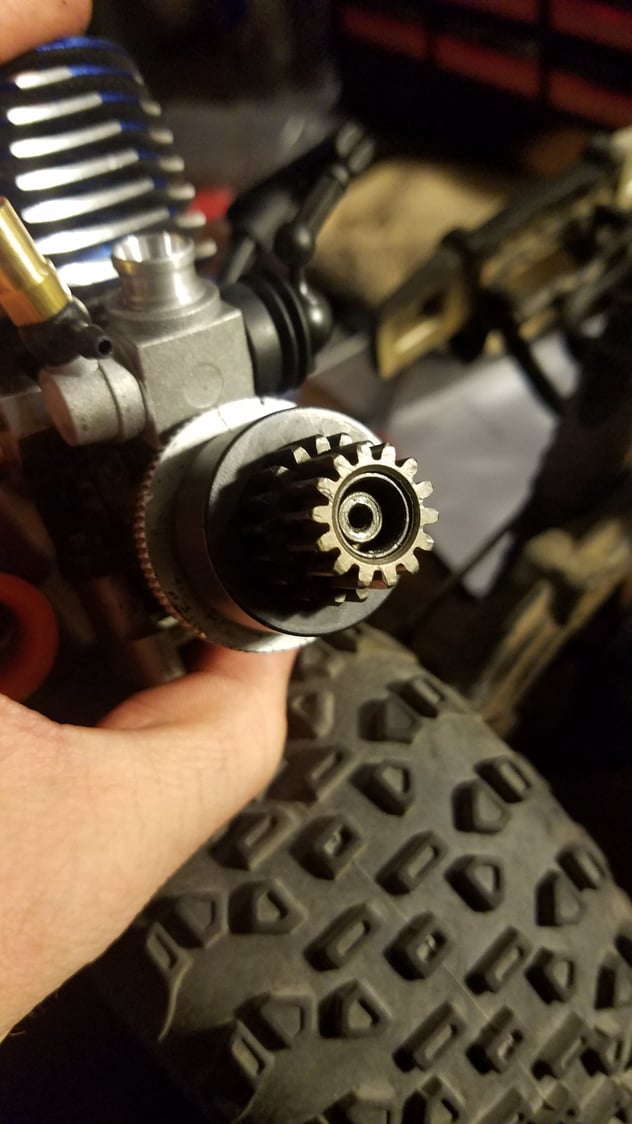
Next was onto the transmission, reinstalling brake pads, and the 2 speed assembly.
brake pads went on without a hitch, settng the shafts in place and dropping it into the truck was a PITA though.

there was a screw that was set in to lock it into 2nd gear so removed that as i plan to stay nitro with it, small block might have a hard time with that, plus i want to get it back to full working order (love hearing that 2nd gear shift!)


decided to install my Hitec HS646WP for the steering servo, it has enough to pull the wheels around on my 1/8 MGT so should have plenty for this!
as you can see it is really right between the brake disks and the chassis, made it quite a challenge to drop everything into place and get the driveshafts into the drive cups.
got the fuel tank installed, 2 speed put back together mostly (its missing the spring and grub screw for the 2nd gear pawl, so needing to order one.) but its all together.

setting up turnbuckle lengths, need to adjust it a bit more though, weird how there is not hexed portion or even a hole to rotate them, just straight smooth links.
Very excited to see the FT steering bellcrank assembly.

mostly assembled for now!!!
after assessment and assembly of what is there, very minimal stuff is missing/needing replaced, just the 2 speed pinion, and a bushing for the throttle bellcrank.
was able to get it mocked up enough for a picture next to the ladies!

i have since installed the blue beadlocks onto the truck and replaced the ladies with the stock MMGT wheels/tires, weirdly the 40 series pin type are only 20 grams heavier than the stock MMGT setup.
few more areas i need to go through and service/inspect including the diffs, shocks, and i want to get into the transmission assembly. though everything rolls very freely, and i dont see any damp or wet spots on the shock boots, but just out of peace of mind, and i want to put some 10k diff fluid in the diffs.
i have had a blast so far going through this, and hope to keep you guys tuned as i progress on the build/refurbish.
i had been tempting looking for another so that we can have the same truck while bashing together, and so happened that a gentleman, @Mr. block had found my build thread and messaged me as he had one that was needing a little bit of work and a new home.
i do want to thank you again for the project!
now as you may or may not know i really love the build/refurbish process of RCs, getting them back to their golden days of blasting around.
initial layout and assessment of parts:
installed the radio tray, and putting in the FlySky Receiver to control this little beast! (only say little because i am very used to 1/8 scales lol)
slightly torn down, so went through and tore down just a bit more and started getting to work inspecting/ cleaning, it is in quite good condition and other than just a little bit of dust in places is quite clean.
to start off with the main components i started with the heart of the truck, the engine.
the engine as expected after sitting for a length of time was pretty locked up, i disassembled the pullstart, backplate, and tore down the head. (my phone ended up not saving the pictures of the pre-cleaning.)
was a bit of old nitro fuel gumminess that many know, so went ahead with some alcohol and started letting it soak, the starter shaft was pretty stuck in the backplate so i let that sit in some alcohol for a bit to loosen up.
when the backplate was open, i poured a little alcohol and sloshed it around and was able to get the crank free after minimal work. i was able to get the gunk out of there and cleaned up really well. as luck would have it, very minimal rust had formed and any that did i was able to just brush off with a q-tip. once i was satisfied with how it looked in there, put in a few drops of Marvel mystery oil and spun it a few times making sure to coat all the internals and the piston/sleeve.
engine still has really good compression, not quite pinch anymore, but loads of life left on it.
Next was onto the transmission, reinstalling brake pads, and the 2 speed assembly.
brake pads went on without a hitch, settng the shafts in place and dropping it into the truck was a PITA though.
there was a screw that was set in to lock it into 2nd gear so removed that as i plan to stay nitro with it, small block might have a hard time with that, plus i want to get it back to full working order (love hearing that 2nd gear shift!)
decided to install my Hitec HS646WP for the steering servo, it has enough to pull the wheels around on my 1/8 MGT so should have plenty for this!
as you can see it is really right between the brake disks and the chassis, made it quite a challenge to drop everything into place and get the driveshafts into the drive cups.
got the fuel tank installed, 2 speed put back together mostly (its missing the spring and grub screw for the 2nd gear pawl, so needing to order one.) but its all together.
setting up turnbuckle lengths, need to adjust it a bit more though, weird how there is not hexed portion or even a hole to rotate them, just straight smooth links.
Very excited to see the FT steering bellcrank assembly.
mostly assembled for now!!!
after assessment and assembly of what is there, very minimal stuff is missing/needing replaced, just the 2 speed pinion, and a bushing for the throttle bellcrank.
was able to get it mocked up enough for a picture next to the ladies!
i have since installed the blue beadlocks onto the truck and replaced the ladies with the stock MMGT wheels/tires, weirdly the 40 series pin type are only 20 grams heavier than the stock MMGT setup.
few more areas i need to go through and service/inspect including the diffs, shocks, and i want to get into the transmission assembly. though everything rolls very freely, and i dont see any damp or wet spots on the shock boots, but just out of peace of mind, and i want to put some 10k diff fluid in the diffs.
i have had a blast so far going through this, and hope to keep you guys tuned as i progress on the build/refurbish.

")