This how-to will show you how to replace your standard LCD display on your Duratrax IntelliPeak Ice battery charger with a backlight LCD. For the life of me I can't figure out why the manufacturer doesn't do this. I bought the kit on eBay from Hobikit.
The directions are very clear and easy to follow and they do state, that this is not a novice mod. Patience is required and I will touch on that in a bit.
Anyway here's the Duratrax IntelliPeak Ice opened up:
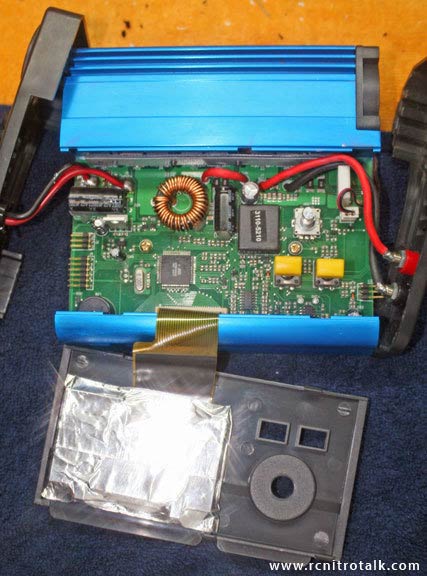
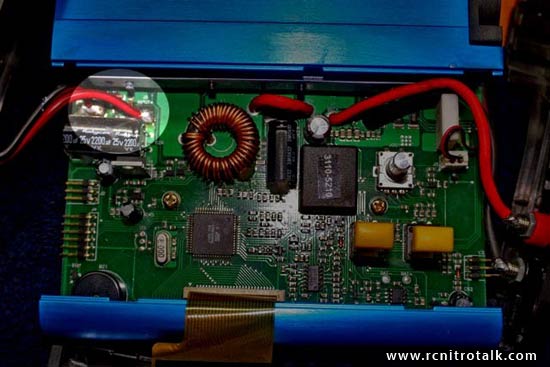
The two wires just above the big capacitor in the upper left corner is where you solder the inverter too, that was one of the trickiest parts, mainly cause my soldering iron isn't the best.
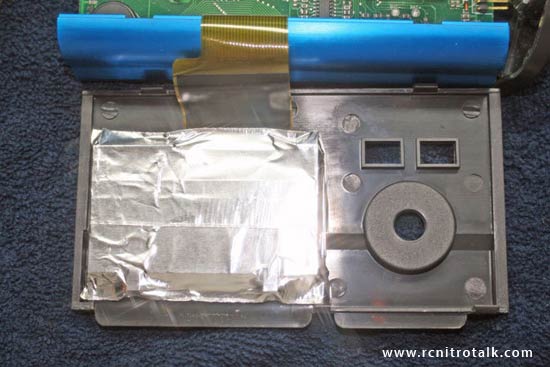
Under the aluminum tape is the screen you need to remove, this is where you need to start being careful, crack the screen and your SOL!
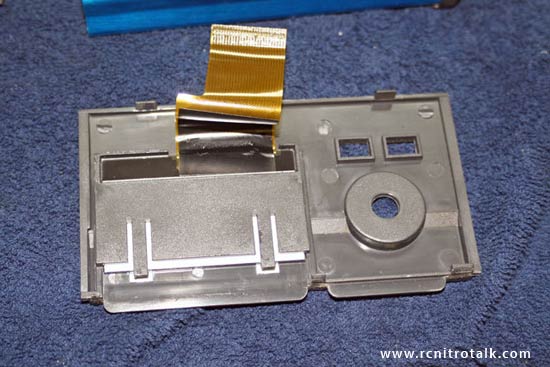
Here's the tape removed and you can see how the screen is held in place.
Ok, got the screen out and the white tape is what you have to remove. You need to be extrememly careful and patient here. You need to hold the screen and just slowly start working a corner to get the tape up. Too much pressure and you can crack it. Once you get a corner started, make sure the white tape has a silver backing, if it's black stop, you pulling the wrong part.
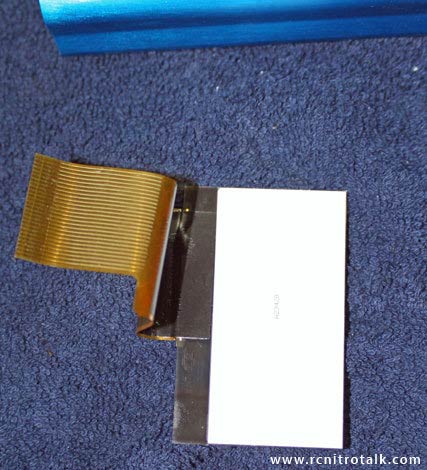
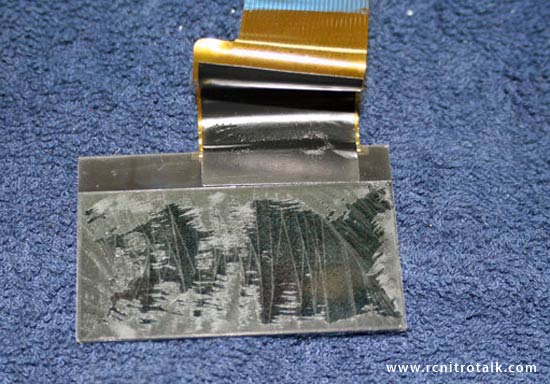
Backing tape is off here but it leaves a lot of residue, or at least mine did, maybe cause I pulled it off so slow. Anyway, goo-gone and alcohol and lots of time did the trick:
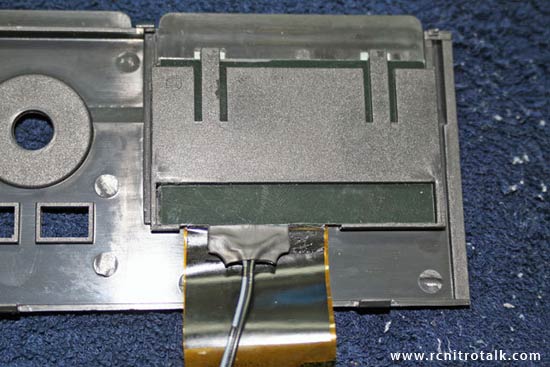
This shot shows the LCD installed back in the faceplate with the EL paper backing installed behind it. There's a little tip in the directions about using a business card to help you slide the EL paper in, use it! It worked great:
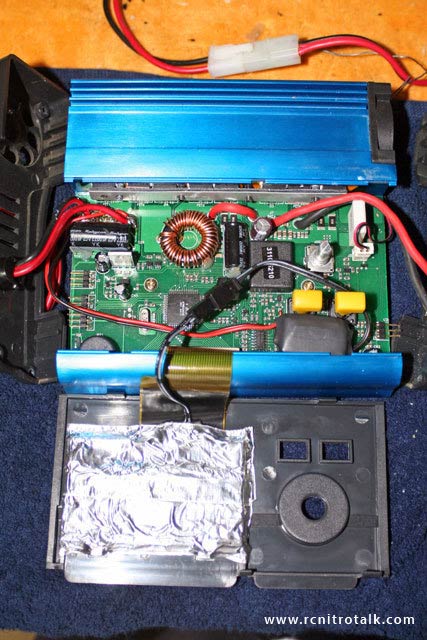
Here is the inverter installed and routed, and the aluminum tape replaced over the screen to hold it in place. The inverter is the small black box just under the two yellow buttons. The inverter will stay put there once you reassemble the charger:
Ok time to test:
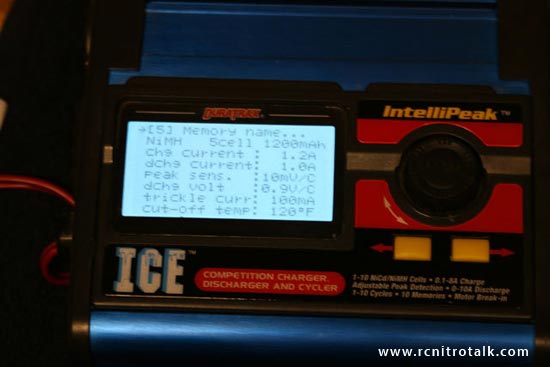
It works!
Overall this was fairly easy to do. Cleaning the glue residue is the most time consuming part. I did look around for the parts individually and finding exactly what I wanted and needed to work would have cost me just as much. Hobikit makes this specifically for the ICE charger and size of the EL is perfect and the little inverter fits nicely inside. You do hear the high pitched whine of the inverter, but it's not bad and this is stated in the directions.
Thanks to jetmechG550 for taking the time to write this how-to. Feel free to discuss this how-to in our Reviews/How-to's forum.

