Charlyl3
RCTalk Rookie
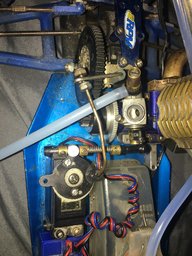
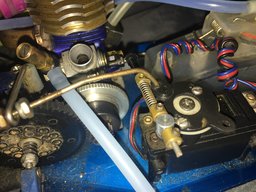
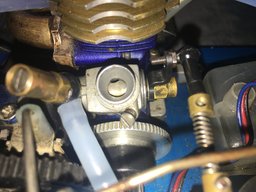
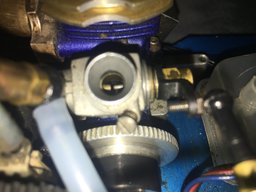
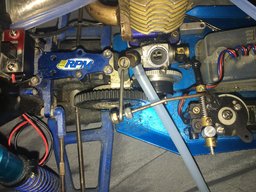
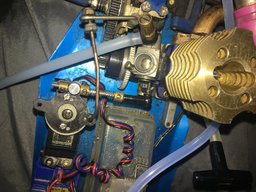
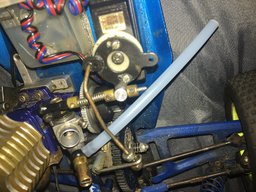
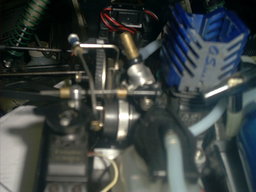
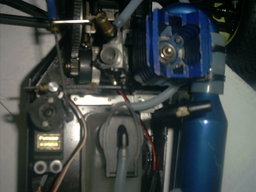
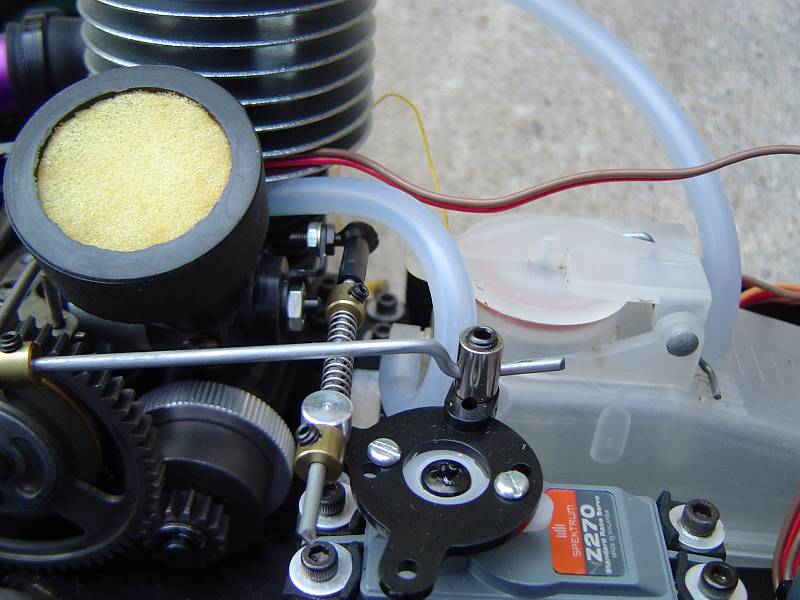
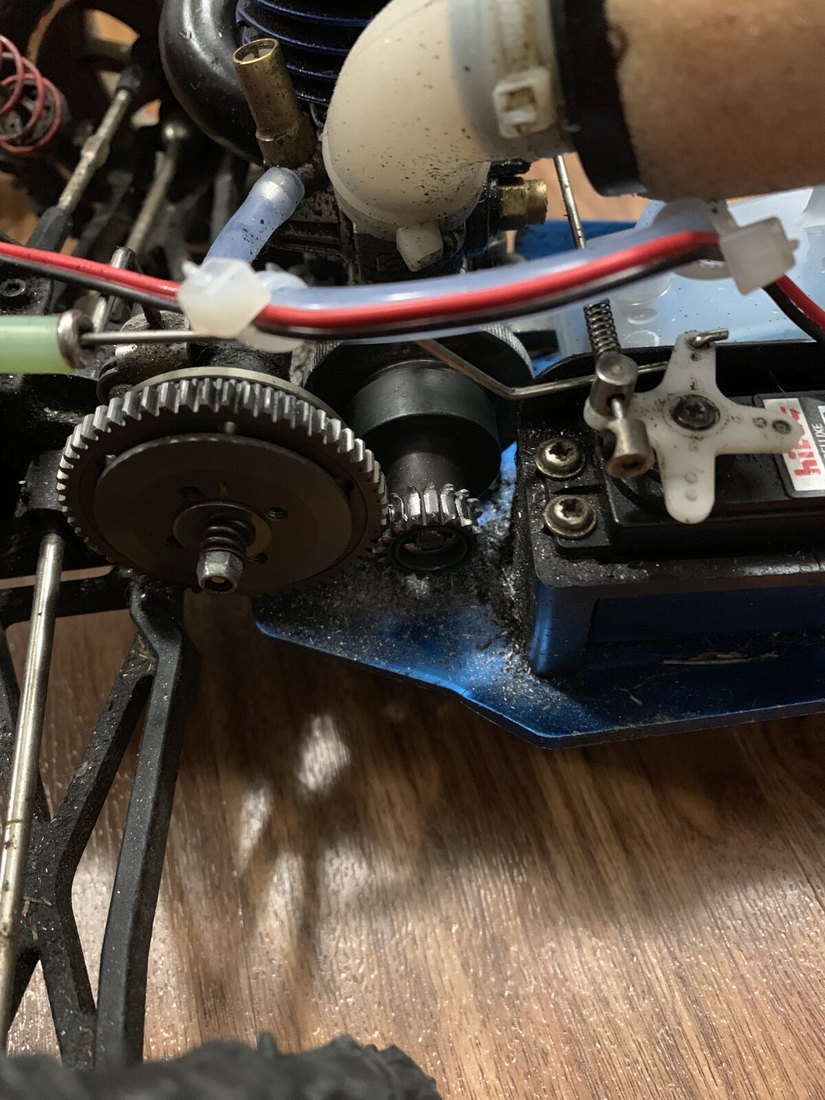
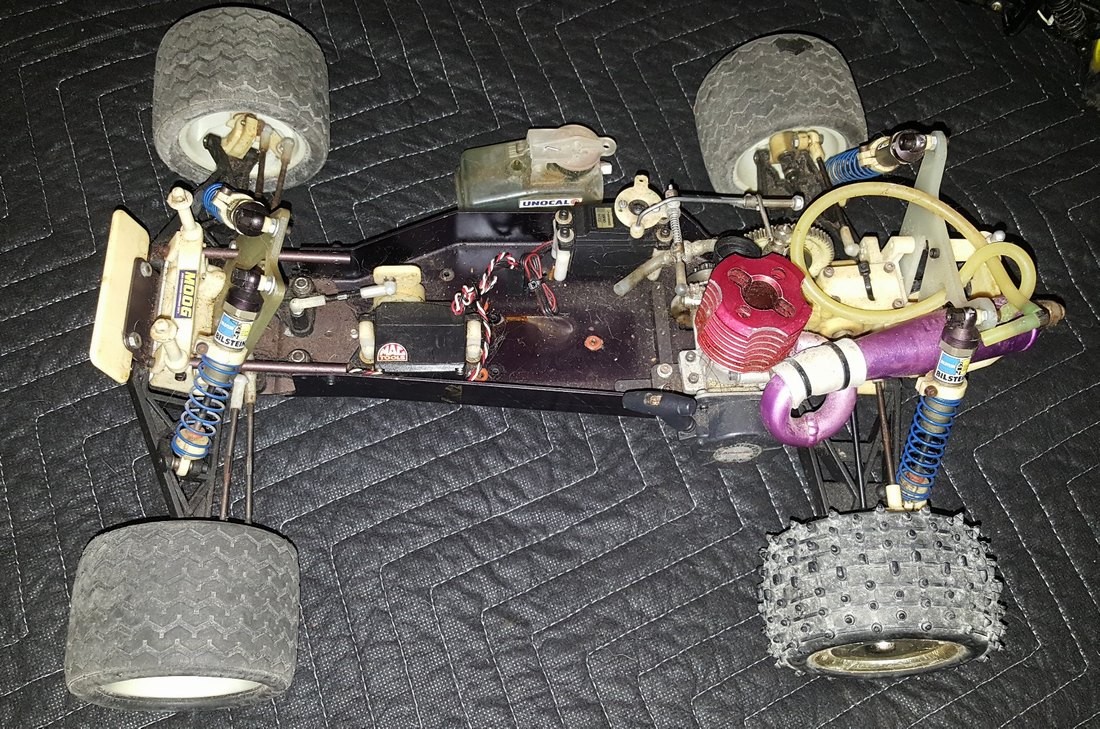
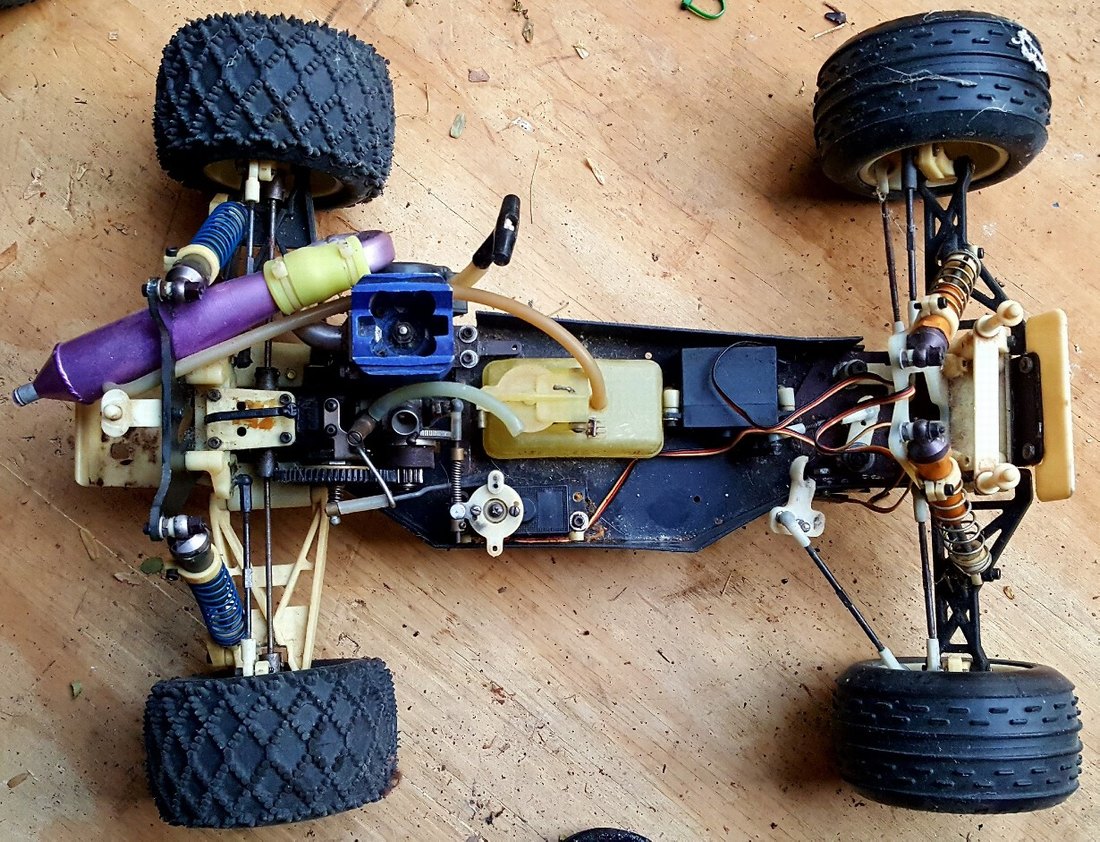
So I’ve been fighting this carb now for a few days. It’s a OS 10-e rotary carb on a Rc10gt. I’ve adjusted the hsn and lsn to factory specs with the help of you guys. But when I attempt to adjust the carb gap the screw going clockwise or counterclockwise makes absolutely no change to the gap. So my question is...
am I supposed to have the controller on and brake on or is there something specific I need to do when doing this?
am I supposed to have the controller on and brake on or is there something specific I need to do when doing this?